1. Introdución
Thank you for choosing the KitchenBrothers 4-in-1 Milk Frother. This versatile appliance is designed to help you create perfect milk foam for your coffee and other beverages, offering four distinct functions: warm and thick foam, warm and light foam, warm milk, and cold foam. With its user-friendly design and efficient operation, you can enjoy barista-quality drinks at home. Please read this manual carefully before first use to ensure safe and optimal performance.
Image: The KitchenBrothers 4-in-1 Milk Frother in black, featuring a sleek design and a transparent lid.
2. Instrucións de seguridade
Para evitar lesións persoais ou danos ao aparello, observe sempre as seguintes precaucións de seguridade:
- Le todas as instrucións antes de usar o aparello.
- Do not immerse the power base, cord, or plug in water or other liquids. Only the frothing jug and lid are washable.
- Asegurar o voltagO voltaxe indicado no aparello coincide coa tensión da rede eléctrica localtage antes de conectar.
- Always place the frother on a stable, flat, heat-resistant surface, away from hot surfaces or open flames.
- Non faga funcionar o aparello cun cable ou enchufe danados, ou se funciona mal ou está danado de calquera xeito.
- Manteña o aparello fóra do alcance dos nenos. Este aparello non está destinado ao uso por parte de persoas con capacidades físicas, sensoriais ou mentais reducidas, a menos que estean baixo supervisión.
- Do not fill the frothing jug beyond the maximum fill lines to prevent overflow.
- The frothing jug and lid may become hot during operation. Handle with care.
- Desconecte o aparello da toma de corrente cando non o use e antes de limpalo.
- Use só accesorios e accesorios recomendados polo fabricante.
3. Compoñentes do produto
The KitchenBrothers Milk Frother consists of the following main parts:
- Frother Unit: The main jug with non-stick interior.
- Tapa transparente: With a removable sealing ring.
- Batedor de escuma: Used for creating thick or light foam.
- Batedor de varas: Used for warming milk without frothing.
- Base de potencia: Contains the heating element and control electronics.
- Botón de control: For selecting functions and starting/stopping.

Image: An exploded diagram illustrating the various components of the milk frother, including the lid, whisk attachments, main body, and power base.
4. Configuración e primeiro uso
Before using your milk frother for the first time:
- Desembale todos os compoñentes e retire calquera material de embalaxe.
- Clean the frothing jug interior, lid, and whisks with warm soapy water. Rinse thoroughly and dry.
- Place the power base on a dry, stable, and level surface.
- Ensure the frothing jug is clean and dry before placing it on the power base.
5. Instrucións de funcionamento
The KitchenBrothers Milk Frother offers four functions, easily selected with a single button:
5.1. Selecting the Right Whisk
- Para frothing milk (warm thick, warm light, or cold foam), use the batedor de escuma (the one with the spring coil).
- Para warming milk without frothing, use the batedor axitador (the one without the spring coil).
Insert the chosen whisk onto the pin at the bottom of the frothing jug.

Image: The two interchangeable whisks: one for warming milk (left) and one for frothing milk (right).
5.2. Adding Milk
Pour milk into the frothing jug. Observe the internal MAX fill lines:
- 115ml MAX: For frothing milk (to prevent overflow due to foam expansion).
- 240ml MAX: For warming milk (without frothing).
Using cold milk (around 4-6°C) and fresh milk (full-fat or semi-skimmed) generally yields the best frothing results.
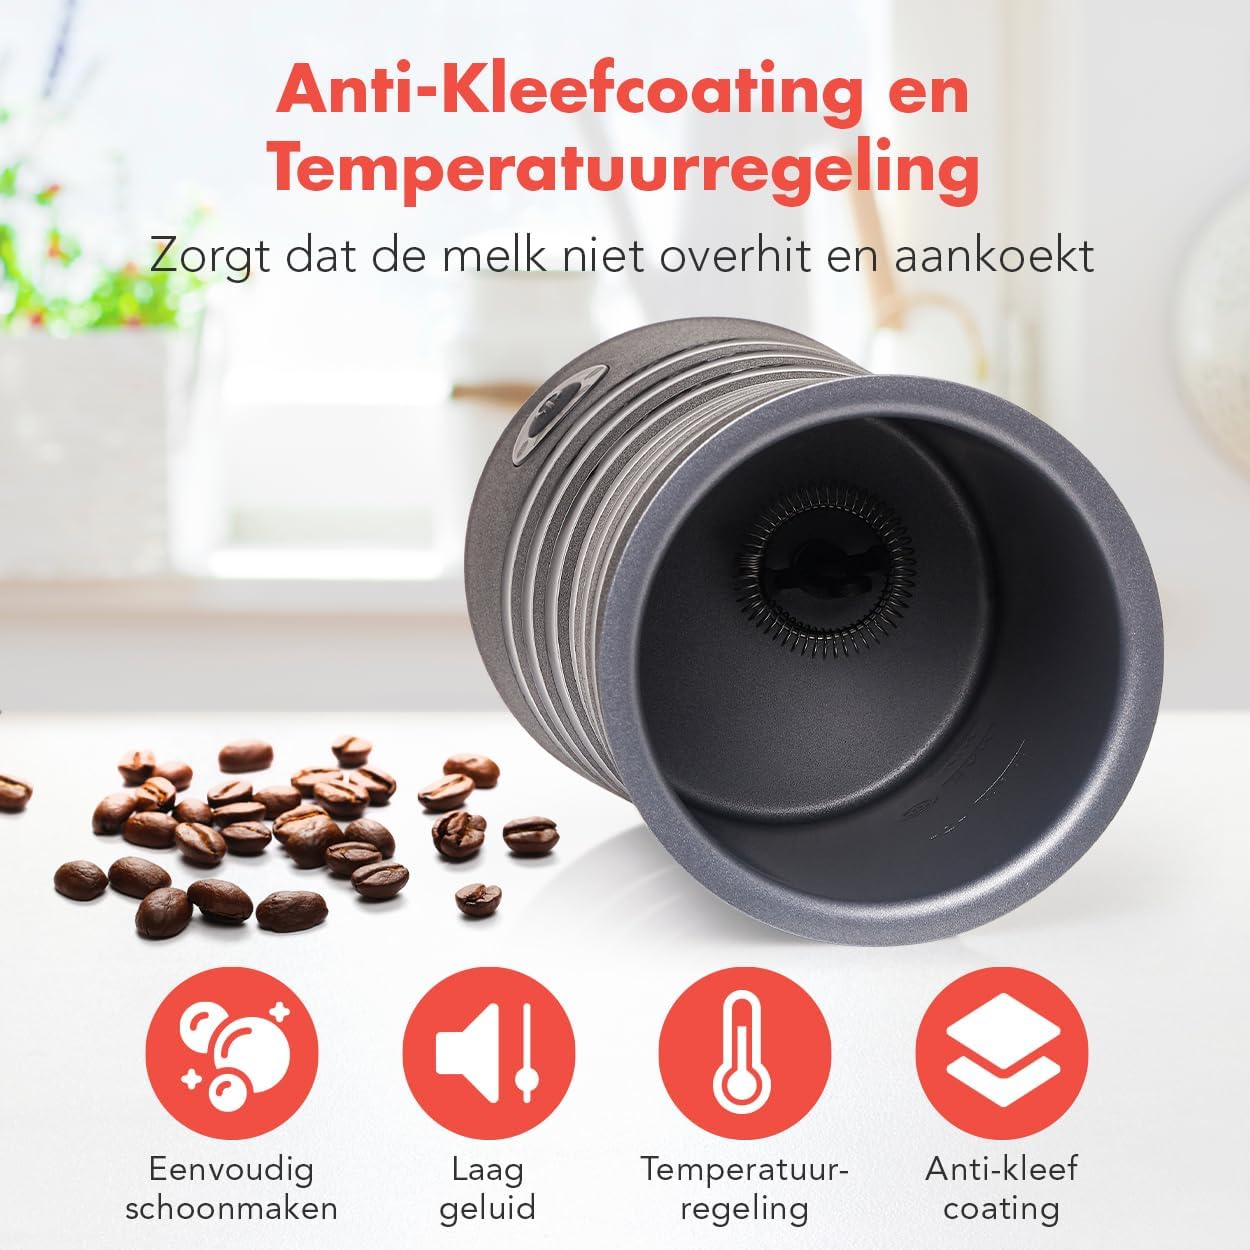
Image: The interior of the frothing jug, clearly indicating the maximum fill lines for frothing (115ml) and warming (240ml).
5.3. Operating the Frother
- Place the frothing jug securely on the power base.
- Place the transparent lid on the frothing jug.
- Enchufe o cable de alimentación nunha toma eléctrica adecuada.
- Press the control button repeatedly to cycle through the desired functions. The indicator light will change to reflect the selected mode:
- Warm & Thick Foam: (Red light, two cups icon) - Ideal for cappuccino.
- Warm & Light Foam: (Red light, one cup icon) - Ideal for latte macchiato.
- Leite quente: (Red light, single cup icon) - For heating milk without foam.
- Espuma fría: (Blue light, snowflake icon) - For iced coffee or cold beverages.
- Once the desired function is selected, the frother will start automatically.
- The frother will automatically stop when the milk reaches approximately 65°C or when the cold frothing cycle is complete.
- Carefully remove the frothing jug from the base and pour the frothed or warmed milk into your cup.
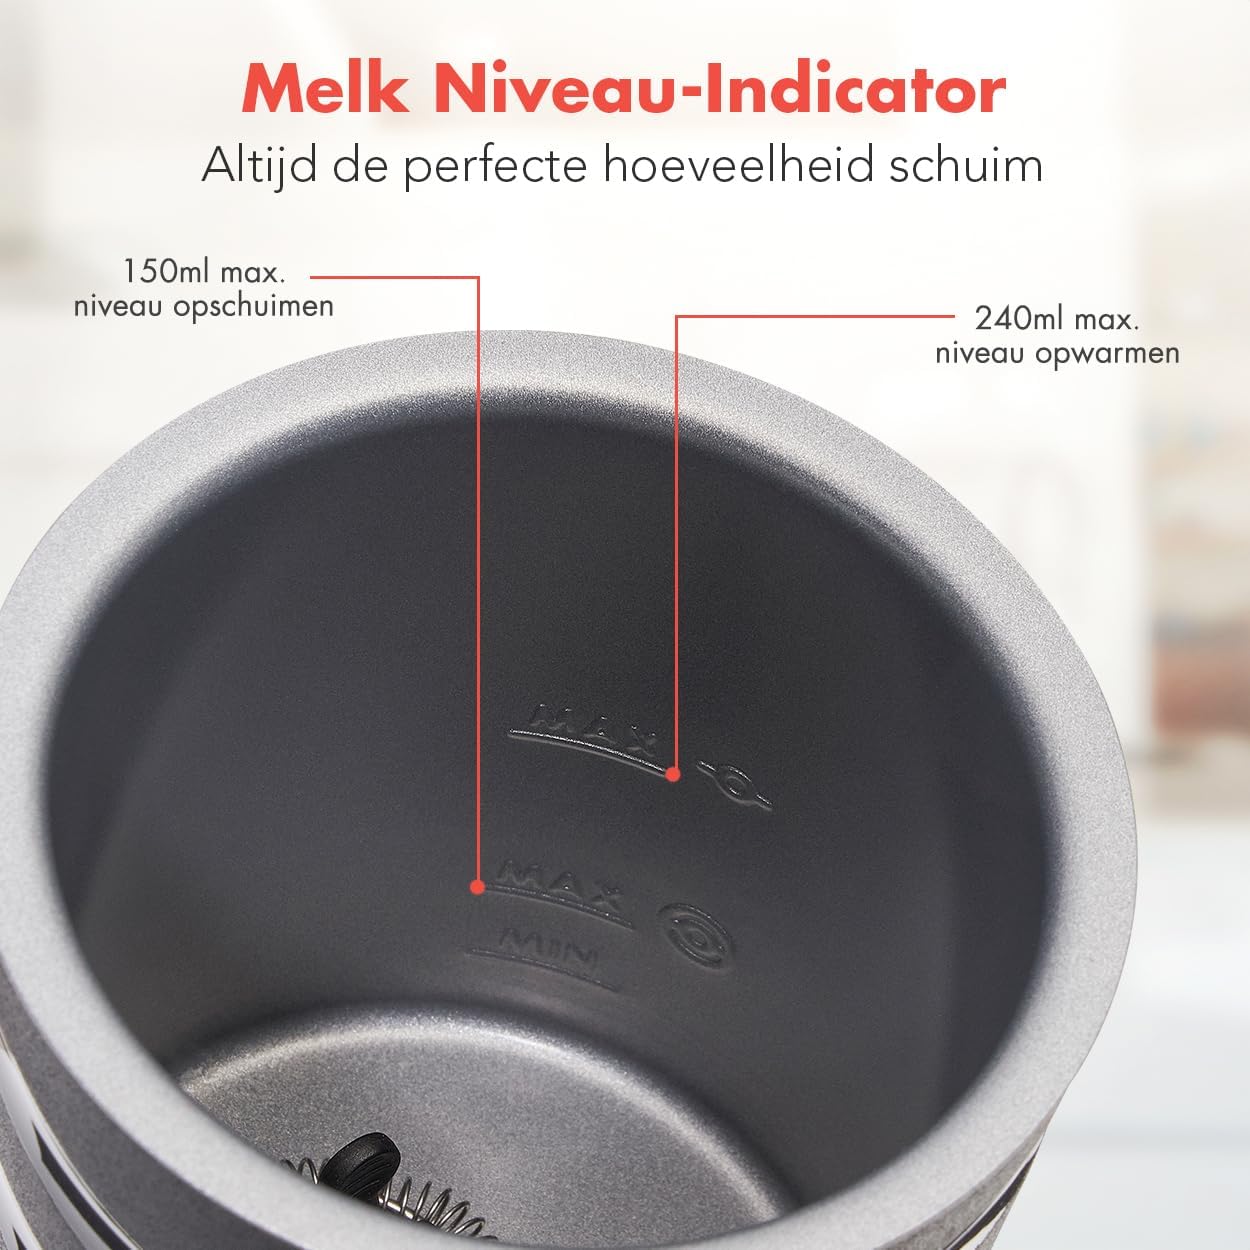
Image: The single control button with illuminated icons indicating the four available functions: warm thick foam, warm light foam, warm milk, and cold foam.
5.4. Vídeo oficial do produto
Watch this official video for a visual guide on how to use your KitchenBrothers Milk Frother and create delicious beverages.
Video: Demonstrates the operation of the KitchenBrothers Electric Milk Frother, showing how to select modes, add milk, and pour frothed milk for various coffee drinks.
6. Limpeza e Mantemento
Regular cleaning ensures the longevity and hygiene of your milk frother. The non-stick coating makes cleaning easy.
- Desconecte sempre o aparello e deixe que arrefríe completamente antes de limpalo.
- Remove the whisk from the frothing jug.
- Rinse the interior of the frothing jug immediately after use with warm water. For thorough cleaning, use a soft sponge or cloth with a small amount of mild dish soap. Do not use abrasive cleaners or metal scourers, as these can damage the non-stick coating.
- Clean the lid and whisks with warm soapy water.
- NON mergullo a base eléctrica en auga ou en calquera outro líquido. Limpar o exterior da base de alimentación con publicidadeamp pano.
- Asegúrate de que todas as pezas estean completamente secas antes de gardalas ou usalas de novo.

Image: Visual representation of the frother's easy-to-clean non-stick interior and temperature control features.
7 Solución de problemas
If you encounter issues with your milk frother, please refer to the following common problems and solutions:
| Problema | Causa posible | Solución |
|---|---|---|
| O leite non fai escuma ou fai escuma mal. | Incorrect whisk used, milk level too high/low, milk type unsuitable, whisk not properly installed. | Ensure the frothing whisk is used. Check milk level (max 115ml for frothing). Use fresh, cold full-fat or semi-skimmed milk. Ensure whisk is securely placed on the pin. |
| O leite non quenta. | Incorrect mode selected, appliance not powered, whisk not installed. | Ensure a warm frothing/warming mode is selected. Check if the appliance is plugged in. Ensure a whisk is installed. |
| O desbordamento de leite. | Milk level too high. | Do not exceed the 115ml MAX line for frothing or 240ml MAX line for warming. |
| O aparello non se acende. | Non conectado, apagadotage, frother not correctly placed on base. | Check power connection. Ensure the frother jug is correctly seated on the power base. |
8. Especificacións
| Característica | Detalle |
|---|---|
| Marca | CociñaBrothers |
| Número de modelo | KB699 |
| Cor | Negro |
| Capacidade (Espumaxe) | 115 ml |
| Capacity (Warming) | 240 ml |
| Poder | 400 W |
| Voltage | 220 V |
| Dimensións do produto | 10 x 10 x 19.1 cm |
| Peso do elemento | 903 g |
| Características especiais | Variable foam setting, Automatic shut-off at 65°C, Non-stick coating, Low noise |
9. Garantía e soporte
For warranty information or technical support, please refer to the warranty card included with your product or contact KitchenBrothers customer service. Keep your proof of purchase for any warranty claims.


