1. Introdución
This manual provides essential information for the safe and effective operation, setup, and maintenance of your HZXVOGEN HVT250P AC/DC TIG/MMA Welder. Please read this manual thoroughly before operating the machine to ensure proper usage and to prevent injury or damage.
2. Información de seguridade
Welding operations involve significant risks. Always adhere to the following safety precautions to prevent electric shock, fire, burns, and other hazards.
- Choque eléctrico: Pode matar. Asegúrese dunha conexión a terra axeitada. Non toque as pezas eléctricas con tensión. Use luvas de soldadura secas e roupa protectora.
- Fumos e Gases: Can be hazardous to your health. Work in a well-ventilated area. Use fume extractors if necessary.
- Raios de arco: Can burn eyes and skin. Wear a welding helmet with appropriate shade filter. Protect others with welding screens.
- Incendio e explosión: As faíscas de soldadura e o metal quente poden provocar incendios. Manteña os materiais inflamables lonxe da zona de soldadura. Teña un extintor á man.
- Partes quentes: Pode causar queimaduras graves. Deixar que o equipo arrefríe antes de manipulalo.
- Ruído: O ruído excesivo pode danar a audición. Use protección auditiva.
- Pezas móbiles: Keep hands, hair, and loose clothing away from moving parts like fans.
Always consult local safety regulations and standards before beginning any welding work.
3. Contido do paquete
Upon unpacking, verify that all items listed below are present and undamaged. Contact your supplier immediately if any items are missing or damaged.
- HZXVOGEN HVT250P AC/DC TIG/MMA Welder Unit
- Facho TIG
- Cl Claseamp con Cable
- Electrode Holder with Cable (for MMA/Stick welding)
- Mangueira de gas
- Manual de usuario

Figura 3.1: HZXVOGEN HVT250P Welder unit with TIG torch, ground clampe portaelectrodos.
4. Características do produto
The HZXVOGEN HVT250P is a versatile welding machine designed for various applications. Key features include:
- Capacidade multiproceso: Supports AC TIG, DC TIG, Pulse TIG, and MMA (Stick) welding.
- AC TIG for Aluminum: Specifically designed for welding aluminum and its alloys.
- DC TIG for Steel: Suitable for welding stainless steel, carbon steel, and copper.
- Función TIG por pulso: Offers enhanced control over heat input, ideal for thin materials and specialized applications, with adjustable pulse frequency (20-200Hz) and duty cycle (10-90%).
- Tecnoloxía de inversores IGBT: Provides stable arc, high efficiency, and compact design.
- Dual VoltagEntrada: Operates on both 110V and 220V power supplies, offering flexibility for different work environments.
- Pantalla dixital: For precise current and parameter settings.
5. Configuración
Before operating the welder, ensure all connections are secure and correct.
5.1 Máquina superadaview

Figura 5.1: Front and rear panel layout with key components.
- Interruptor de encendido / apagado: Located on the rear panel.
- Fan: Cooling fan located on the rear panel. Ensure it is not obstructed.
- Gas In: Gas inlet connection on the rear panel for inert gas supply (e.g., Argon for TIG).
- Botón de axuste de corrente: Main control for welding current.
- Pulse ON/OFF Shift Switch: Activates or deactivates the pulse welding function.
- Cl Claseamp Conexión: Conecte a terra clamp cable to the appropriate terminal for your welding process.
- Welding Torch/Electrode Holder Connection: Connect the TIG torch or MMA electrode holder to the corresponding terminal for your welding process.
5.2 Conexión de alimentación
- Asegúrese de que o interruptor de alimentación da soldadora estea na posición de apagado.
- Connect the power cord to a suitable 110V or 220V AC power outlet. The machine automatically detects the input voltage. Ensure the outlet is properly grounded and can supply the required ampera.
5.3 Conexión de gas (para soldadura TIG)
- Connect one end of the gas hose to the "Gas In" port on the rear of the welder.
- Connect the other end of the gas hose to your inert gas cylinder (e.g., Argon) via a pressure regulator.
- Asegúrate de que todas as conexións estean ben axustadas para evitar fugas de gas.
5.4 Conexións de cables de soldadura
- Cl Claseamp: Conecte a terra clamp cable to the negative (-) terminal for DC TIG/MMA or to the appropriate terminal as indicated for AC TIG. Secure the ground clamp á peza de traballo ou á mesa de soldadura, garantindo un bo contacto eléctrico.
- Soplete TIG: For TIG welding, connect the TIG torch cable to the positive (+) terminal for DC TIG or to the appropriate terminal for AC TIG. Connect the gas line from the torch to the welder's gas output.
- Soporte de eléctrodos: For MMA (Stick) welding, connect the electrode holder cable to the positive (+) terminal.
6. Instrucións de funcionamento
6.1 Funcionamento xeral
- After completing all connections, turn on the power switch on the rear panel.
- Select the desired welding process (TIG or MMA) and current type (AC or DC) using the front panel controls.
- Adjust the welding current using the "Current Adjust Knob" according to the material thickness and electrode/filler rod size.
- For TIG welding, set the gas flow rate on your regulator.
6.2 TIG Welding (AC/DC)
The HVT250P supports both AC TIG for aluminum and DC TIG for other metals.
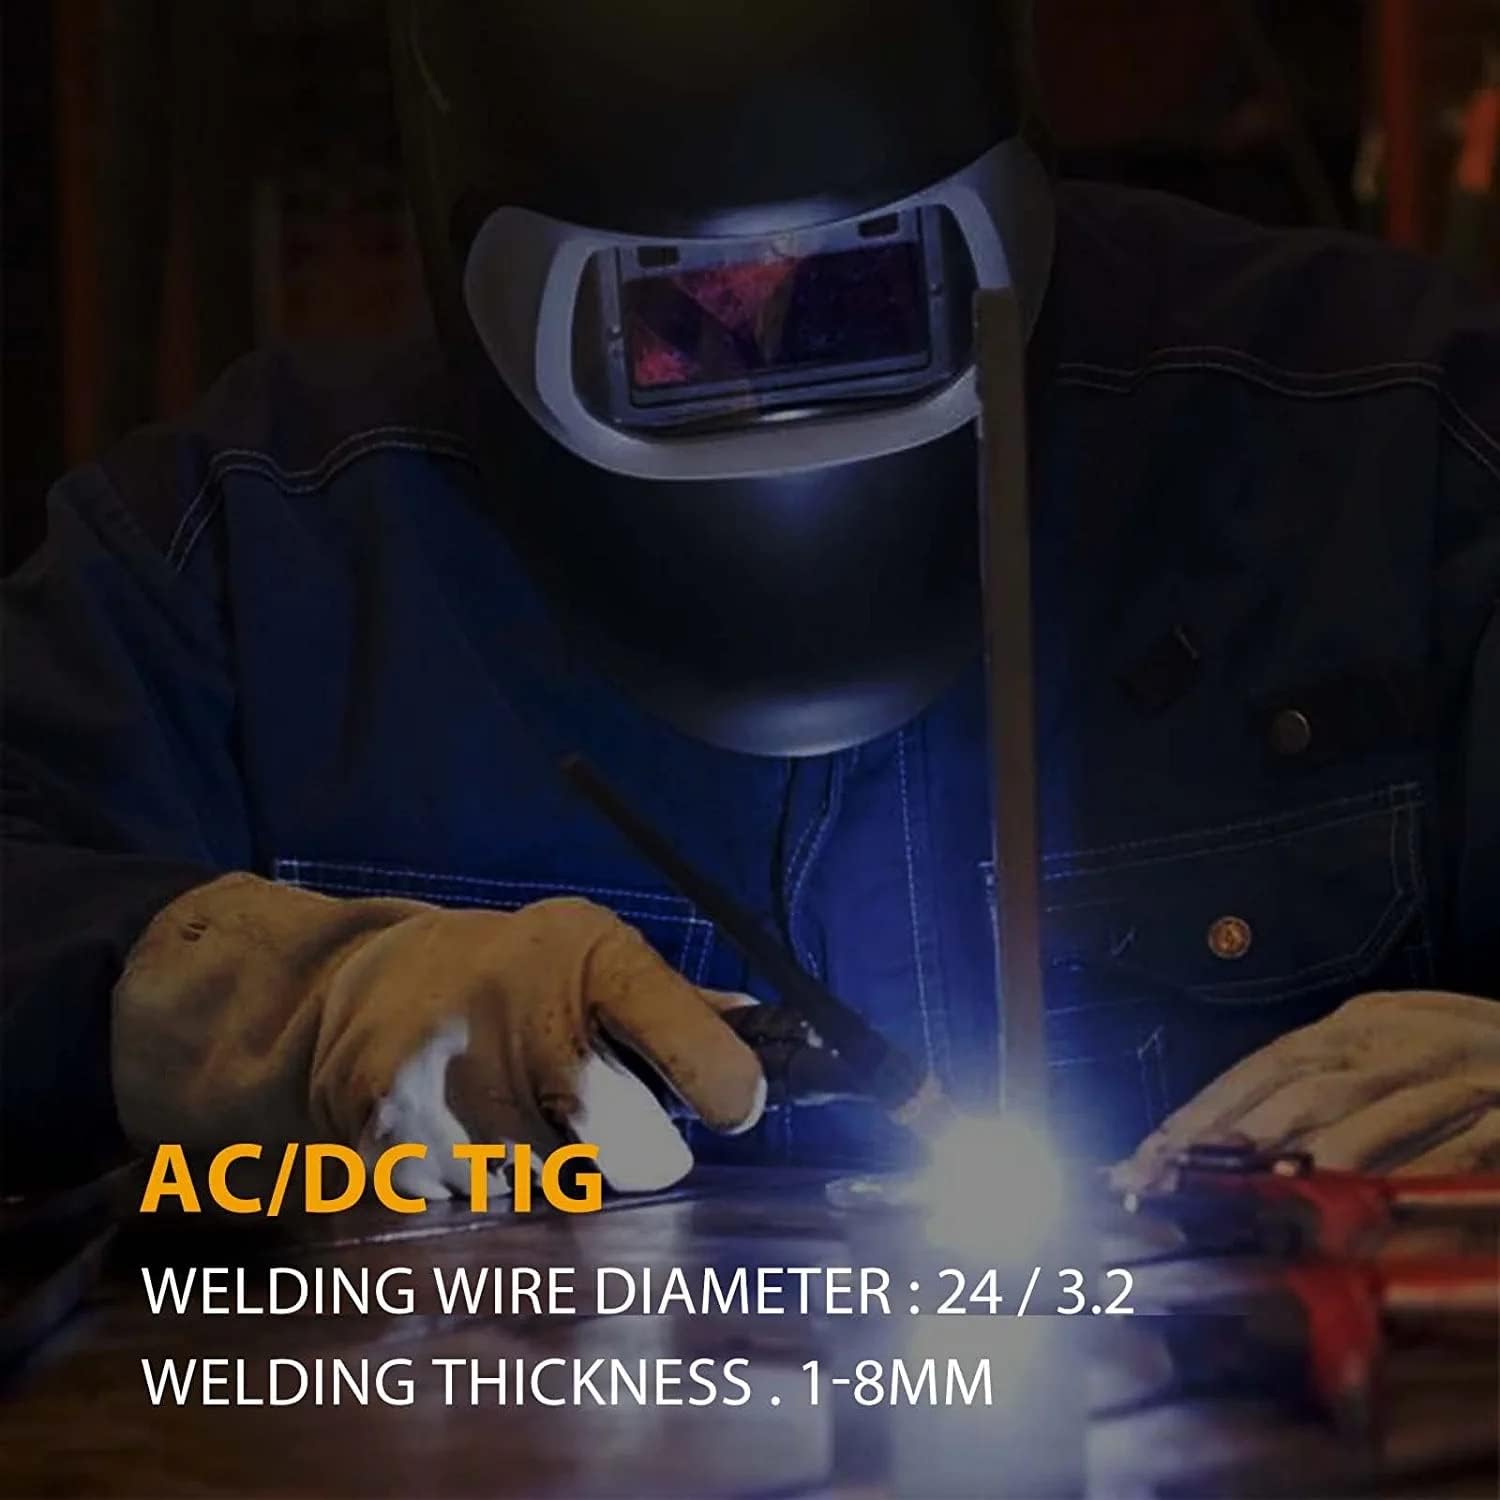
Figura 6.1: Demonstrating AC/DC TIG welding. Welding wire diameter: 2.4/3.2mm, Welding thickness: 1-8mm.
- TIG de CA: Select AC mode for welding aluminum and magnesium alloys. This mode provides a cleaning action that breaks up oxides on the material surface.
- TIG CC: Select DC mode for welding stainless steel, carbon steel, copper, and other non-ferrous metals (except aluminum).
- Pulse TIG: Engage the "Pulse ON/OFF Shift Switch" to activate pulse mode. Adjust pulse frequency (20-200Hz) and duty cycle (10-90%) as needed for better heat control and reduced distortion, especially on thin materials.
- Ensure a tungsten electrode of appropriate size and type is installed in the TIG torch.
- Maintain proper arc length and torch angle for optimal weld quality.

Figura 6.2: A welder performing TIG welding with the HVT250P.
6.3 Soldadura con electrodo electromagnético (MMA)
The HVT250P also functions as an MMA (Manual Metal Arc) or Stick welder.

Figura 6.3: A welder performing MMA welding. MMA welding wire diameter: 2.5/3.2mm, Welding thickness: 2-12mm.
- Conecte o portaelectrodos ao terminal positivo (+) e á toma de terra.amp ao terminal negativo (-).
- Insert the appropriate coated electrode into the electrode holder.
- Select MMA mode on the control panel.
- Adjust the welding current based on the electrode type and diameter, and the material thickness.
- Strike the arc by lightly touching the electrode to the workpiece and quickly lifting it slightly to establish the arc.
7. Mantemento
Regular maintenance ensures the longevity and safe operation of your welding machine. Always disconnect power before performing any maintenance.
- Limpeza: Periodically clean the interior of the machine using dry compressed air to remove dust and metal particles. Ensure the cooling fan and vents are free from obstructions.
- Inspección de cables: Regularly inspect welding cables, ground clamp, and torch for damage, cuts, or loose connections. Replace damaged components immediately.
- Tungsten Electrodes (TIG): Sharpen or replace tungsten electrodes as needed to maintain arc stability and weld quality.
- Gas System: Check gas hoses and connections for leaks.
8 Solución de problemas
Consulta a táboa seguinte para ver os problemas comúns e as súas posibles solucións. Se o problema persiste, ponte en contacto co servizo de atención ao cliente.
| Problema | Causa posible | Solución |
|---|---|---|
| A soldadora non se acende. | Sen subministración de enerxía; interruptor apagado; cable de alimentación defectuoso. | Check power outlet and circuit breaker; Ensure power switch is ON; Inspect and replace power cord if damaged. |
| Sen arco de soldadura. | Poor ground connection; Incorrect welding mode; Insufficient current setting; Faulty torch/electrode holder. | Asegurar a limpeza do chanamp has good contact; Select correct mode (TIG/MMA); Increase current; Inspect and replace cables/torch. |
| Unstable arc or poor weld quality. | Corrente incorrecta/voltage settings; Contaminated workpiece; Improper gas flow (TIG); Worn tungsten electrode (TIG); Incorrect electrode type (MMA). | Adjust settings; Clean workpiece; Check gas supply and flow rate; Sharpen/replace tungsten; Use correct electrode. |
| Protección contra sobrequecemento activada. | Exceeded duty cycle; Obstructed cooling vents; High ambient temperature. | Allow machine to cool down; Clear obstructions from vents; Operate in a cooler environment. |
9. Especificacións
Technical specifications for the HZXVOGEN HVT250P AC/DC TIG/MMA Welder.

Figura 9.1: Dimensions and technical data for the HVT250P.
| Parámetro | Valor |
|---|---|
| Modelo | HVT250P AC/DC |
| Vol. De entradatage | 110/220 V de dobre voltaxetage |
| Rango de corrente de soldadura | 200A (máximo) |
| Frecuencia de pulso | 20-200 Hz |
| Ciclo de traballo | 10-90 % |
| Tecnoloxía | IGBT Square Wave Inverter |
| Peso do elemento | 44.3 libras (aprox. 20.1 kg) |
| Dimensións do paquete | 21.12 x 18.7 x 13.15 polgadas (aprox. 53.6 x 47.5 x 33.4 cm) |
| Clase de illamento | F |
| Clase de recinto | IP21S |
10. Garantía e soporte
For warranty information and technical support, please refer to the documentation provided with your purchase or contact HZXVOGEN customer service directly. Keep your purchase receipt as proof of purchase.


