1. Introdución
This manual provides detailed instructions for the safe and effective use of your Technaxx TX-219 4-in-1 Multifunction Device. This versatile unit combines a jump starter, an air compressor, a power bank, and an LED light, designed for automotive and portable power needs. Please read this manual thoroughly before operation and retain it for future reference.
2. Instrucións de seguridade
Always observe the following safety precautions to prevent injury or damage to the device or vehicle:
- Le todas as instrucións antes de usar.
- Manter fóra do alcance dos nenos.
- Wear eye protection when operating the jump starter.
- Non expoña o dispositivo á choiva nin á humidade.
- Do not operate if the device or cables are damaged.
- Asegurar unha ventilación adecuada durante o uso.
- Conecte o arrancador de salto clamps correctly: positive to positive, negative to negative. Avoid short-circuiting.
- Non intente arrancar unha batería conxelada.
- Disconnect the jump starter from the vehicle battery within 30 seconds after the engine starts.
- Do not use the air compressor continuously for more than 10 minutes to prevent overheating. Allow it to cool down.
- Garda o dispositivo nun lugar fresco e seco cando non estea en uso.
3. Contido do paquete
Verifica que todos os elementos estean presentes no paquete:
- Technaxx Jump Starter TX-219 Unit
- Adapter Cable with Battery Clamps
- Adaptador de CA
- Compressed Air Hose
- Cable USB
- Cable adaptador de coche
- Manual de usuario

Figura 3.1: Acabadoview of the Technaxx TX-219 package contents, showing the main unit, battery clamps, various charging cables, and the air hose.
4. Produto rematadoview
Familiarize yourself with the components of your Technaxx TX-219 device.

Figura 4.1: En ángulo view of the Technaxx TX-219 unit, showing the digital display, control buttons, USB ports, and LED light.
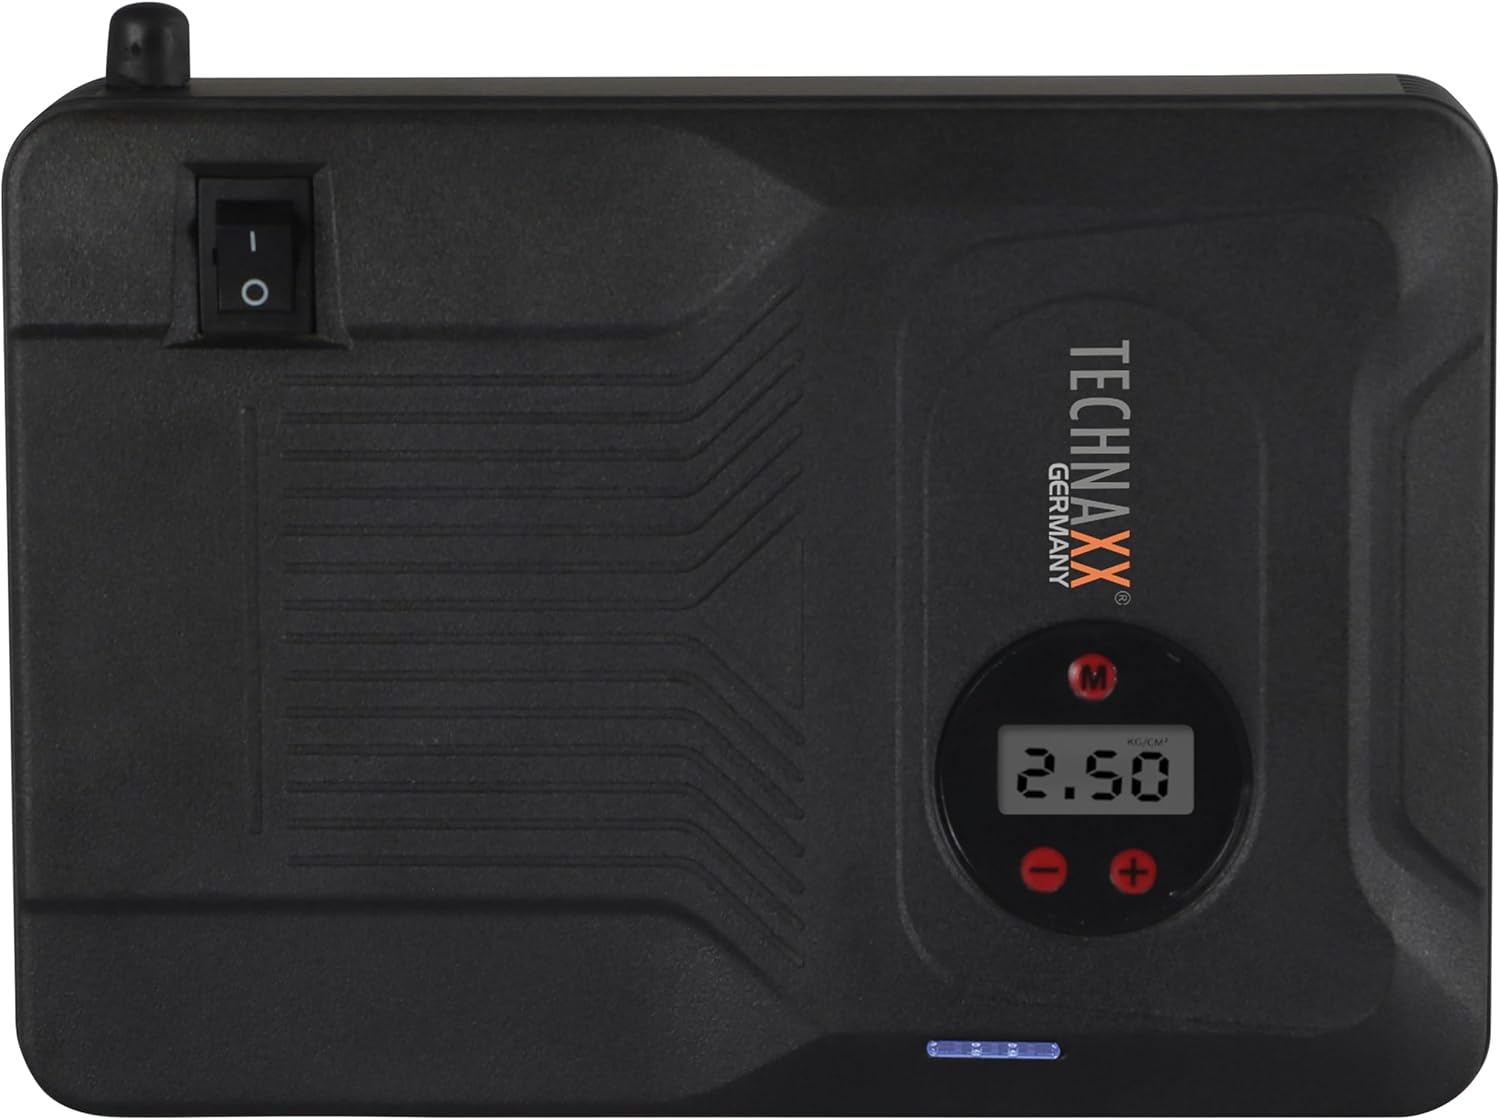
Figura 4.2: Arriba view of the device, highlighting the power switch and the digital display for pressure readings.

Figura 4.3: Fronte view of the device, showing the digital display, pressure adjustment buttons, and the power indicator lights.
Compoñentes clave:
- Pantalla dixital: Shows air pressure for the compressor and battery status.
- Botóns de control: For adjusting pressure settings and operating the device.
- USB-A Output Ports (5V/1A, 5V/2A): Para cargar dispositivos electrónicos externos.
- 15V/0.4A Input Port: For charging the internal battery of the TX-219.
- Jump Start Output Port: Connects to the battery clamp cable.
- Luz LED: Proporciona iluminación.
- Interruptor de alimentación: On/Off control for the device.
- Conexión da mangueira de aire: For the air compressor function.
5. Setup and Charging the Device
Before first use, fully charge the Technaxx TX-219 unit. It is recommended to recharge the device every 3 months to maintain battery health.
- Connect the AC adapter to the 15V/0.4A input port on the TX-219.
- Conecte o adaptador de CA a unha toma de corrente estándar.
- The battery indicator lights on the device will illuminate to show charging progress. All lights will be solid when fully charged.
- Alternatively, use the car adapter cable to charge the device from a vehicle's 12V accessory socket.

Figura 5.1: The Technaxx TX-219 unit being charged or used as a power bank to charge a smartphone.
6. Instrucións de funcionamento
6.1. Arranque auxiliar dun vehículo
The TX-219 can jump start gasoline engines up to 4.0L and diesel engines up to 3.0L.
- Ensure the TX-219 is sufficiently charged (at least 75% battery indicated).
- Apague o contacto do vehículo e todos os accesorios.
- Conecta o vermello (+) clamp ao terminal positivo (+) da batería do vehículo.
- Conecte o negro (-) clamp to a clean, unpainted metal part of the vehicle's engine block or chassis, away from the battery. Do not connect to the negative (-) battery terminal directly unless specified by vehicle manufacturer.
- Connect the adapter cable to the jump start output port on the TX-219.
- Arranca o motor do vehículo. Se non arranca inmediatamente, agarda 30 segundos antes de intentalo de novo. Non fagas que o arranque se faga máis de 3 segundos por intento.
- Once the engine starts, immediately disconnect the adapter cable from the TX-219.
- Despois, desconecte o cl negro (-)amp, seguido do cl vermello (+)amp da batería do vehículo.

Figura 6.1: The Technaxx TX-219 connected to a vehicle battery using the provided clamps for jump starting.

Figura 6.2: A close-up of the jump starter connected to a car battery, illustrating the process of jump starting.
6.2. Uso do compresor de aire
The integrated air compressor can inflate tires up to 3.5 Bar (approximately 50 PSI) and features an automatic shut-off.
- Connect the compressed air hose to the air hose connection port on the TX-219.
- Attach the other end of the hose to the tire valve.
- Turn on the TX-219. The digital display will show the current tire pressure.
- Use the '+' and '-' buttons to set the desired pressure. The display supports Bar, KPA, kg/cm², and PSI units.
- Press the compressor start button to begin inflation.
- O compresor parará automaticamente unha vez que se alcance a presión preestablecida.
- Disconnect the air hose from the tire valve and the TX-219.

Figura 6.3: The Technaxx TX-219 being used to inflate a car tire, demonstrating the air compressor function.

Figura 6.4: A user inflating a tire with the TX-219, showing the digital display and the air hose connection.
6.3. Uso como batería externa
The 14000 mAh battery can charge various USB-powered devices.
- Connect your device's USB charging cable to one of the USB-A output ports (5V/1A or 5V/2A) on the TX-219.
- The TX-219 will automatically begin charging your device.
- Monitor your device's charging status. Disconnect once fully charged.

Figura 6.5: The Technaxx TX-219 connected to a smartphone via USB, illustrating its power bank functionality.

Figura 6.6: The TX-219 acting as a portable power bank, charging a mobile device.
6.4. Uso da luz LED
The integrated LED light can be used for illumination in dark environments.
- Locate the LED light button on the device.
- Preme o botón unha vez para acender a luz LED.
- Press again to cycle through different light modes (e.g., steady, strobe, SOS, if available).
- Press and hold the button to turn off the LED light.

Figura 6.7: The TX-219's LED light providing illumination in a vehicle's engine compartment.
7. Especificacións
| Característica | Especificación |
|---|---|
| Modelo | TX-219 |
| Tipo de batería | Fosfato de litio-ferro |
| Capacidade da batería | 14000 mAh |
| Corrente de arranque | 350 A (máx. 600 A) |
| Jump Start Voltage | 12 voltios |
| Engine Compatibility (Gasoline) | Ata 4.0 L |
| Compatibilidade de motores (diésel) | Ata 3.0 L |
| Saída USB-A 1 | 5 V, 2 A |
| Saída USB-A 2 | 5 V, 1 A |
| Compresor de aire | 12 V / 100 W, Max 3.5 Bar (approx. 50 PSI) |
| Entrada de carga | 15 V, 0.4 A (máx.) |
| Luz LED | Múltiples funcións |
| Dimensións (L x W x H) | 19 x 13 x 5.5 cm |
| Peso | 1.16 kg |
| Certificacións | CE |
8. Mantemento
- Limpeza: Limpe o dispositivo cun pano suave e seco. Non empregue produtos químicos agresivos nin produtos de limpeza abrasivos.
- Almacenamento: Store the TX-219 in a cool, dry place, away from direct sunlight and extreme temperatures.
- Recargando: Recharge the unit every three months, even if not in use, to prolong battery life.
- Inspección de cables: Inspeccione regularmente todos os cables e clampComprobe se hai algún sinal de danos, desgaste ou corrosión. Substitúa se é necesario.
9 Solución de problemas
| Problema | Causa posible | Solución |
|---|---|---|
| O dispositivo non se acende. | A batería está esgotada. | Charge the TX-219 fully. |
| O vehículo non arranca con axuda. | Cl incorrectoamp connection; TX-219 battery too low; vehicle battery severely damaged. | Asegurar clamps are connected correctly (+ to +, - to chassis). Recharge TX-219. Consult a mechanic if vehicle battery is faulty. |
| O compresor de aire non se infla. | Hose not securely connected; desired pressure already reached; device battery low. | Check hose connections. Verify desired pressure setting. Recharge TX-219. |
| A carga por USB non funciona. | USB cable faulty; device not compatible; TX-219 battery low. | Try a different USB cable. Ensure your device is compatible. Recharge TX-219. |
| A luz LED non funciona. | Battery depleted; light button not pressed correctly. | Recharge TX-219. Press the LED button firmly. |
10. Garantía e soporte
For warranty information and technical support, please refer to the warranty card included with your product or visit the official Technaxx websitio. Garde o recibo da compra como xustificante da mesma.
Fabricante: Technaxx
Número de modelo: 5031


