Introdución
Thank you for choosing the Ideal Standard i.life Soft-Close Toilet Seat Hinge Clutch Assembly. This genuine Ideal Standard replacement part (Model TV90167) is designed to restore the soft-close functionality of your i.life A (T453101) or i.life B (T468301) toilet seat. Manufactured with durable, quality materials, this clutch assembly ensures a smooth and controlled closing action for your toilet seat, preventing slamming and extending product life.
Please read these instructions carefully before installation to ensure correct fitting and optimal performance.
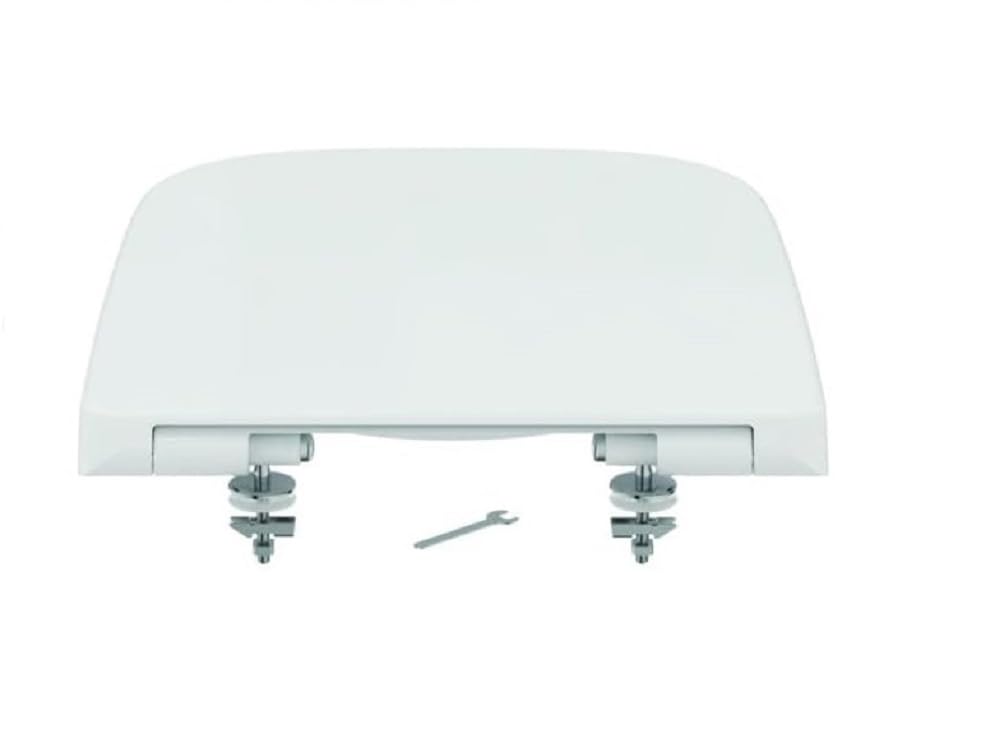
Image 1: Ideal Standard i.life Soft-Close Toilet Seat Hinge Clutch Assembly (Model TV90167)
Información de seguridade
- Always ensure the toilet area is clean and dry before beginning installation.
- Use appropriate tools and wear protective eyewear if necessary.
- Se non tes claro algún paso, consulta cun fontaneiro cualificado.
- Manteña as pezas pequenas lonxe dos nenos.
Configuración e instalación
This hinge clutch assembly is designed for easy replacement. Follow these steps to install your new clutch:
- Prepare the Toilet Seat: Carefully lift the toilet seat and lid to expose the hinge mechanisms. Depending on your specific i.life model, you may need to unclip or unscrew the seat from the hinge posts.
- Remove Old Clutch Assembly: Locate the existing soft-close clutch within the hinge mechanism. This is typically a cylindrical component. Gently pry or slide out the old clutch. Note its orientation for correct installation of the new part.
- Clean Hinge Area: Clean any debris or residue from the hinge housing where the clutch sits. This ensures a smooth fit for the new component.
- Insert New Clutch Assembly: Align the new Ideal Standard TV90167 clutch assembly with the hinge housing. Ensure it is inserted fully and correctly oriented, matching the position of the old clutch. You may hear a click as it locks into place.
- Reattach Toilet Seat: Reattach the toilet seat and lid to the hinge posts, ensuring all connections are secure.
- Test Soft-Close Function: Gently lower the toilet seat and lid to verify that the soft-close mechanism is working correctly. The seat and lid should lower slowly and silently.

Image 2: Technical drawing showing dimensions of the hinge clutch assembly. Dimensions are approximately 85mm total length, 40mm insertion depth, with a diameter of 6mm at the pin and 18mm at the main body.

Imaxe 3: Ex.ample of a toilet seat hinge mechanism where the clutch assembly would be installed.
Instrucións de funcionamento
The Ideal Standard i.life Soft-Close Hinge Clutch Assembly operates automatically. Once installed, simply lower the toilet seat or lid, and the mechanism will engage, allowing it to close gently and quietly without manual assistance. No specific user interaction is required beyond normal use of the toilet seat.
Mantemento
To ensure the longevity and proper function of your soft-close hinge clutch assembly:
- Limpeza: Clean the exterior of the hinge area regularly with a soft cloth and mild, non-abrasive cleaner. Avoid harsh chemicals or abrasive materials, as these can damage the plastic components.
- Inspección: Periodically check the hinge area for any signs of wear, damage, or looseness. Ensure the clutch remains securely seated within its housing.
- Evitar o peche forzado: While the soft-close mechanism is designed to prevent slamming, avoid manually forcing the seat or lid down, as this can prematurely wear out the clutch.
Resolución de problemas
| Problema | Causa posible | Solución |
|---|---|---|
| Soft-close not working or seat slams | Clutch assembly is worn out or incorrectly installed. | Ensure the clutch is fully inserted and correctly oriented. If the issue persists, the clutch may need replacement. |
| Toilet seat feels loose or wobbly | Hinge fixings are loose or damaged. | Check and tighten all screws and fasteners securing the toilet seat to the toilet bowl. Ensure the clutch is properly seated. |
| Squeaking noise during closing | Friction in the hinge mechanism or clutch. | Clean the hinge area. A small amount of silicone-based lubricant (avoid oil-based) can be applied to moving parts, but avoid direct contact with the clutch mechanism itself. |
Especificacións
- Marca: Estándar ideal
- Número de modelo: TV90167
- Compatibilidade: Ideal Standard i.life A (T453101) and i.life B (T468301) soft-close toilet seats
- Material: Mixed materials (typically durable plastics and internal damping components)
- Cor: Neutral
- Dimensións do produto (L x W x H): Aproximadamente 10 x 10 x 2.51 cm
- Peso do artigo: Aproximadamente 40 gramos
- Compoñentes incluídos: 1x Hinge Clutch Assembly
- País de orixe: China
Garantía e Soporte
This Ideal Standard product is manufactured to high-quality standards. For specific warranty information or technical support, please refer to the documentation provided with your original Ideal Standard i.life toilet seat or visit the official Ideal Standard website. You may also contact Ideal Standard customer service directly for assistance with replacement parts.
Información de contacto: Por favor visite www.idealstandard.com for regional contact details and support resources.


