1. Introdución
Thank you for choosing the FORIOUS Brushed Nickel Bathroom Faucet. This manual provides detailed instructions for the proper installation, operation, and maintenance of your new faucet. Please read this manual thoroughly before installation and keep it for future reference. This faucet is designed to provide reliable performance and enhance the aesthetic of your bathroom.
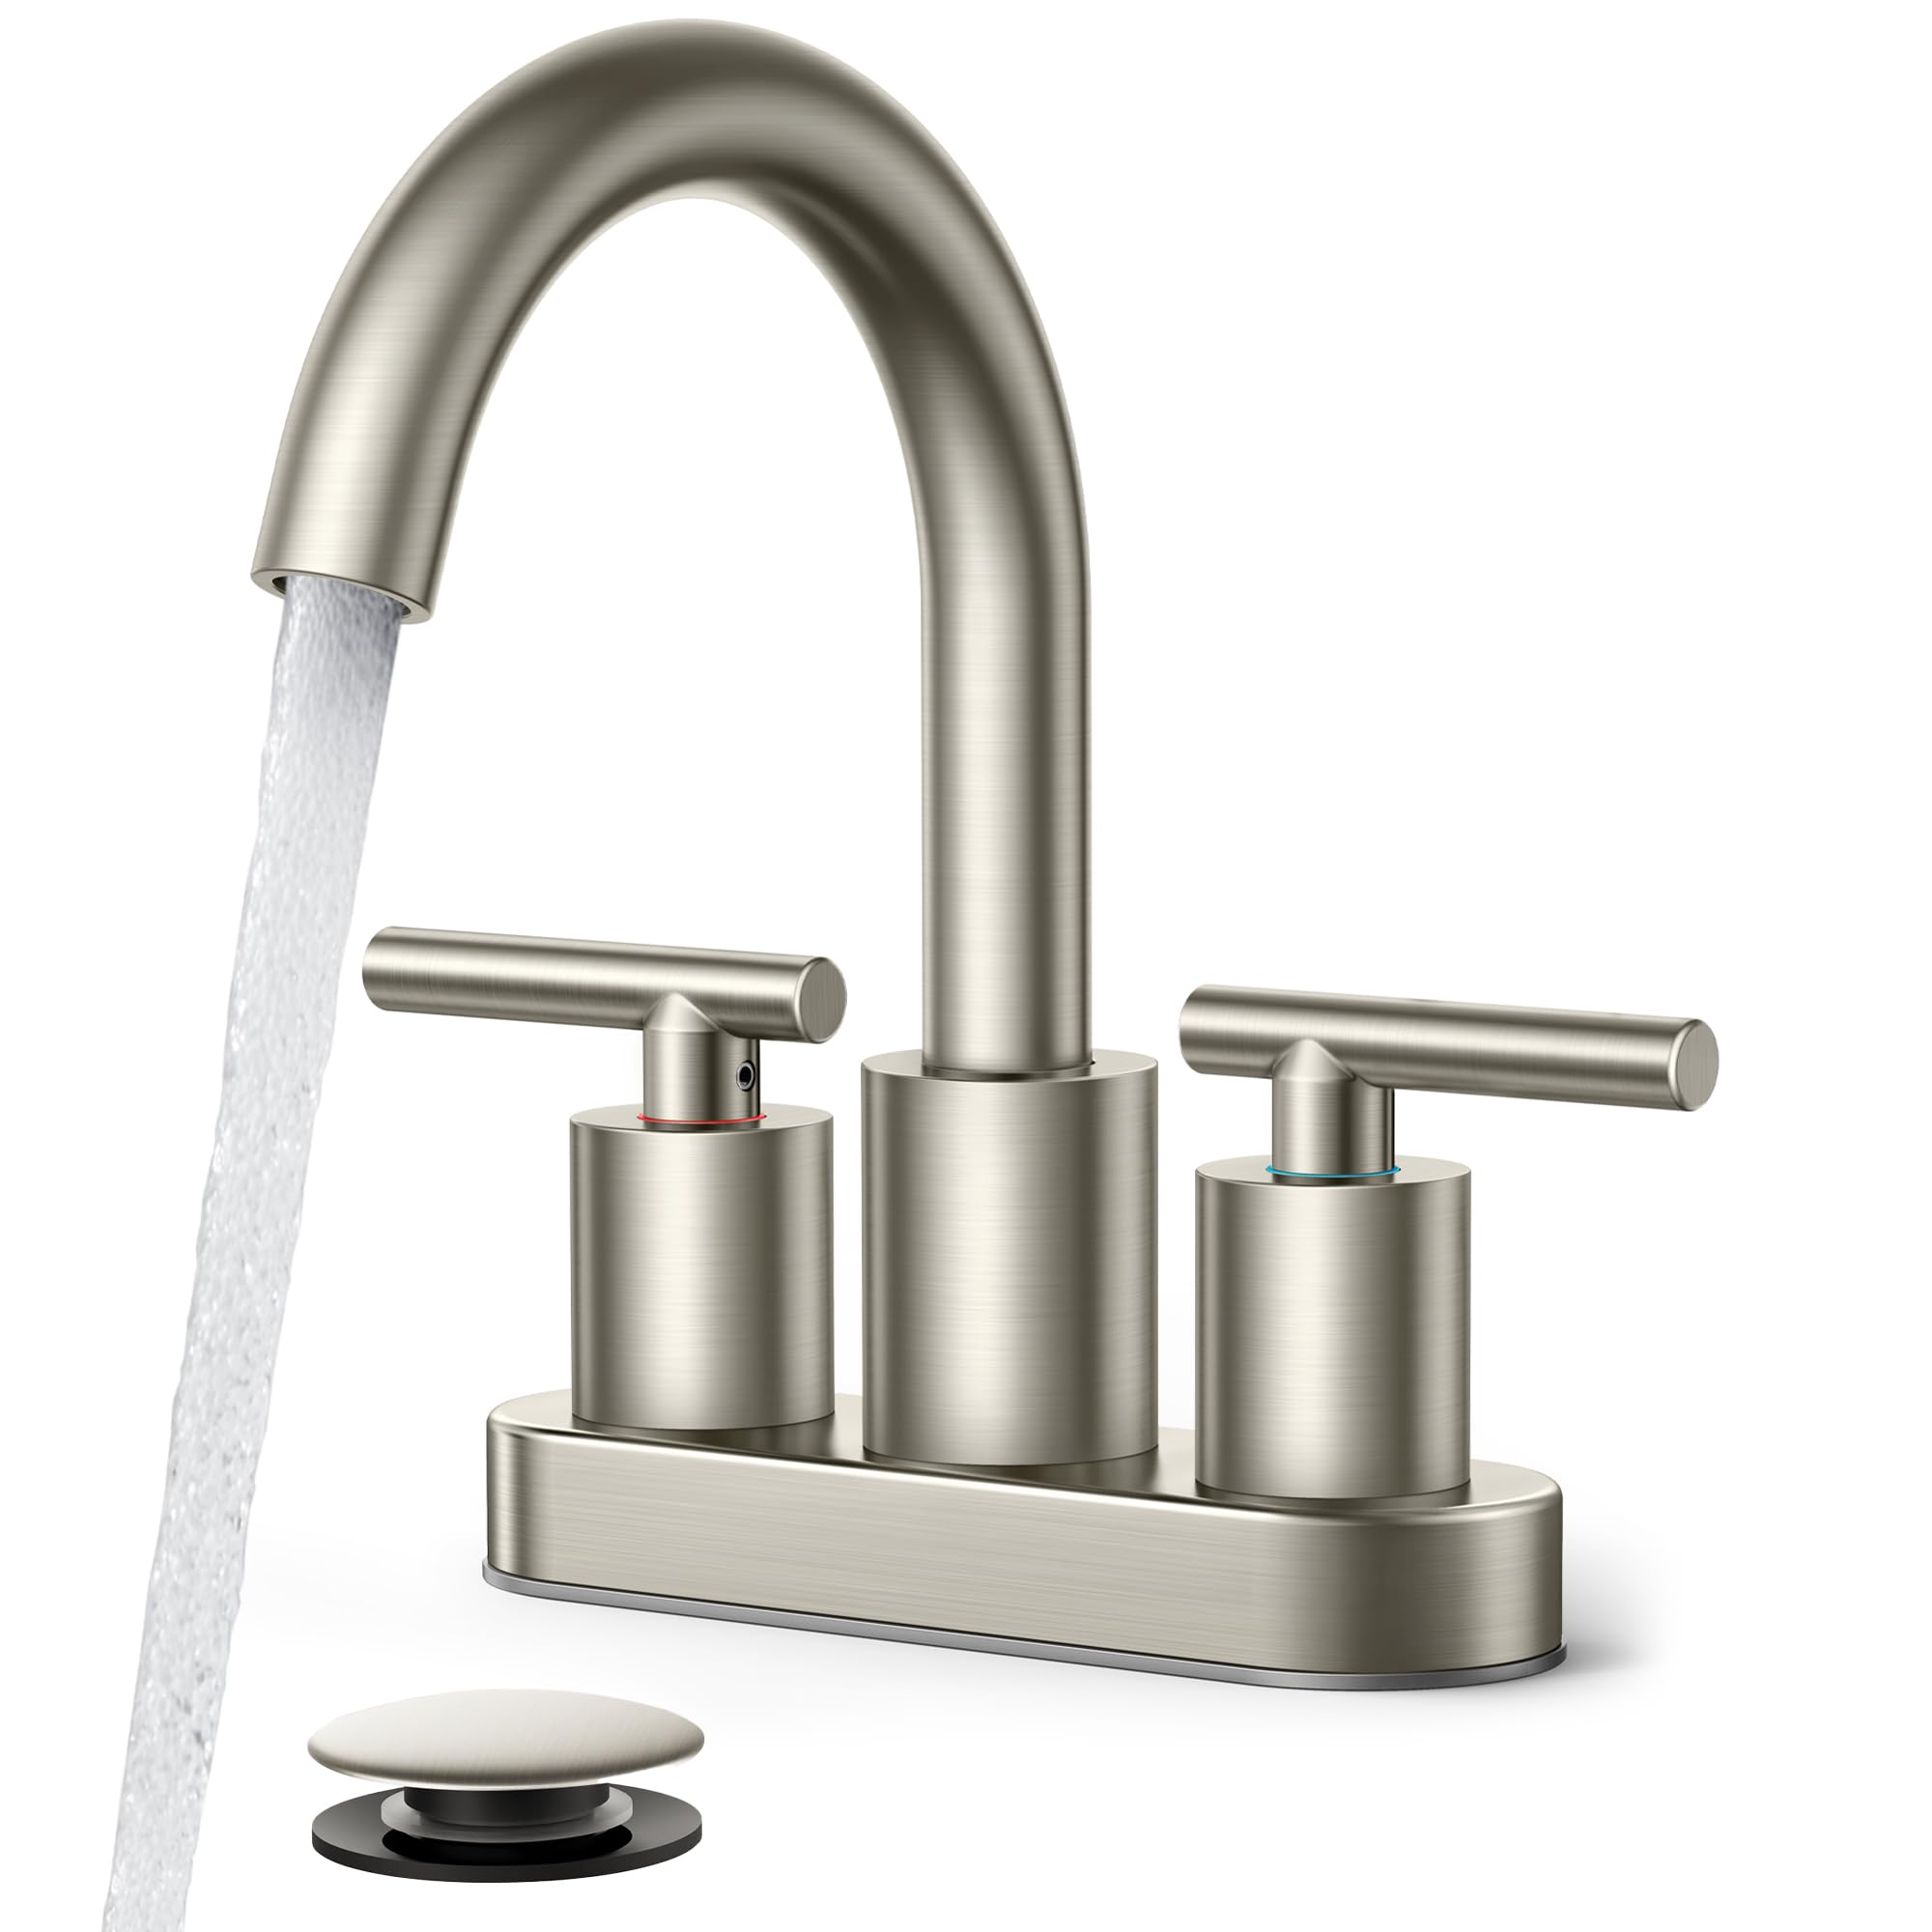
Image 1: FORIOUS Brushed Nickel Bathroom Faucet, Model FB-39035BN.
2. Características do produto
- Rendemento fiable: cUPC, NSF, CEC, DOE certified, ensuring healthy and clean water with newly developed 0-lead materials.
- Construción duradeira: Features a copper and ceramic cartridge tested for 500,000 cycles, ensuring 0 drip and lasting performance.
- Acabado Premium: Brushed nickel finish applied using Physical Vapor Deposition (PVD) for lifetime durability, resistance to rust and peeling, and easy cleaning.
- Deseño fácil de usar: 360-degree rotatable high gooseneck spout for increased space and ease of rinsing.
- Eficiencia da auga: Equipped with a 1.2 GPM water-saving aerator and a removal tool for easy cleaning of hard water deposits.
- Integrated Hoses: 24-inch braided InnoFlex PEX supply lines with 3/8-inch US standard pipe connection, designed for explosion-proof and high-temperature resistance, with built-in rubber rings to prevent leakage.
- Fácil instalación: Designed for quick DIY setup, including all necessary components and step-by-step guides for a 10-minute installation.

Image 2: 360° Swivel Gooseneck Spout for enhanced flexibility.

Image 3: Water-saving aerator and interchangeable design.

Image 4: Durable copper and ceramic cartridge for longevity.
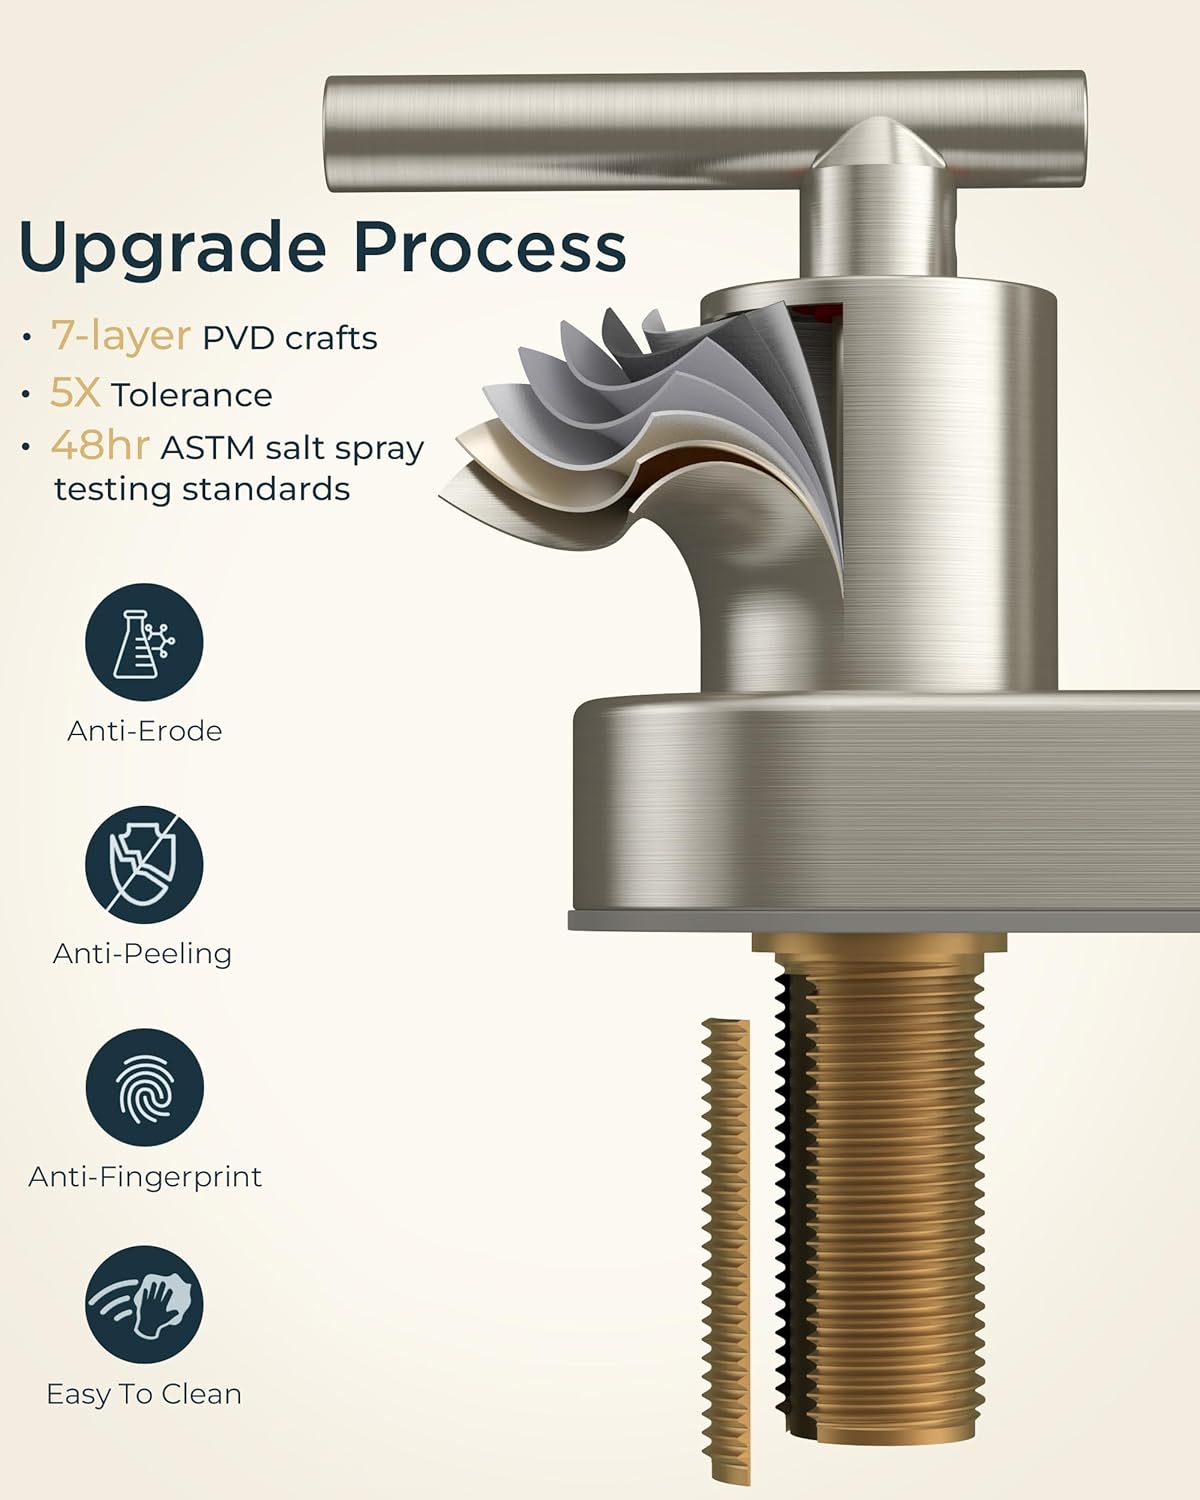
Image 5: Advanced 7-layer PVD finish process for durability.
3. Contido do paquete
Verify that all components are included in your package before beginning installation:
- FORIOUS Bathroom Faucet Assembly
- 1.2 GPM Spare Aerator
- 24-inch CUPC Supply Lines (2)
- Conxunto de drenaxe emerxente
- Hardware de instalación
- Manual de instrucións

Image 6: Integrated 24-inch CUPC supply lines.
4. Instrucións de instalación
4.1 Lista de comprobación previa á instalación
- Ensure you have all necessary tools: adjustable wrench, plumber's putty or silicone sealant, screwdriver, safety glasses.
- Turn off the main water supply to your bathroom.
- Clear the mounting area of your sink.
- Verify your basin has a 2-hole or 3-hole 4-inch centerset configuration.
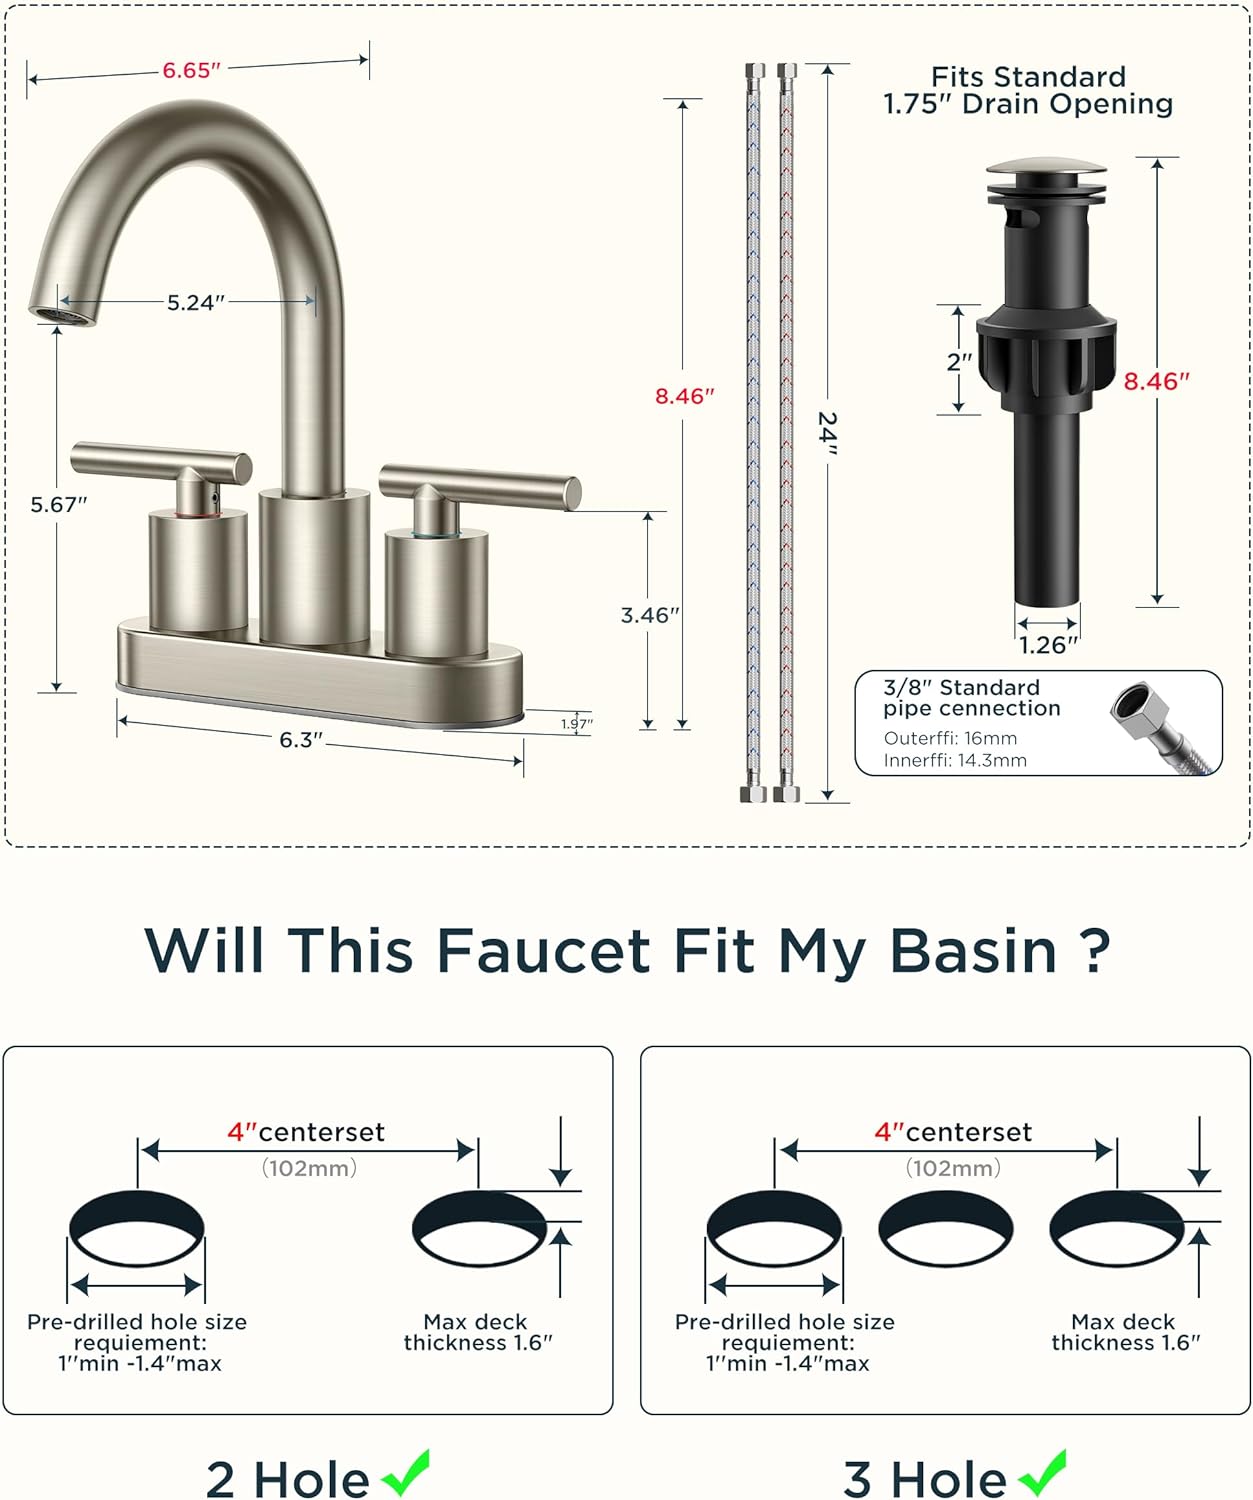
Image 7: Faucet dimensions and compatibility for 2-hole and 3-hole 4-inch centerset basins.
4.2 Faucet Installation Steps
- Preparar a billa: Insert the faucet body into the center hole of your sink. Ensure the rubber gasket is properly seated between the faucet base and the sink surface.
- Asegurar a billa: From underneath the sink, thread the mounting nuts onto the faucet shanks and tighten them securely with an adjustable wrench. Do not overtighten.
- Conectar as liñas de subministración: Attach the 24-inch CUPC supply lines to the hot and cold water inlets on the faucet body. Connect the other ends of the supply lines to your hot and cold water supply valves. Hand-tighten first, then use a wrench for a quarter turn.
- Instalar as asas: Place the hot and cold handles onto their respective valve stems. Secure them with the provided screws.
4.3 Pop-up Drain Installation Steps
- Disassemble Drain: Separate the pop-up drain components.
- Install Upper Gasket: Apply plumber's putty or silicone sealant around the underside of the drain flange and insert it into the sink's drain hole from above.
- Install Lower Gasket and Nut: From underneath the sink, slide the rubber gasket and then the mounting nut onto the drain body. Tighten the nut securely.
- Assemble Drain Stopper: Reassemble the drain stopper mechanism into the drain body.

Image 8: Included pop-up drain for easy water retention and release.
4.4 Despois da instalación
- Abra a subministración principal de auga lentamente e comprobe se hai algunha fuga.
- Run both hot and cold water for a few minutes to flush out any debris.
5. Instrucións de funcionamento
- Caudal e temperatura da auga: Use the left handle for hot water and the right handle for cold water. Rotate the handles to adjust the water flow and temperature to your desired setting.
- Boca giratoria: The gooseneck spout can be rotated 360 degrees to provide flexibility for various tasks, such as washing hands or cleaning the sink basin.
- Drenaxe emerxente: Press the top of the pop-up drain to close it and retain water in the basin. Press again to open it and allow water to drain.
6. Mantemento
- Limpeza do acabado: Clean the faucet regularly with a soft cloth and mild soap. Avoid abrasive cleaners, harsh chemicals, or polishes as they can damage the finish.
- Mantemento do aireador: If water flow decreases or becomes irregular, the aerator may be clogged. Use the provided removal tool to unscrew the aerator from the spout. Rinse it under running water to remove any debris or mineral buildup. Reinstall the aerator securely.
- Limpeza de drenaxes: The pop-up drain can be easily detached for cleaning. Simply pull out the stopper to remove any hair or debris.
7 Solución de problemas
| Problema | Causa posible | Solución |
|---|---|---|
| Baixo caudal de auga | Clogged aerator; partially closed supply valves. | Clean the aerator (see Maintenance); ensure supply valves are fully open. |
| Fuga pola base da billa | Loose mounting nuts; improper gasket seating. | Tighten mounting nuts; check gasket for proper placement. |
| Leaking from Handles | Cartucho ou xuntas tóricas desgastadas. | Póñase en contacto co servizo de atención ao cliente para obter pezas de recambio. |
| Drenaxe que non sela correctamente | Debris in drain; improper drain assembly. | Clean drain stopper; reassemble drain correctly. |
8. Especificacións
| Característica | Especificación |
|---|---|
| Nome do modelo | Grifo do baño |
| Número de modelo | FB-39035BN |
| Tipo de acabado | Níquel cepillado (PVD) |
| Material | Aceiro inoxidable |
| Tipo de montaxe | Montaxe en plataforma, conxunto central |
| Número de buratos | 2 or 3 (4-inch Centerset) |
| Número de tiradores | 2 |
| Deseño de bico | High Arch Gooseneck (360° Swivel) |
| Fonte de altura | 5.2 polgadas |
| Alcance do pico | 5.16 polgadas |
| Caudal máximo | 1.2 galóns por minuto (GPM) |
| Lonxitude da mangueira | 24 Inches (CUPC Supply Lines) |
| Certificacións | cUPC, NSF, CEC, DOE, NSF61, NSF372, CPF, WaterSense |
| Peso do elemento | 2.75 libras |
| Dimensións do produto | 3.2" D x 6.8" W x 8.58" H |
9. Garantía e soporte
The FORIOUS Brushed Nickel Bathroom Faucet (Model FB-39035BN) is covered under FORIOUS's service, which includes a five-year limited warranty, ongoing parts replacement, and dedicated technical support. For any questions, assistance, or to claim warranty service, please contact FORIOUS customer support through their official websitio web ou o vendedor onde se comprou o produto.
Conserve o comprobante de compra para reclamacións de garantía.


