1. Introdución
This manual provides essential information for the safe and efficient operation, installation, and maintenance of your Daikin FTXC35D / RXC35D Inverter Air Conditioner. Please read this manual thoroughly before using the unit and keep it for future reference. This Daikin air conditioning system is designed to provide comfortable indoor climate control with high energy efficiency, utilizing R-32 refrigerant for reduced environmental impact.
2. Información de seguridade
Always observe the following safety precautions to prevent personal injury or property damage.
- Instalación profesional: A instalación, a recolocación e o mantemento desta unidade deben ser realizados por un técnico de servizo cualificado. Unha instalación incorrecta pode provocar descargas eléctricas, incendios ou fugas de auga.
- Fonte de alimentación: Ensure the power supply matches the unit's specifications. Do not use extension cords or multi-outlet adapters.
- Seguridade eléctrica: Do not operate the unit with wet hands. Do not insert fingers or objects into the air inlet/outlet.
- Refrigerante: The unit uses R-32 refrigerant. Do not attempt to modify or repair the refrigerant circuit yourself. Contact a qualified technician for any refrigerant-related issues.
- Limpeza: Always turn off the power supply before cleaning the unit. Use a soft, dry cloth. Do not use water or volatile liquids.
- Nenos e animais: Keep children and pets away from the unit. Do not allow them to play with the remote control.
- Ventilación: Ensure adequate ventilation in the room, especially if other heating appliances are in use.
3. Contido do paquete
Verifique que todos os compoñentes estean presentes antes da instalación.
- Indoor Unit (FTXC35D)
- Outdoor Unit (RXC35D)
- Mando a distancia con pilas
- Manual de usuario (este documento)
- Installation Plate (for indoor unit)
- Mangueira de drenaxe
- Materiais de illamento
- Connecting Pipes (may be supplied separately)
4. Configuración e instalación
Installation of this Daikin split system air conditioner requires specialized tools and knowledge. It is strongly recommended that installation be performed by a certified HVAC professional to ensure proper function, safety, and warranty validity.
4.1. Selección do sitio
- Unidade interior: Choose a location that allows for even air distribution, away from direct sunlight or heat sources. Ensure sufficient space around the unit for maintenance.
- Unidade exterior: Select a well-ventilated area, free from obstructions, and with sufficient space for airflow and service access. Avoid locations exposed to strong winds or excessive dust. The unit can be installed on a roof, terrace, or against an exterior wall.
4.2. General Installation Steps (for professional reference)
- Mount the installation plate on the wall for the indoor unit.
- Drill a hole in the wall for the piping and drain hose.
- Conecte os tubos de refrixerante e o cableado eléctrico entre as unidades interior e exterior.
- Perform vacuuming and refrigerant charging (if necessary).
- Connect the drain hose and ensure proper drainage.
- Secure the outdoor unit in its chosen location.
- Perform a test run to verify correct operation.
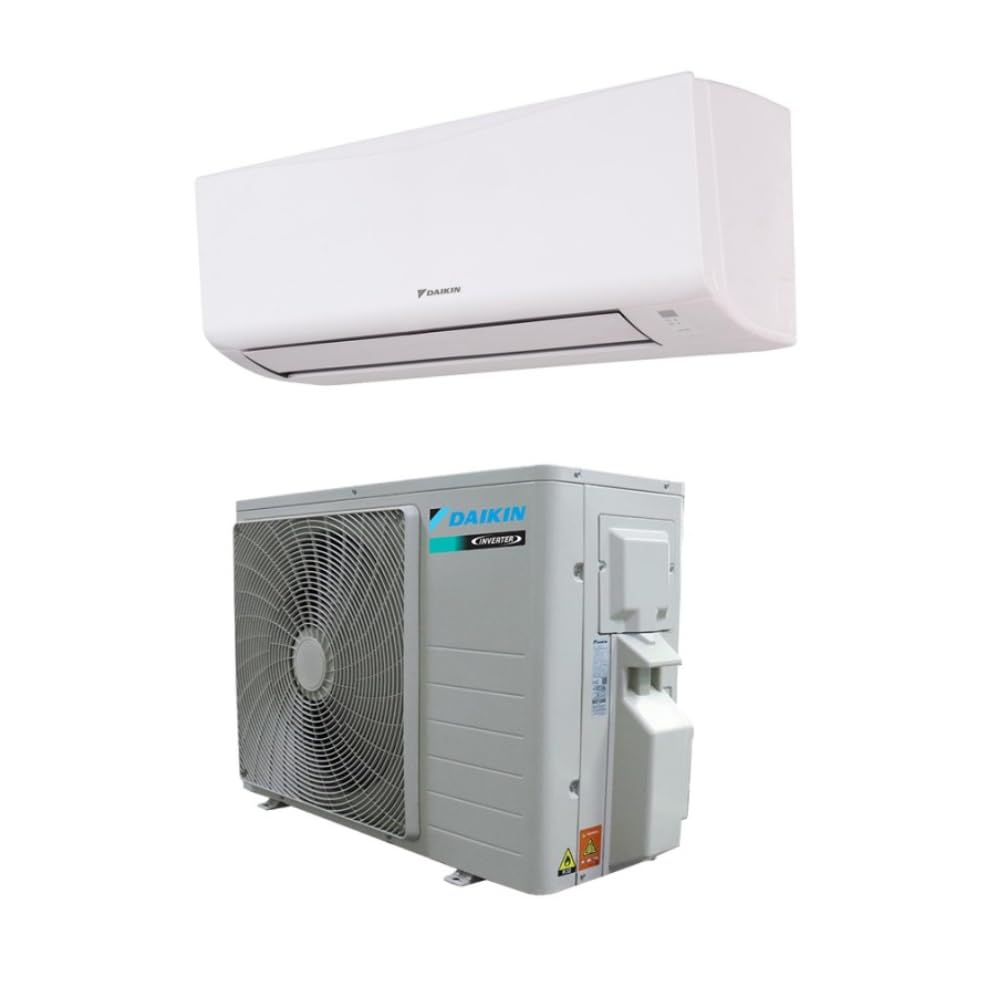
Image 1: Daikin FTXC35D Indoor Unit (left) and RXC35D Outdoor Unit (right). The indoor unit features a flat, elegant front panel designed to blend seamlessly with various interior decors. The outdoor unit is robust and designed for easy installation on a roof, terrace, or exterior wall, featuring an anti-corrosion treated heat exchanger.
5. Instrucións de funcionamento
Your Daikin air conditioner offers various modes and settings for optimal comfort.
5.1. Control remotoview
The remote control allows you to manage all functions of your air conditioner. Point the remote control directly at the indoor unit when operating.
5.2. Modos de funcionamento básicos
- COOL Mode (❄): For cooling the room. Set your desired temperature using the temperature adjustment buttons.
- HEAT Mode (🔥): For heating the room. Available on heat pump models.
- FAN Mode (💨): Circulates air without heating or cooling. Fan speed can be adjusted.
- DRY Mode (💧): Reduce a humidade na sala.
- AUTO Mode (🔄): A unidade selecciona automaticamente o modo axeitado (Arrefriamento, Quecemento ou Ventilador) en función da temperatura ambiente e da temperatura configurada.
5.3. Temperature and Fan Speed Adjustment
- Usa o ▲ / ▼ botóns para axustar a temperatura desexada.
- Preme o FAN button to cycle through fan speed settings (Auto, Low, Medium, High).
5.4. Función de temporizador
Set the unit to turn ON or OFF automatically at a specified time. Refer to your remote control's specific instructions for detailed timer setup.
5.5. Optional Daikin Residential Controller (Wi-Fi)
If equipped with the optional Daikin residential controller, you can control your indoor unit remotely via a smartphone application, local network, or the internet. Refer to the separate manual provided with the Wi-Fi controller for setup and operation instructions.
6. Mantemento
Un mantemento regular garante un rendemento óptimo e prolonga a vida útil do seu aire acondicionado. Desconecte sempre a alimentación antes de realizar calquera mantemento.
6.1. Air Filter Cleaning (Indoor Unit)
Clean the air filters every two weeks or more frequently if the unit is used often or in dusty environments.
- Abra o panel frontal da unidade interior.
- Retire os filtros de aire.
- Clean the filters with a vacuum cleaner or wash them with lukewarm water. If washing, allow them to dry completely in a shaded area before reinstallation.
- Volva instalar os filtros secos e peche o panel frontal.
6.2. Limpeza da unidade exterior
Periodically check the outdoor unit for any obstructions (leaves, debris) around the air inlet and outlet. Gently remove any blockages. For thorough cleaning of the heat exchanger coils, contact a professional service technician.
6.3. Seasonal Checks
- Before the cooling season, ensure the drain hose is clear and not blocked.
- Check for any unusual noises or odors during operation. If detected, contact service.
7 Solución de problemas
Antes de contactar co servizo técnico, volva aview os seguintes problemas e solucións comúns.
| Problema | Causa posible | Solución |
|---|---|---|
| A unidade non comeza | No power supply; Remote control batteries depleted; Timer function active. | Check circuit breaker; Replace batteries; Cancel timer setting. |
| Refrixeración/quecemento insuficiente | Dirty air filters; Blocked outdoor unit; Doors/windows open; Temperature setting incorrect; Room too large for unit capacity. | Clean air filters; Clear obstructions from outdoor unit; Close doors/windows; Adjust temperature; Consult a professional for capacity assessment. |
| Ruído insólito | Pezas soltas; obstrución do ventilador; ruído do fluxo de refrixerante (normal). | Check for loose parts (if accessible and safe); Remove fan obstruction (if safe); If noise persists or is abnormal, contact service. |
| Fuga de auga da unidade interior | Blocked drain hose; Improper installation. | Check and clear drain hose; Contact a professional for inspection and repair. |
If the problem persists after attempting these solutions, turn off the power supply and contact your Daikin service provider.
8. Especificacións
| Característica | Especificación |
|---|---|
| Marca | Daikin |
| Modelo de unidade interior | FTXC35D |
| Modelo de Unidade Exterior | RXC35D |
| Dimensions (Indoor Unit L x W x H) | 23.4 x 77 x 28.8 cm |
| Eficiencia enerxética (refrixeración) | A++ |
| Energy Efficiency (Overall Range) | A+++ a D |
| Capacidade | 1 Tonne (approx. 12000 BTU) |
| Nivel de ruído | 19 decibeis |
| Tipo de instalación | Sistema dividido |
| Refrixerante | R-32 |
| Voltage | 230 voltios |
| Poder | 5680 vatios |
| Característica especial | Inversor |
| SEER (índice de eficiencia enerxética estacional) | 7 |
| Tipo de filtro | Prefiltro |
9. Garantía e soporte
For warranty information, terms, and conditions, please refer to the warranty card included with your product or visit the official Daikin website. For technical support, service requests, or inquiries about spare parts, please contact your authorized Daikin dealer or service center. Ensure you have your model number (FTXC35D) and purchase date available when contacting support.


