1. Introdución
Grazas pola compraasing the ECHTPower Wireless Pro Controller. This manual provides detailed instructions on how to set up, operate, and maintain your controller. Please read this manual carefully before use to ensure optimal performance and longevity of your device.

Imaxe: Fronte view of the ECHTPower Wireless Pro Controller. The controller is black with illuminated joysticks, standard ABXY buttons, a D-pad, and central function buttons.
2. Características do produto
- Compatibilidade multiplataforma: Supports Nintendo Switch, PC, Android, and iOS devices.
- Iluminación RGB vibrante: Customizable RGB light effects around the joysticks.
- Función TURBO: Enables rapid-fire for selected buttons, reducing finger fatigue.
- Botóns de retroceso programables: Two customizable M1/M2 buttons on the rear for enhanced control.
- 4-Level Vibration Adjustment: Adjustable dual motor vibration for immersive feedback.
- Sensor xiroscópico de 6 eixes: Provides precise motion control for compatible games.
- Batería de alta capacidade: Built-in 1000mAh rechargeable battery for extended playtime.
- Disparadores do efecto Hall: Offers smooth and durable trigger performance.
- Función de espertar: Allows waking up the console from sleep mode.

Imaxe: A presentación do controladorasing its colorful RGB lights around the joysticks, enhancing the gaming atmosphere.

Imaxe: Traseira view of the controller, highlighting the M1 and M2 programmable back buttons and their mapping capabilities.

Image: An illustration of the controller's internal vibration motors, demonstrating the 4-level vibration adjustment feature.

Imaxe: Unha detallada view of the controller's Hall Effect Triggers, emphasizing their smooth operation and durability.
3. Contido do paquete
- ECHTPower Wireless Pro Controller x 1
- Cable de carga USB-C x 1
- Manual de usuario x 1
4. Configuración
4.1 Conexión a Nintendo Switch
- On the Nintendo Switch HOME Menu, select "Controllers" > "Change Grip/Order".
- Press and hold the Home button on the ECHTPower controller for 3-5 seconds until the LED indicators start flashing rapidly.
- Unha vez conectado, o(s) LED do reprodutor correspondente(s) no controlador acenderase(n) de forma fixa.
- To wake up the Switch console from sleep mode, press the Home button on the controller.
4.2 Conexión a un PC (Windows)
- Conexión por cable: Connect the controller to your PC using the USB-C cable. The controller will be recognized as an XInput device.
- Conexión sen fíos (Bluetooth):
- Asegúrate de que o teu PC teña o Bluetooth activado.
- Press and hold the Home button on the controller for 3-5 seconds until the LED indicators flash rapidly.
- On your PC, go to Bluetooth settings and search for new devices. Select "Pro Controller" or similar from the list.
- Once paired, the LED indicators will become solid.
4.3 Connecting to Android/iOS Devices
- Asegúrate de que o Bluetooth estea activado no teu dispositivo Android/iOS.
- Press and hold the Home button on the controller for 3-5 seconds until the LED indicators flash rapidly.
- On your device, go to Bluetooth settings and search for new devices. Select "Pro Controller" or similar from the list.
- Once paired, the LED indicators will become solid.
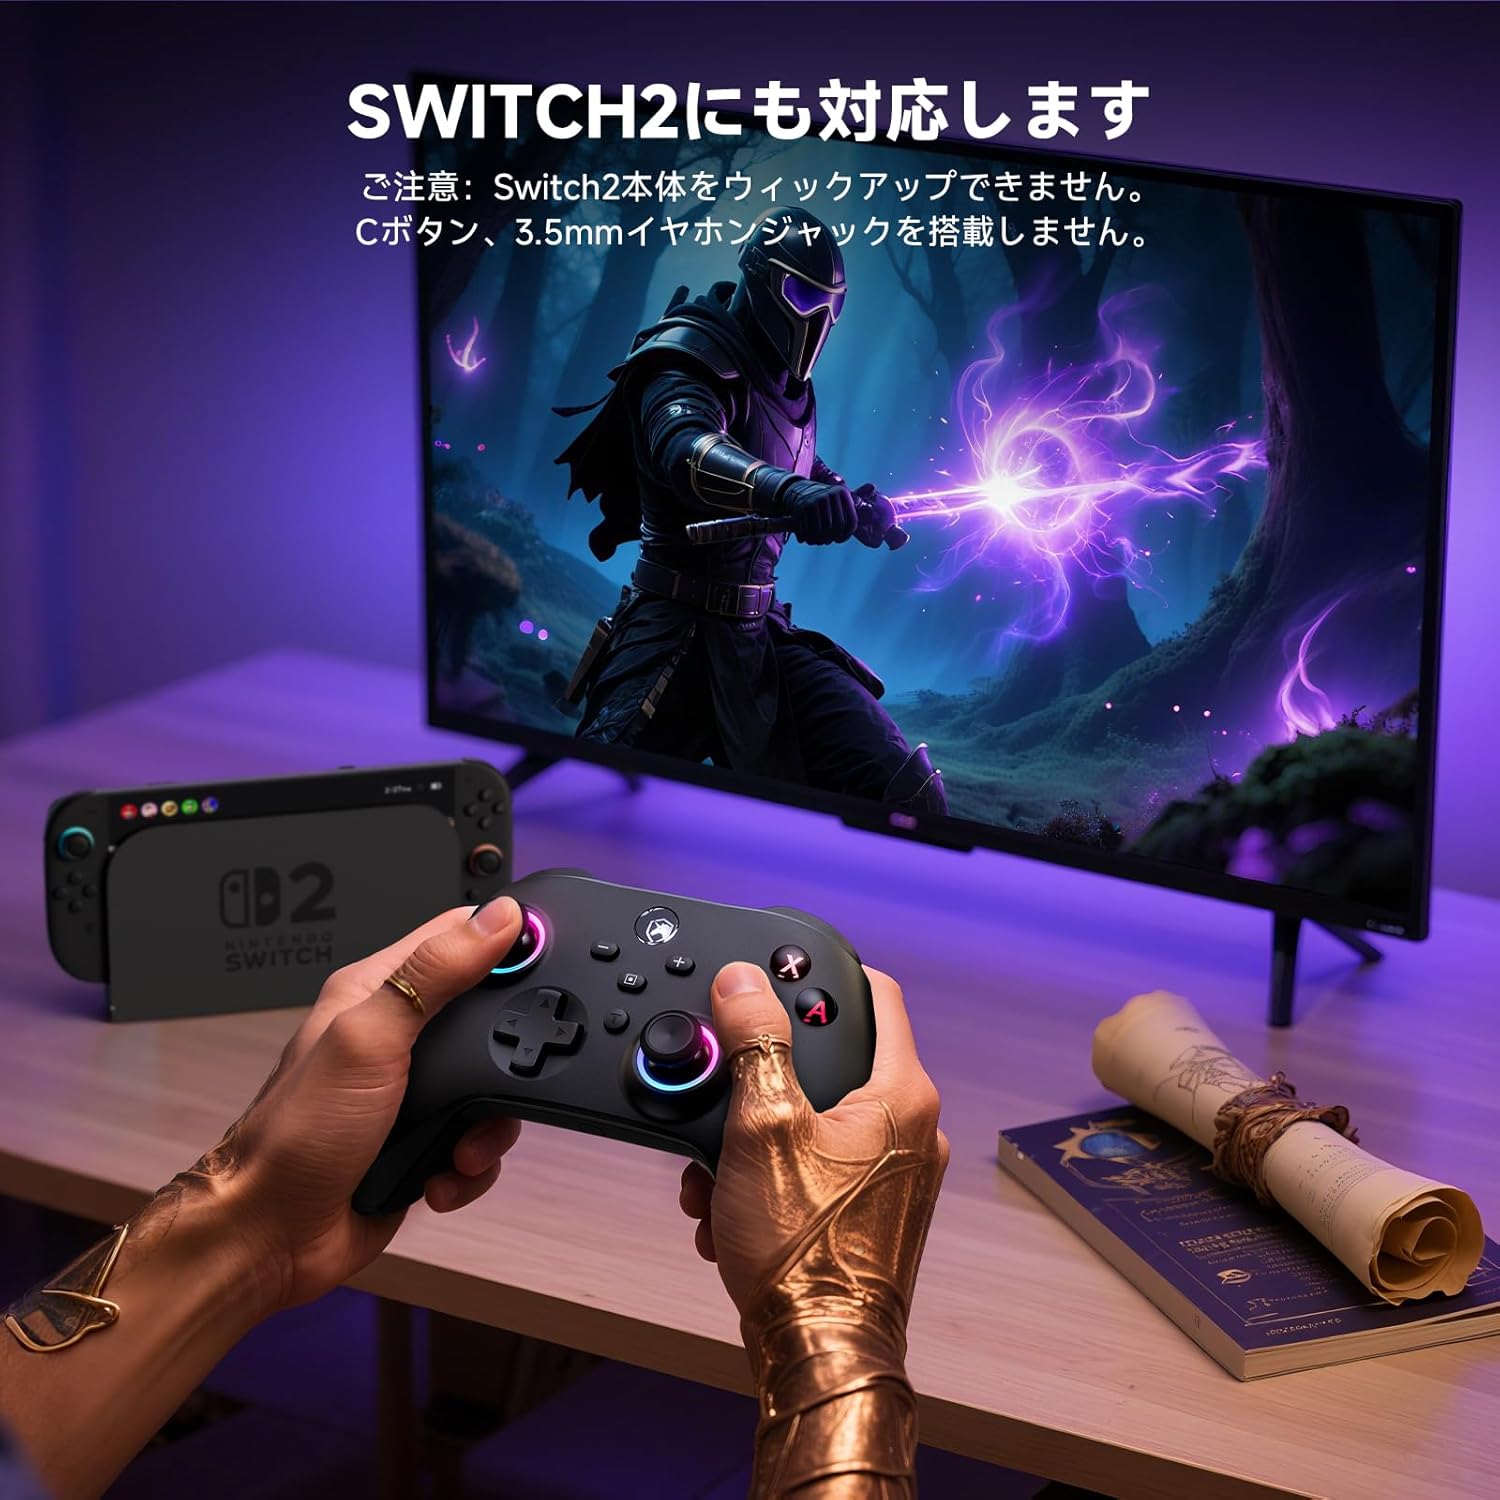
Image: A user playing a game with the controller, demonstrating its compatibility with various platforms, including the Switch 2. Note: This controller does not feature a C button or a 3.5mm headphone jack.
5. Instrucións de funcionamento
5.1 Controis básicos
The controller features standard gaming buttons including ABXY, D-pad, Left/Right Joysticks, L/R, ZL/ZR, Home, Screenshot, Plus (+), Minus (-), and T (TURBO) buttons.
5.2 Función TURBO
The TURBO function allows a button to be pressed repeatedly as long as it is held down, which can be useful in certain games to reduce manual input.
- Axuste de TURBO: Press and hold the button you wish to set for TURBO (e.g., A button), then press the 'T' button once. The button will now activate TURBO mode.
- Adjusting TURBO Speed: While holding the 'T' button, move the Right Joystick Up or Down to cycle through different TURBO speeds (Slow, Medium, Fast).
- Limpando TURBO: To clear TURBO for a specific button, press and hold the TURBO-enabled button, then press the 'T' button twice. To clear all TURBO settings, press and hold the 'T' button for 5 seconds.

Image: A close-up of the controller's 'T' (TURBO) button, illustrating its rapid-fire capability to reduce operational fatigue during gameplay.
5.3 Programming Back Buttons (M1/M2)
The M1 and M2 back buttons can be programmed to replicate other button inputs for convenience.
- Entrar no modo de programación: Press and hold the 'M' button (located between M1 and M2) for 3 seconds until the LED indicators start flashing slowly.
- Seleccionar botón Atrás: Press either M1 or M2. The LED will flash rapidly.
- Assign Input: Press the button you want to assign (e.g., A, B, X, Y, L, LT, R, RT, +).
- Saír do modo de programación: Press the 'M' button again. The LED will stop flashing and return to solid, indicating the setting is saved.
- Clear Back Button Assignment: To clear a specific back button, enter programming mode, select the back button (M1 or M2), then press the 'M' button again.
5.4 Axuste da vibración
The controller offers 4 levels of vibration intensity: 0% (off), 30%, 70%, and 100%.
- To adjust vibration intensity, press and hold the 'T' button, then press the Left Joystick Up or Down.
- The vibration intensity will cycle through the four levels. Release the buttons when the desired level is reached.
5.5 RGB Light Adjustment
The RGB lights around the joysticks can be adjusted.
- To change the RGB light mode or color, press and hold the 'T' button, then press the Right Joystick Left or Right.
- The lights will cycle through different colors and effects.
- To turn off the RGB lights, continue cycling until they are off.
6. Carga e batería
The controller is equipped with a 1000mAh rechargeable battery.
- Capacidade da batería: 1000 mAh
- Tempo de carga: Aproximadamente 2-3 horas
- Tempo de uso: Up to 8 hours on a full charge (may vary based on vibration and RGB light usage).
To charge the controller, connect it to a USB power source (e.g., Switch dock, PC, USB wall adapter) using the provided USB-C cable. The LED indicators will flash during charging and turn off or become solid when fully charged, depending on the controller's state.

Image: An illustration showing the controller's internal 1000mAh battery and its charging/usage specifications.
7. Mantemento
- Limpeza: Use a soft, dry cloth to clean the controller. Do not use chemical solvents or abrasive cleaners.
- Almacenamento: Garde o controlador nun lugar fresco e seco, lonxe da luz solar directa e de temperaturas extremas.
- Coidado da batería: To prolong battery life, avoid fully discharging the controller frequently. If not used for an extended period, charge it at least once every three months.
8 Solución de problemas
- O controlador non se conecta:
- Asegúrese de que o controlador estea cargado.
- Make sure the console/device's Bluetooth is enabled and in pairing mode.
- Try resetting the controller by inserting a pin into the small reset hole on the back.
- Elimina as vinculacións anteriores da configuración de Bluetooth do teu dispositivo e tenta vincular de novo.
- Retardo ou desconexión de entrada:
- Asegúrate de que non haxa interferencias electromagnéticas fortes nas proximidades.
- Move closer to the console/device.
- Asegúrate de que a batería do controlador non estea baixa.
- Os botóns ou os joysticks non responden:
- Tenta reiniciar o controlador.
- Asegúrese de que o controlador estea conectado correctamente.
- Se o problema persiste, póñase en contacto co servizo de atención ao cliente.
9. Especificacións
| Parámetro | Valor |
|---|---|
| Modelo | ECHTPower Wireless Pro Controller |
| Conectividade | Bluetooth, USB-C (Wired) |
| Compatibilidade | Nintendo Switch, PC, Android, iOS |
| Capacidade da batería | 1000 mAh |
| Tempo de carga | 2-3 horas |
| Tempo de uso | Ata 8 horas |
| Vibración | Dual Motor, 4-level adjustable |
| Sensor de movemento | Xiroscopio de 6 eixes |
| Características especiais | RGB Lights, TURBO Function, Programmable Back Buttons, Hall Effect Triggers, Wake-up Function |
10. Garantía e soporte
ECHTPower products come with a standard warranty. For detailed warranty information, please refer to the warranty card included in your package or visit our official website. If you encounter any issues or have questions regarding your ECHTPower Wireless Pro Controller, please contact our customer support team:
- Correo electrónico: support@echtpower.com
- Websitio: www.echtpower.com
Ten á man o modelo do teu produto e a información da túa compra cando contactes co servizo de asistencia.


