1. Introdución
Welcome and thank you for choosing the TELLUR Portable Jump Starter. This device is designed to provide emergency jump-starting for vehicles, act as a portable power bank for electronic devices, and offer illumination with its integrated LED light. Please read this manual carefully before use to ensure safe and optimal operation of your device.
2. Información importante de seguridade
To prevent personal injury or damage to your vehicle and the jump starter, always observe the following safety precautions:
- Le todas as instrucións antes de usar este produto.
- Non curtocircuíte o puente de seguridade.amps. Ensure positive (+) and negative (-) clampnon se tocan entre si.
- Manteña o dispositivo lonxe dos nenos.
- Do not disassemble the jump starter. Unauthorized repairs can be dangerous and will void the warranty.
- Use o dispositivo nunha zona ben ventilada.
- Avoid exposing the device to extreme temperatures (above 60°C/140°F or below -20°C/-4°F), direct sunlight, or moisture.
- Asegúrate de que o jumper estea pechadoamps are securely connected to the correct battery terminals before attempting to jump start.
- Se a batería clamps are connected incorrectly, the device's safety features will prevent operation. Correct the connection immediately.
- Do not use the jump starter if it is damaged or leaking.
- Only use the provided smart jumper cables with this device.
3. Contido do paquete
Verifica que todos os elementos estean presentes no teu paquete:
- TELLUR Portable Jump Starter Unit
- Cables de puente intelixentes
- Cable de carga USB-A a USB-C
- Bolsa de transporte

Image 3.1: Contents of the TELLUR Portable Jump Starter package, showing the main unit, smart jumper cables, a USB charging cable, and a black carrying pouch with the TELLUR logo.
4. Produto rematadoview
4.1 Compoñentes
- Porto de arranque auxiliar: Para conectar os cables de arranque intelixentes.
- USB Output Ports (QC 3.0, 5.0V 2.4A): For charging electronic devices.
- Porto de entrada USB-C: Para cargar a unidade de arranque.
- Luz LED: Ofrece iluminación con múltiples modos.
- Botón de encendido: To turn the device on/off and cycle LED light modes.
- Pantalla LCD: Mostra o porcentaxe da bateríatage and operational status.

Imaxe 4.1: Detallada view of the various ports on the side of the TELLUR Jump Starter, including the covered jump start port, USB-A output ports, and a USB-C input port.

Image 4.2: The front of the TELLUR Jump Starter, displaying a digital screen indicating 100% charge, 'IN' and 'OUT' indicators, and 'QC 3.0 5.0V 2.4A' specifications. The smart jumper cables are attached.
5. Configuración
5.1 Carga do arrancador de baterías
Before first use, fully charge the TELLUR Portable Jump Starter. It is recommended to fully charge the device every 3-6 months to maintain battery health, even when not in use.
- Connect the provided USB-A to USB-C charging cable to the USB-C input port on the jump starter.
- Conecta o outro extremo do cable USB a un adaptador de corrente USB axeitado (non incluído) ou a un porto USB con alimentación.
- A pantalla LCD mostrará o progreso da carga. Cargue ata que a pantalla indique o 100 %.
6. Instrucións de funcionamento
6.1 Puesta en marcha dun vehículo
Asegúrate de que o arrancador estea cargado polo menos ao 50 % antes de tentar arrincar un vehículo con axuda de baterías.
- Apague o contacto do vehículo e todos os accesorios.
- Insert the smart jumper cable connector into the jump start port on the jump starter unit. Ensure it is fully seated.
- Conecta o VERMELLO positivo (+) clamp ao terminal positivo (+) da batería do vehículo.
- Conecta o NEGRO cl negativo (-)amp ao terminal negativo (-) da batería do vehículo.
- Once connected, the smart cable indicator light will show green if the connection is correct and safe to proceed. If it shows red or flashes, check the connections.
- Start your vehicle's engine. If it doesn't start immediately, wait 30 seconds and try again. Do not crank for more than 3 seconds per attempt.
- Unha vez que o vehículo arranque, desconecte inmediatamente NEGRO cl negativo (-)amp primeiro, despois o VERMELLO positivo (+) clamp.
- Remove the smart jumper cable connector from the jump starter unit.

Image 6.1: A user connecting the red positive clamp of the smart jumper cables to the positive terminal of a car battery, with the TELLUR Jump Starter unit visible.

Image 6.2: The TELLUR Jump Starter unit with its display illuminated, placed on the ground next to a car, illustrating its use in an emergency jump-start scenario.
6.2 Uso como batería externa
The jump starter can charge various electronic devices via its USB output ports.
- Conecta o cable de carga USB do teu dispositivo a un dos portos de saída USB do arrancador de baterías.
- The jump starter will automatically begin charging your device. The LCD display may show 'OUT' indicating power output.
- Desconecta o dispositivo unha vez que remate a carga.

Image 6.3: The TELLUR Jump Starter unit positioned between a smartphone and a tablet, demonstrating its capability to charge multiple devices as a power bank.
6.3 Uso da luz LED
The integrated LED light provides illumination for various situations.
- Press and hold the Power Button for 3 seconds to turn on the LED light (steady mode).
- Press the Power Button again to cycle through the light modes: Steady > Strobe > SOS > Off.
- To turn off the light directly from any mode, press and hold the Power Button for 3 seconds.
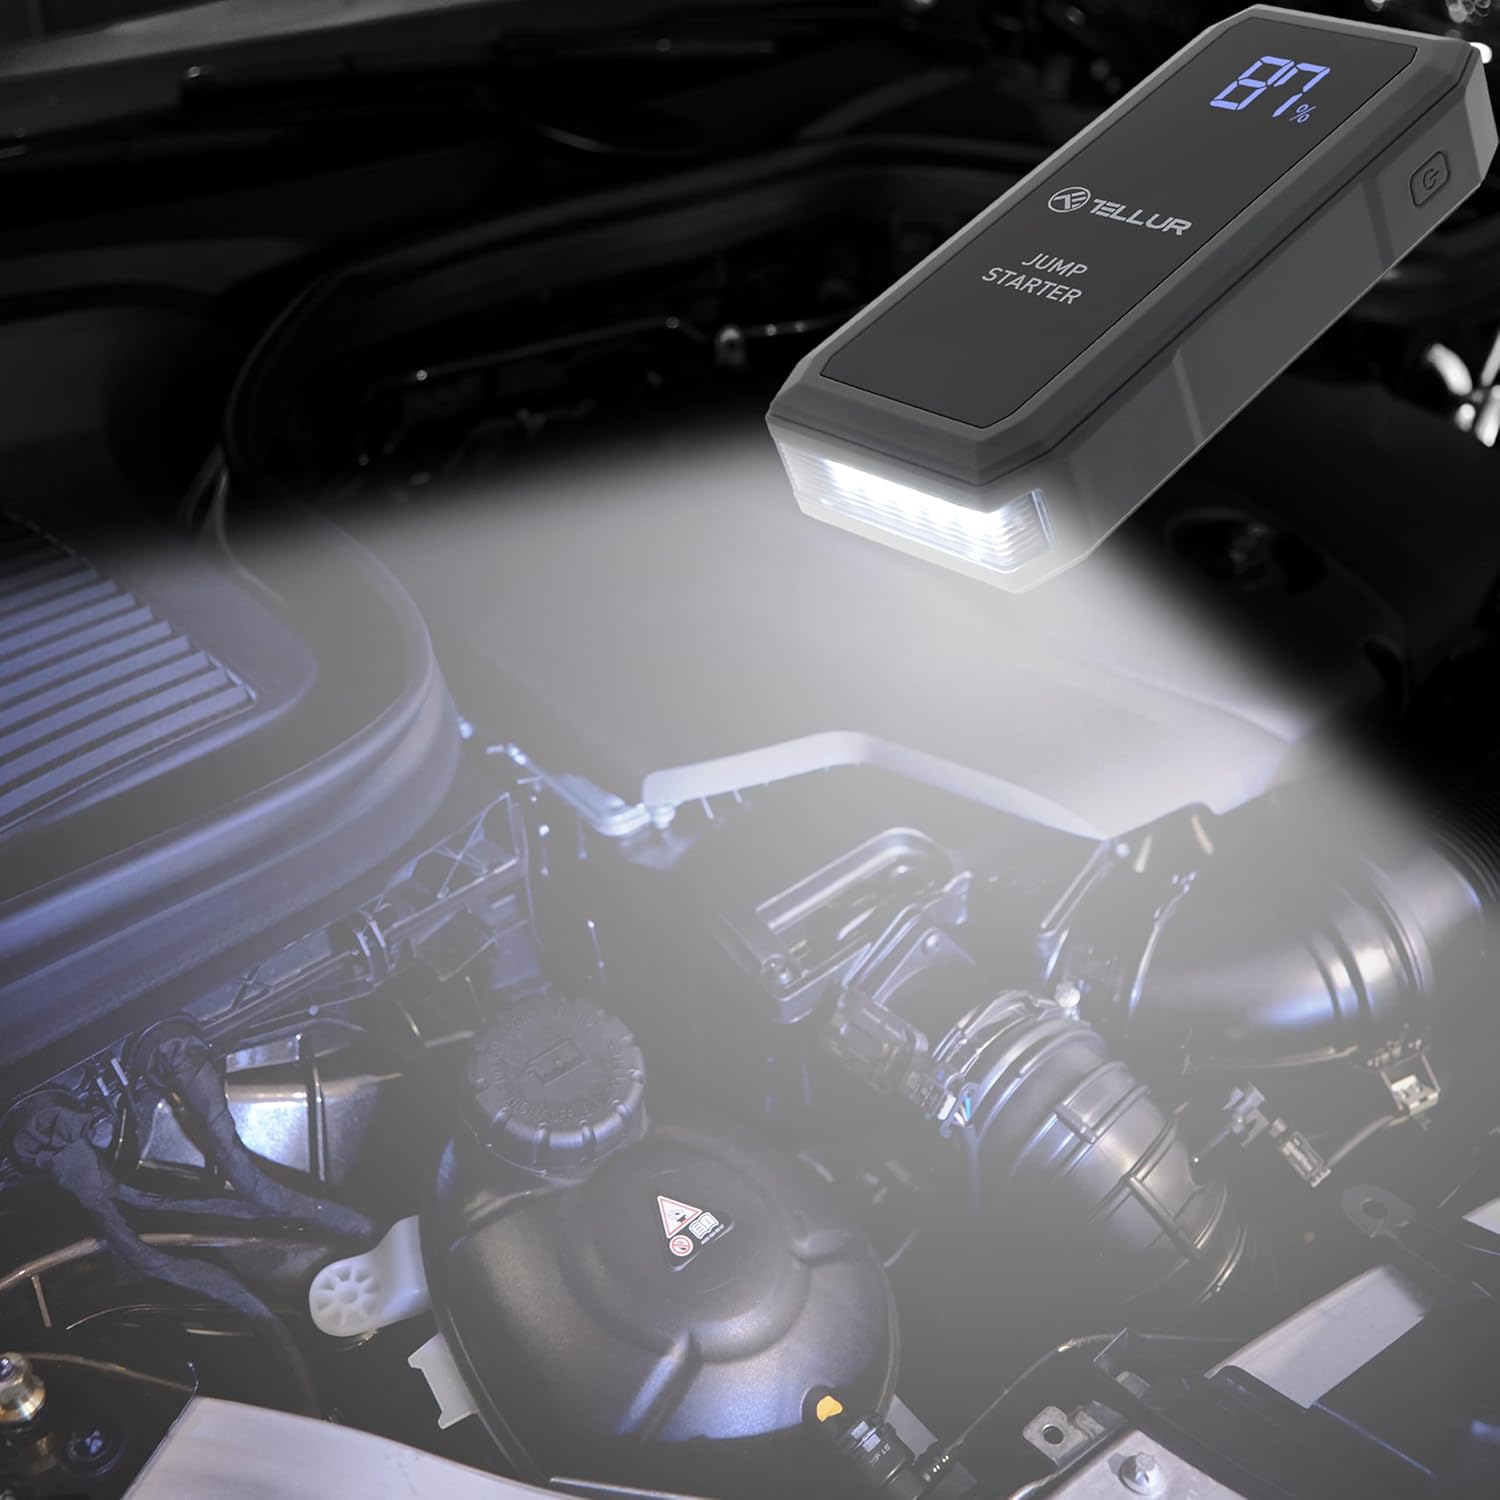
Image 6.4: The TELLUR Jump Starter unit with its powerful LED light activated, providing illumination within a car's engine compartment, useful for nighttime repairs or jump-starting.
7. Mantemento
Un mantemento axeitado garante a lonxevidade e o rendemento do seu arrancador de baterías.
- Limpeza: Limpe o dispositivo cun pano seco e suave. Non empregue produtos químicos agresivos nin materiais abrasivos.
- Almacenamento: Store the jump starter in its carrying pouch in a cool, dry place, away from direct sunlight and moisture. The ideal storage temperature is between 0°C (32°F) and 45°C (113°F).
- Recargando: Recharge the unit every 3-6 months, even if not used, to maintain the internal battery's health and readiness.
8 Solución de problemas
If you encounter issues with your TELLUR Portable Jump Starter, refer to the table below for common problems and solutions.
| Problema | Causa posible | Solución |
|---|---|---|
| O arrancador de baterías non se acende. | A batería está completamente descargada. | Cargue o arrancador de baterías completamente. |
| Vehicle does not start after jump-starting. | Cl incorrectoamp connection; vehicle battery is severely damaged; vehicle has other mechanical issues. | Comprobe clamp connections (ensure correct polarity). Ensure jump starter is sufficiently charged. If issues persist, consult a mechanic. |
| Smart cable indicator light is red or flashing. | Reverse polarity connection; short circuit; low voltage. | Desconectar clamps and reconnect with correct polarity. Ensure clamps are not touching. Charge the jump starter. |
| Electronic device not charging from USB ports. | Jump starter battery is low; faulty USB cable; device not compatible. | Charge the jump starter. Try a different USB cable. Ensure your device is compatible with USB charging. |
9. Especificacións
| Parámetro | Valor |
|---|---|
| Marca | TELLUR |
| Modelo | TLL158431 |
| Capacidade da batería | 16800 mAh |
| Corrente máxima | 1500 A |
| Voltage | 3.7 voltios |
| Tipo de servizo do vehículo | Coche |
| Peso do elemento | 500 gramos |
| Dimensións (L x W x H) | 18 x 7 x 3 cm |
| Composición da batería | Polímero de litio |
| Saída USB | QC 3.0, 5.0V 2.4A |
10. Garantía e soporte
The TELLUR Portable Jump Starter TLL158431 comes with a standard manufacturer's warranty against defects in materials and workmanship. Please refer to the warranty card included in your package for specific terms and conditions.
For technical support, warranty claims, or further assistance, please contact TELLUR customer service through the retailer where the product was purchased or visit the official TELLUR websitio para información de contacto.


