1. Introdución
The Keychron M6 is a versatile wireless gaming optical mouse designed for optimal performance and comfort. It features tri-mode connectivity (2.4 GHz, Bluetooth 5.1, and USB wired), a high-precision PixArt 3395 sensor, and an ergonomic lightweight design. This manual provides detailed instructions for setting up, operating, maintaining, and troubleshooting your Keychron M6 mouse.

Image 1.1: Keychron M6 Wireless Gaming Optical Mouse with its included USB-C and USB-A receivers, showcasinpolo seu deseño compacto e ergonómico.
2. Contido do paquete
Verify that all items are present in your Keychron M6 package:
- 1x Keychron M6 Wireless Mouse
- 1 cable de tipo C a tipo C
- 1x adaptador tipo A a tipo C
- 1x Adaptador de extensión para receptor
- 1x Type-C 2.4 GHz Receiver
- 1 receptor tipo A de 2.4 GHz
- 1 x Manual de usuario

Image 2.1: Visual representation of the Keychron M6 mouse and its complete set of accessories, including various cables and receivers.
3. Configuración
3.1 Cargar o rato
The Keychron M6 mouse is equipped with a built-in Lithium Polymer battery. Connect the mouse to a USB power source using the provided Type-C cable to charge. A full charge provides up to 80 hours of continuous use.
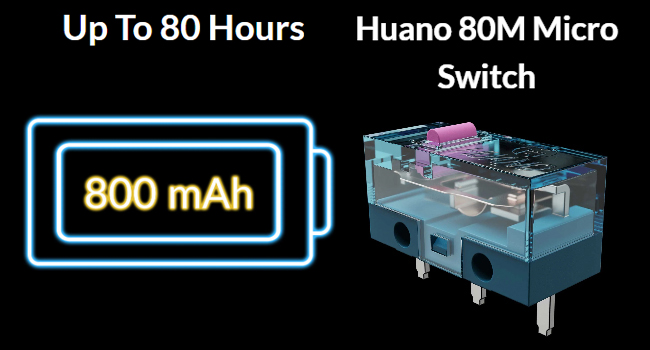
Image 3.1: Illustration highlighting the Keychron M6's battery life of up to 80 hours and its 800 mAh battery capacity.
3.2 Conexión do rato
The Keychron M6 supports three connection modes: 2.4 GHz wireless, Bluetooth 5.1, and USB wired.
Conexión sen fíos de 2.4 GHz
- Locate the 2.4 GHz receiver (either Type-C or Type-A) from the package.
- Conecte o receptor a un porto USB dispoñible no seu ordenador.
- Switch the mode selector on the bottom of the mouse to 'G' (Gaming/2.4G mode).
- O rato conectarase automaticamente ao receptor.
Conexión Bluetooth 5.1
- Switch the mode selector on the bottom of the mouse to 'B' (Bluetooth mode).
- No teu ordenador, abre a configuración de Bluetooth e busca novos dispositivos.
- Select 'Keychron M6' from the list of available devices to pair.
Conexión por cable USB
- Connect the Type-C end of the provided cable to the mouse and the other end to your computer's USB port.
- O rato funcionará en modo con cable e cargará simultaneamente.

Image 3.2: The included 2.4 GHz receivers (Type-C and Type-A) and a table detailing report rate light indicators, polling rates, and available modes.
4. Instrucións de funcionamento
4.1 Axuste de DPI
The Keychron M6 features a PixArt 3395 sensor with up to 26,000 DPI. You can adjust the DPI settings directly on the mouse using the dedicated DPI button located on the bottom. Press the DPI button to cycle through preset DPI levels.
4.2 Axuste da taxa de sondaxe
The polling rate can be adjusted to optimize responsiveness. Press the Report Rate button on the bottom of the mouse to switch between 125 Hz (White LED), 500 Hz (Blue LED), and 1000 Hz (Red LED) in 2.4 GHz / Wired mode.

Image 4.1: The underside of the Keychron M6 mouse, showing the DPI and Report Rate adjustment buttons, allowing for hardware-level configuration without software.
4.3 Scrolling Functions
The M6 mouse includes both a main scroll wheel and a thumb wheel, offering multiple ways to navigate.
- Main Scroll Wheel: Provides vertical scrolling and can also be tilted for horizontal scrolling.
- Roda do polgar: Located on the side, this wheel offers additional scrolling functionality, typically for horizontal navigation or custom macros.
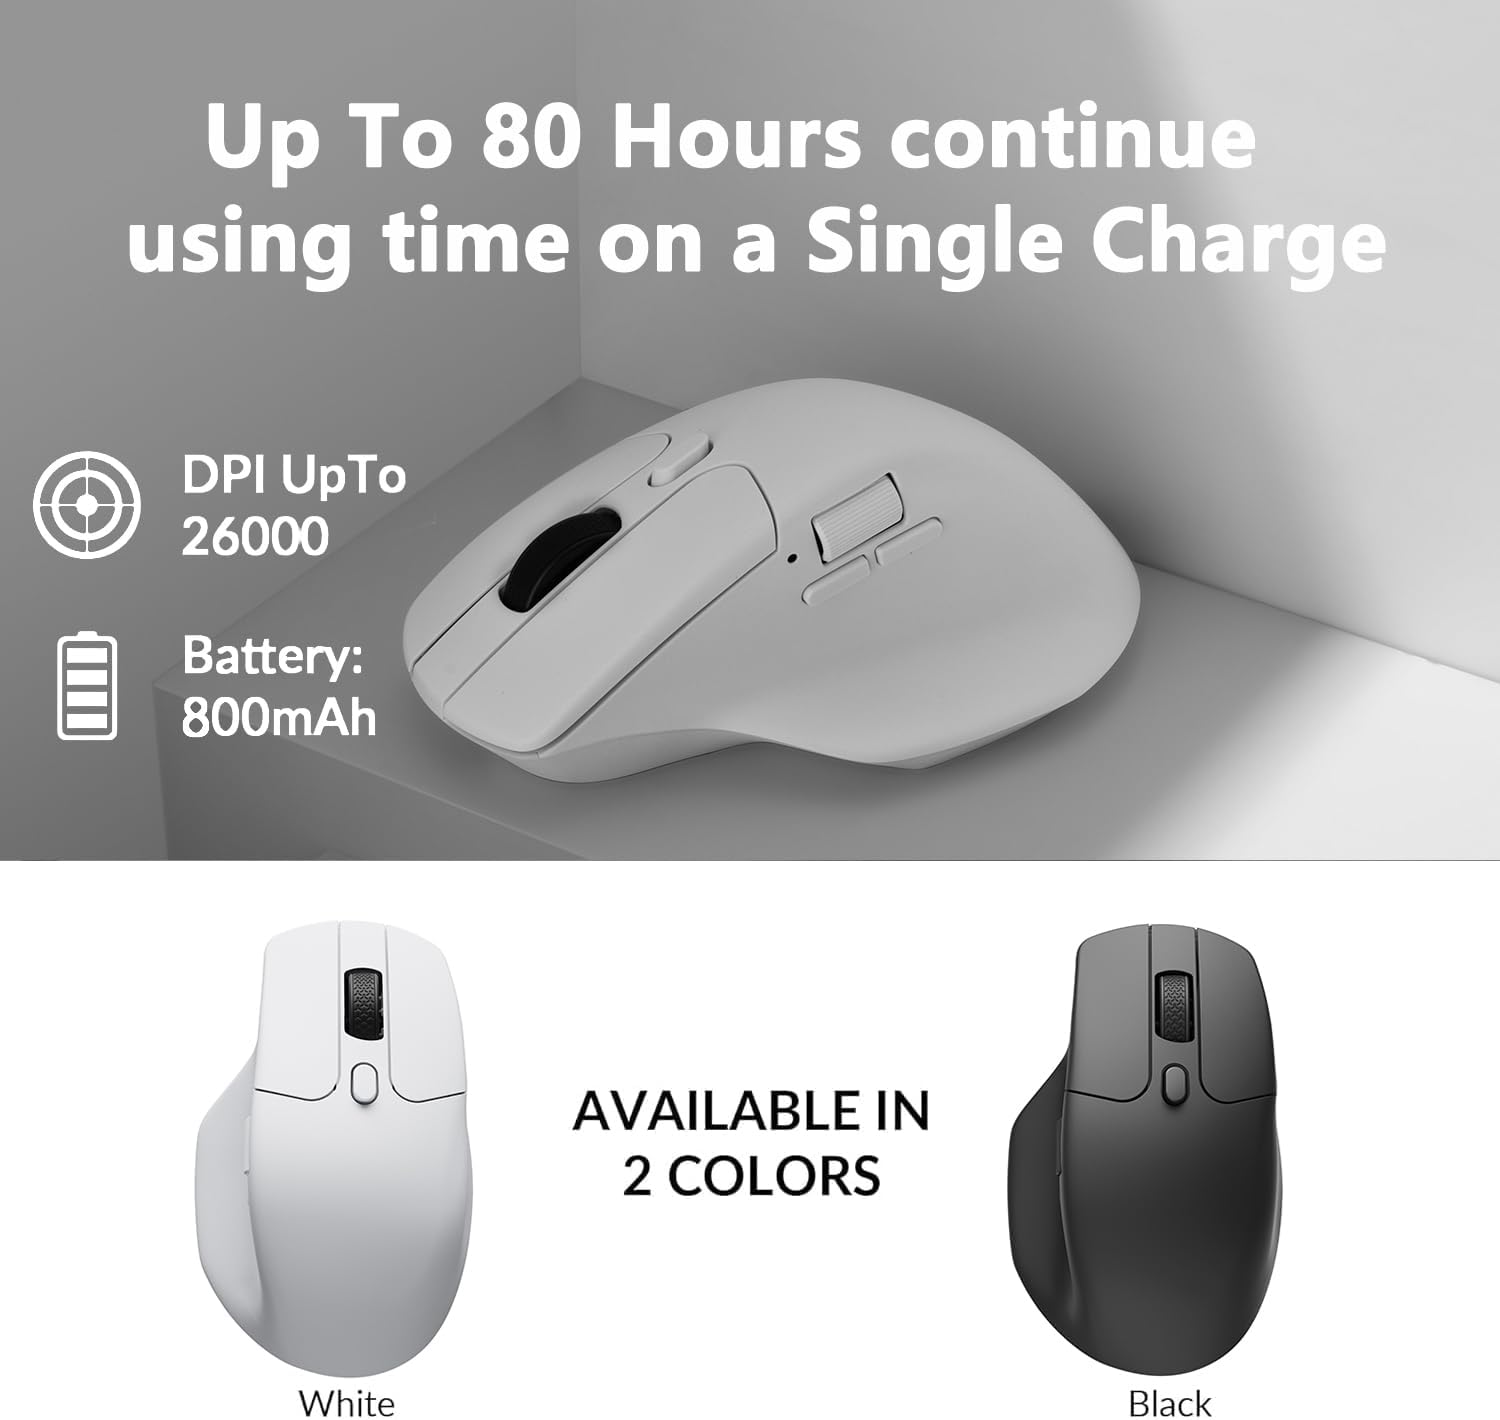
Image 4.2: The Keychron M6 mouse, illustrating the multi-directional functionality of the main scroll wheel for both vertical and horizontal scrolling.
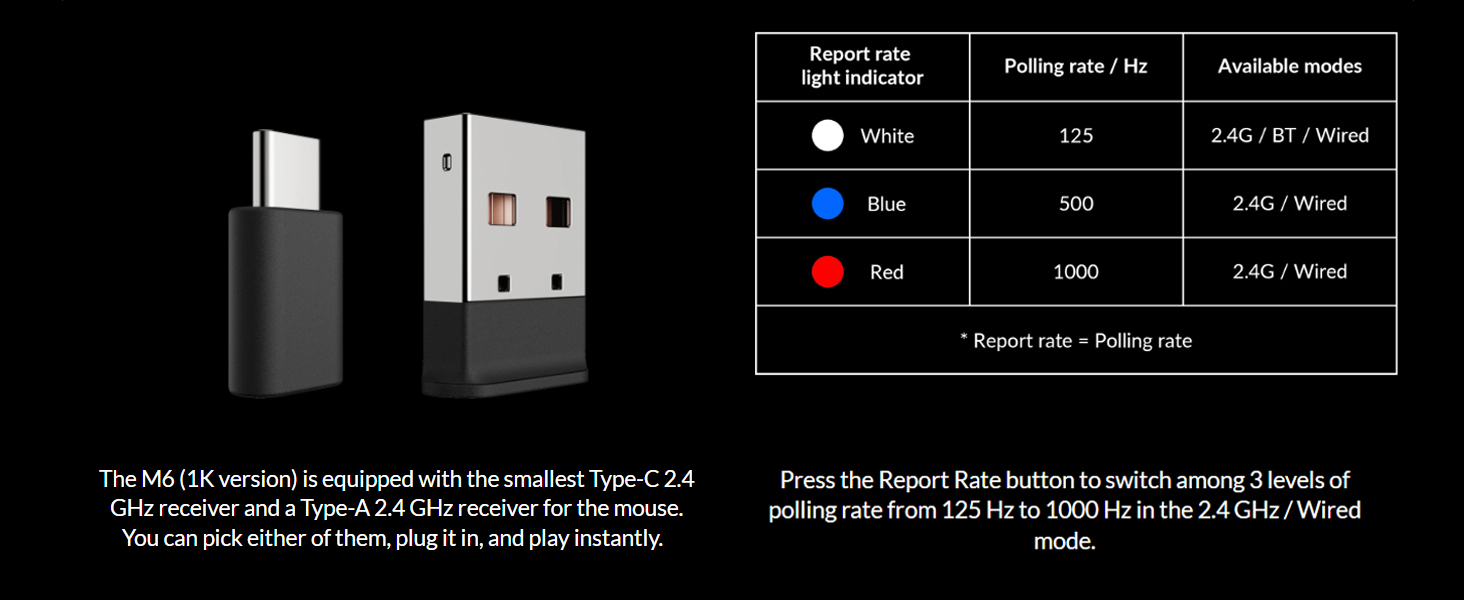
Image 4.3: A close-up of the Keychron M6 mouse, showing the thumb wheel and its directional movement for enhanced navigation.
5. Keychron Engine Software
The Keychron Engine software provides extensive customization options for your M6 mouse. This software allows you to:
- Modify key assignments and set shortcuts.
- Customize RGB lighting effects (if applicable).
- Create and assign dedicated macros.
- Adjust professional settings such as Lift-Off Distance (LOD), polling rate, and DPI.
Visita o Keychron oficial website to download the latest version of the Keychron Engine software.

Image 5.1: The Keychron Engine software interface, demonstrating the various personalization options available for the M6 wireless mouse.
6. Mantemento
6.1 Limpeza
Para manter un rendemento e unha aparencia óptimos, limpa o rato regularmente. Usa un pano suave, seco e sen pelusa para limpar a superficie. Para a sucidade persistente, limpa lixeiramenteampEnxágüe o pano con auga. Evite o uso de produtos químicos agresivos ou materiais abrasivos.
6.2 Coidado coa batería
To prolong battery life, avoid fully discharging the mouse frequently. Charge the mouse when the battery indicator shows low power. Store the mouse in a cool, dry place when not in use for extended periods.
7 Solución de problemas
7.1 Problemas de conectividade
- 2.4 GHz: Ensure the USB receiver is securely plugged in and the mouse is in 'G' mode. Try a different USB port.
- Bluetooth: Ensure the mouse is in 'B' mode and discoverable. Remove previous pairings on your device and re-pair.
- Cablado: Check the USB-C cable connection to both the mouse and the computer.
7.2 Unresponsive Mouse
- Comprobe o nivel da batería e cárguea se é necesario.
- Ensure the optical sensor on the bottom is clean and unobstructed.
- Proba a reiniciar o teu ordenador.
7.3 Software Not Detecting Mouse
- Ensure the mouse is connected via USB wired mode when using the Keychron Engine software for initial setup or firmware updates.
- Verify that you have the latest version of the Keychron Engine software installed.
8. Especificacións
| Característica | Especificación |
|---|---|
| Número de modelo | M6-A3-Mouse |
| Conectividade | 2.4 GHz Wireless, Bluetooth 5.1, USB Wired |
| Sensor | Sensor óptico PixArt 3395 |
| DPI | Ata 26,000 DPI |
| IPS | Ata 650 IPS |
| Taxa de votación | 125 Hz, 500 Hz, 1000 Hz |
| Peso do elemento | 78 g (2.75 onzas) |
| Batería | 800 mAh Lithium Polymer (Up to 80 hours) |
| Dimensións do produto | 4.8 x 2.95 x 1.97 polgadas (122.5 x 75.4 x 50.0 mm) |
| Micro interruptor | Huano 80M Micro Switch |

Image 8.1: Technical drawing illustrating the precise dimensions of the Keychron M6 mouse.
9. Garantía e soporte
Keychron products are designed for durability and performance. For warranty information, please refer to the warranty card included in your product packaging or visit the official Keychron website. If you encounter any issues or require technical assistance, please contact Keychron customer support through their official websitio web ou a información de contacto proporcionada na documentación do produto.


