1. Instrucións de seguridade importantes
Please read all instructions carefully before using your Klarstein Ice Maker Machine. Keep this manual for future reference.
- Asegúrese de que a fonte de alimentación voltage coincide coa etiqueta de clasificación do electrodoméstico.
- Non mergulle o aparello, o cable de alimentación nin o enchufe en auga ou outros líquidos.
- Desenchufe o aparello da toma de corrente cando non estea en uso e antes de limpalo.
- Non faga funcionar ningún aparello cun cable ou enchufe danados, ou despois de que o aparello funcione mal ou teña dano dalgún xeito.
- Place the ice maker on a stable, level surface, away from direct sunlight and heat sources.
- Allow at least 10 cm (4 inches) of space around the appliance for proper ventilation.
- Este aparello non está pensado para o seu uso por persoas (incluídos nenos) con capacidades físicas, sensoriais ou mentais reducidas, ou con falta de experiencia e coñecementos, a menos que teñan supervisión ou instrucións sobre o uso do aparello por unha persoa responsable da súa seguridade.
- Use só auga potable no depósito de auga.
2. Produto rematadoview
Familiarize yourself with the components of your Klarstein Ice Maker Machine.

Figura 2.1: Fronte view of the Klarstein Ice Maker Machine with included accessories.

Figura 2.2: Interior view showing the ice basket and bullet-shaped ice cubes.
Compoñentes:
- Panel de control: Features power button, ice size selection, and indicator lights.
- Encoro de auga: Located beneath the ice basket, holds water for ice production.
- Cesta de xeo: Cesta extraíble para recoller os cubos de xeo producidos.
- Bola de xeo: For convenient removal of ice cubes.
- Tapa transparente: Allows monitoring of the ice-making process.
3. Configuración
Follow these steps to set up your ice maker for first use.
3.1 Desembalaxe
- Retire con coidado a máquina de xeo da súa embalaxe.
- Remove all packaging materials, including any tape or protective films.
- Comprobe se houbo algún dano durante o transporte. Se o aparello está danado, non o use e póñase en contacto co servizo de atención ao cliente.
3.2 Colocación
- Place the ice maker on a firm, level, and stable surface.
- Ensure adequate ventilation by leaving at least 10 cm (4 inches) of space around the unit.
- Evite colocar a unidade preto de fontes de calor (por exemplo, fornos, radiadores) ou baixo a luz solar directa.
- Do not place the unit in an enclosed cabinet or on a soft surface where vents could be blocked.

Figure 3.1: Recommended placement and dimensions for the ice maker.
3.3 Limpeza inicial
Antes do primeiro uso, limpe o interior da máquina de xeo.
- Retire a cesta de xeo.
- Limpar o interior cun pano suave dampcon auga morna e un deterxente suave.
- Enxágüe ben e seque.
- Run a self-cleaning cycle (refer to Section 5.2) before making ice for consumption.
4. Instrucións de funcionamento
Follow these steps to produce ice cubes with your Klarstein Ice Maker Machine.

Figure 4.1: Quick start guide for ice production.
- Encher o depósito de auga: Abra a tapa e encha o depósito de auga con auga potable ata a liña de recheo "MAX". Non o encha demasiado.
- Conectar enerxía: Conecte a máquina de xeo a unha toma de corrente con conexión a terra.
- Encendido: Press the 'POWER' button on the control panel to turn on the appliance.
- Selecciona o tamaño do xeo: Press the 'SELECT' button to choose between small (S) or large (L) ice cube sizes. The corresponding indicator light will illuminate.
- Comezar a produción de xeo: The machine will automatically begin the ice-making cycle after a few seconds. The 'ICE MAKING' indicator light will be on.
- Monitor de progreso: The first batch of ice cubes will be ready in approximately 7-9 minutes, depending on the selected size and ambient temperature.
- Indicador de xeo cheo: When the ice basket is full, the 'ICE FULL' indicator light will illuminate, and the machine will pause operation. Remove ice to resume production.
- Engadir indicador de auga: If the water level in the reservoir is too low, the 'ADD WATER' indicator light will illuminate, and the machine will pause. Add more water to resume.
- Desactivar: Press the 'POWER' button to turn off the ice maker when you are finished.
5. Mantemento
Regular cleaning and proper maintenance will ensure the longevity and optimal performance of your ice maker.
5.1 Limpeza xeral
- Desenchufe sempre o aparello antes de limpar.
- Limpar o exterior cun brando suave, damp pano. Non use produtos de limpeza ou disolventes abrasivos.
- Retire a cesta do xeo e límpea con auga morna e xabón. Enxágüe e seque ben.
- Drain any remaining water from the reservoir by removing the drain plug (usually located at the bottom or side of the unit).
- Clean the interior of the water reservoir and ice-making components with a soft cloth and a mild, food-safe cleaning solution. Rinse thoroughly with clean water.
5.2 Función de autolimpeza
The ice maker features a self-cleaning function for convenient maintenance.
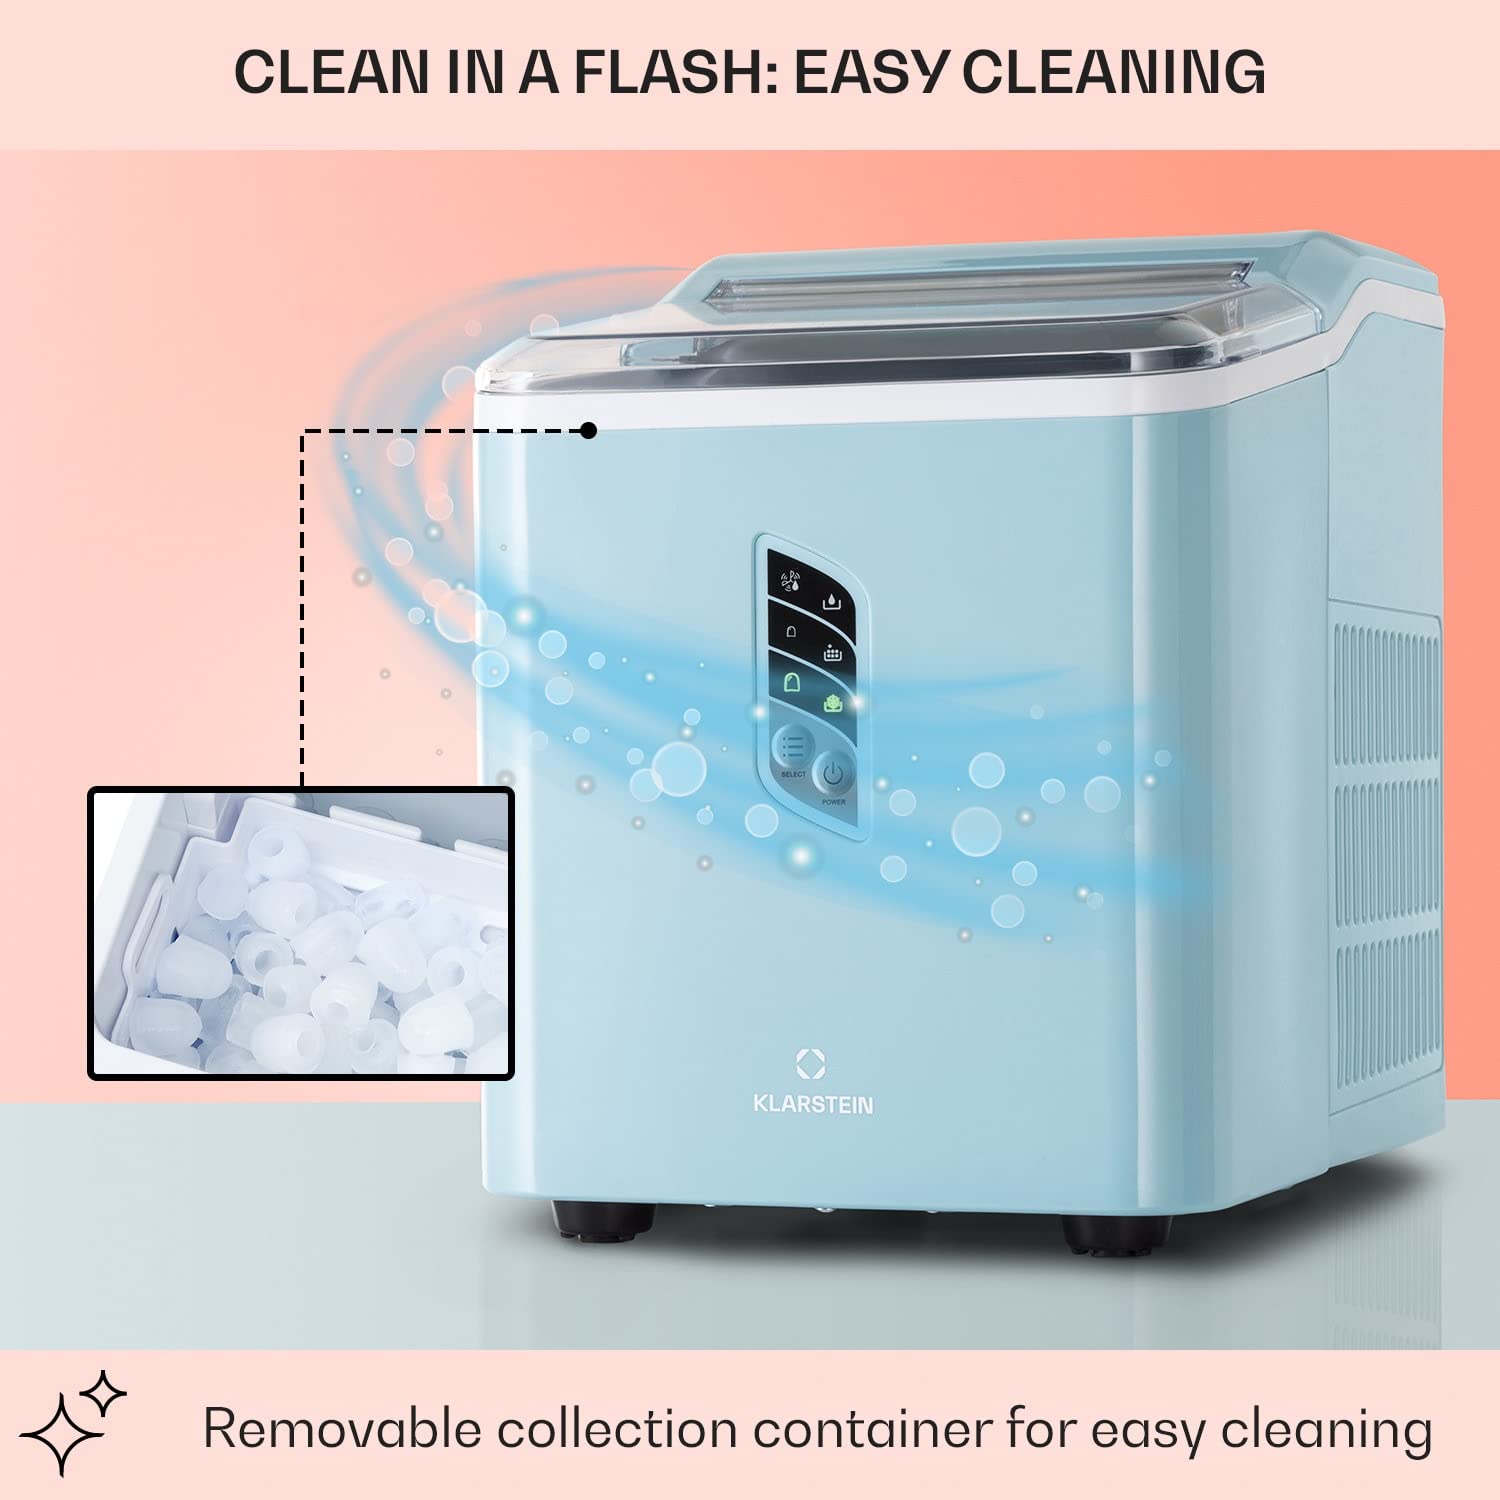
Figure 5.1: Self-cleaning function overview.
- Asegúrese de que o depósito de auga estea cheo de auga limpa.
- Refer to your specific model's control panel for the self-cleaning activation method (often a long press of the 'SELECT' or 'POWER' button, or a dedicated 'CLEAN' button).
- The machine will circulate water through its system to clean internal components.
- Unha vez rematado o ciclo, drena a auga do depósito e limpa o interior.
5.3 Almacenamento
If storing the ice maker for an extended period:
- Perform a thorough cleaning and self-cleaning cycle.
- Ensure all internal components are completely dry to prevent mold or mildew growth.
- Almacene o aparello nun lugar fresco e seco, lonxe da luz solar directa.
6 Solución de problemas
Consulta esta sección para ver os problemas comúns e as súas solucións.
| Problema | Causa posible | Solución |
|---|---|---|
| A máquina de xeo non se acende | Sen fonte de alimentación | Comprobe se o cable de alimentación está conectado correctamente a unha toma de corrente que funcione. |
| O indicador "ENGADIR AUGA" está aceso | O depósito de auga está baleiro ou ten pouca auga | Fill the water reservoir with potable water up to the 'MAX' line. |
| O indicador "XEO CHEO" está aceso | A cesta de xeo está chea | Remove ice cubes from the basket. The machine will resume operation. |
| Sen produción de xeo | Insufficient water, high ambient temperature, or air blockage | Ensure water is filled. Place the unit in a cooler environment. Check for proper ventilation. |
| Ice cubes are too small or clumpy | Water temperature too high, or first cycle | Use colder water. The first few cycles may produce smaller ice. Ensure proper ventilation. |
| Ruído inusual durante o funcionamento | Normal compressor operation, or unit not level | É normal que haxa algo de ruído. Asegúrate de que a unidade estea sobre unha superficie estable e nivelada. |
7. Especificacións
Technical data for the Klarstein Countertop Ice Maker Machine.
| Característica | Especificación |
|---|---|
| Marca | KLARSTEIN |
| Nome do modelo | Máquina de xeo encimera |
| Dimensións do produto (P x A x A) | 29 x 22.5 x 32 cm (11.42" x 8.86" x 12.6") |
| Capacidade (depósito de auga) | 1.5 litros |
| Capacidade de produción de xeo | Ata 12 kg (26.5 lb) ao día |
| Ciclo de produción de xeo | Approx. 7-9 minutes per batch |
| Wattage | 11500 watts (Note: This value seems unusually high for an ice maker and might be a data entry error. Please refer to the product label for accurate wattage.) |
| Voltage | 220 voltios |
| Peso do elemento | 7.6 quilogramos (16.7 libras) |
| Refrixerante | R600a |
| Tipo de material | Aceiro inoxidable |
8. Garantía e soporte
For warranty information, technical support, or service inquiries, please refer to the warranty card included with your product or contact Klarstein customer service directly. Contact details can typically be found on the manufacturer's official websitio web ou na documentación da súa compra.


