1. Introdución
This manual provides detailed instructions for the installation, operation, and maintenance of your AZDOME M01 Pro 3K WiFi Dash Cam. Please read this manual thoroughly before use to ensure proper functionality and to prevent damage.
2. Contido do paquete
Verifique que todos os elementos que se indican a continuación estean incluídos no seu paquete:
- M01 Pro Dash Cam (Front Unit)
- Leva traseira
- Cargador de coche
- 3M Sticky Mount
- Montaxe de succión
- 64GB SD Card (pre-installed)
- Ferramenta de cableado do coche
- Clips para cables
- Adhesivo electrostático
- Manual de usuario
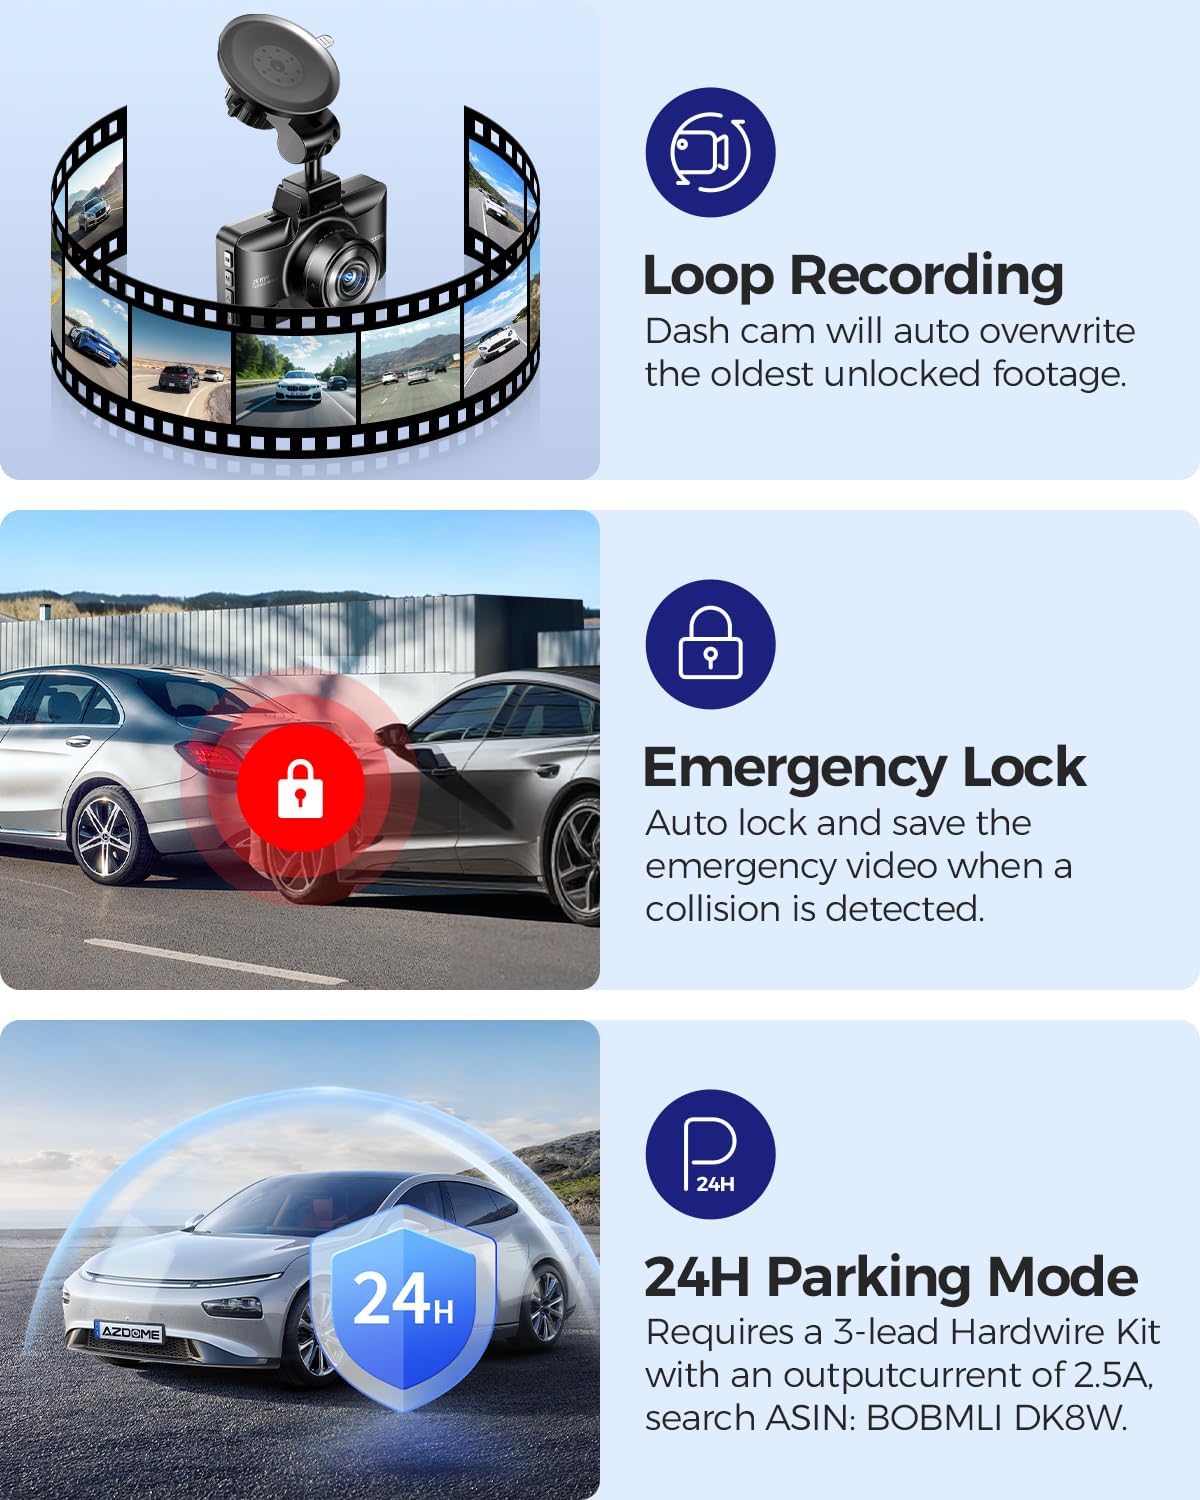
Image: All components included in the AZDOME M01 Pro dash cam package.
3. Produto rematadoview
3.1 Front Dash Cam Unit
The main dash cam unit features a 3-inch IPS screen for live view and menu navigation. It includes control buttons on the sides for various functions and a front-facing lens for recording.

Image: The AZDOME M01 Pro front dash cam unit with its screen and lens visible.
3.2 Cámara traseira
The compact rear camera records in 1080P resolution and is designed for external mounting on the rear of the vehicle. It connects to the main unit via a cable.

Imaxe: Primeiro plano view of the compact rear camera unit.
4. Configuración e instalación
4.1 Instalación da cámara frontal do salpicadero
The front dash cam can be installed using either the suction cup mount or the 3M sticky mount. Both mounts allow for 360° rotation for optimal viewángulos de inflexión.
- Limpa ben a zona desexada do parabrisas.
- Attach the electrostatic sticker to the cleaned area.
- Attach the chosen mount (suction cup or 3M sticky) to the electrostatic sticker.
- Slide the main dash cam unit onto the mount until it clicks securely.
- Connect the car charger to the dash cam's power port and plug it into your vehicle's cigarette lighter socket.
- Use the provided car wiring tool and cable clips to neatly tuck away the power cable along the vehicle's trim for a clean installation.
Video: Demonstrates the installation process of the suction cup mount for the AZDOME M01 Pro dash cam.

Image: Illustrates the 360° rotation capability of the dash cam mount.
4.2 Instalación da cámara traseira
The rear camera can be mounted externally using either the included 3M adhesive or screws. Connect the rear camera cable to the main dash cam unit and route it neatly along the vehicle's interior trim to the rear.
Vídeo: Unha breve presentaciónview demonstrating how to enable the reverse assist line function for the rear camera.
5. Instrucións de funcionamento
5.1 Funcionamento básico
The dash cam automatically powers on and begins recording when your vehicle starts. It powers off when the vehicle is turned off. Use the physical buttons on the unit to navigate menus and adjust settings.
5.2 Control da aplicación (Wi-Fi)
The AZDOME M01 Pro features built-in Wi-Fi for convenient app control. Download the dedicated AZDOME app on your smartphone to manage settings, view vivir footage, download, playback, and share videos.
- Download the AZDOME app from your device's app store.
- Turn on the dash cam and enable its Wi-Fi.
- Connect your smartphone to the dash cam's Wi-Fi network (SSID and password typically found in the dash cam settings).
- Open the AZDOME app to access controls and features.

Image: Screenshots illustrating the AZDOME app interface for dash cam control.
5.3 Gravación en bucle
The dash cam continuously records video in short segments. When the SD card is full, the oldest unprotected fileAs novas gravacións sobrescríbense automaticamente. Isto garante a gravación continua sen intervención manual.

Image: Icon representing the Loop Recording feature.
5.4 Sensor G (bloqueo de emerxencia)
The built-in G-Sensor detects sudden impacts or collisions. When an event is detected, the current video segment is automatically locked and saved to prevent it from being overwritten by loop recording. This footage serves as crucial evidence in case of an accident.

Image: Icon representing the G-Sensor feature.
5.5 Modos de estacionamento
The M01 Pro offers two parking modes to monitor your vehicle when parked:
- Modo de estacionamento de detección de colisións: The G-Sensor detects impacts and automatically records and locks video segments.
- Modo de estacionamento por intervalos de tempo: The dash cam records continuously at a low frame rate (e.g., 1fps) for extended periods (12/24/48 hours).
Note: A hardwire kit (sold separately) is required to enable 24-hour parking modes.

Image: Icon representing the Parking Mode feature.
5.6 ADAS (Advanced Driver-Assistance Systems)
Built-in ADAS features provide alerts for potential hazards, enhancing driving safety. These alerts may include lane departure warnings or forward collision warnings.

Image: Icon representing the ADAS (Advanced Driver-Assistance Systems) feature.
5.7 Fatigue Driving Alert
The dash cam can be configured to provide alerts reminding the driver to take a rest after continuous driving for a set duration (e.g., 1, 2, or 4 hours) to promote safe driving practices.

Image: Illustration of the fatigue driving alert system in action.
5.8 Parking Assistance
When the reverse gear is engaged, the dash cam automatically displays a rear view with parking guide lines, aiding in safe parking maneuvers.
6. Mantemento
To ensure optimal performance and longevity of your dash cam:
- Regularly format the SD card (e.g., once a month) to prevent data corruption and ensure smooth recording.
- Keep the lenses clean using a soft, dry cloth.
- Evite expoñer o dispositivo a temperaturas extremas ou á luz solar directa durante períodos prolongados.
- Asegúrese de que todos os cables estean conectados de forma segura.
7 Solución de problemas
If you encounter any issues with your AZDOME M01 Pro dash cam, please refer to the following common solutions:
- A cámara do salpicadero non se acende: Check the car charger connection and ensure the vehicle's power outlet is functioning.
- Problemas de gravación: Ensure an SD card is inserted and formatted correctly. Check for sufficient storage space.
- Problemas coa conexión wifi: Ensure the dash cam's Wi-Fi is enabled and your smartphone is within range. Restart both devices if necessary.
- Screen freezing/unresponsive: Use a thin object (like a paperclip) to press the reset button on the device.
For further assistance, please contact AZDOME customer support.
8. Especificacións
| Característica | Detalle |
|---|---|
| Dimensións do produto | 1.18 x 5.48 x 1.3 polgadas |
| Peso do elemento | 14.8 onzas |
| Nome do modelo | M01 Pro |
| Resolución de captura de vídeo | 2160p (3K UHD) |
| Tecnoloxía de conectividade | Wi-Fi |
| Características especiais | App Control, Compact Design, G-Sensor, Loop Recording, Night Vision |
| Tipo de montaxe | Montaxe do panel de control |
| Campo de View | 150 graos |
| Cor | Negro |
9. Garantía e soporte
For warranty information and customer support, please refer to the official AZDOME website or contact their customer service directly. Details can typically be found in the included user manual or on the product packaging.


