Introdución
Thank you for choosing the LEDVANCE Osram 10W LED Bulkhead Light. This manual provides essential information for the safe and efficient installation, operation, and maintenance of your new lighting fixture. Please read these instructions carefully before installation and retain them for future reference.
Información de seguridade
WARNING: Risk of electric shock. Installation must be performed by a qualified electrician in accordance with all local and national electrical codes.
- Ensure power is disconnected at the circuit breaker before installation, maintenance, or cleaning.
- Non intente modificar o aparello. Calquera modificación pode anular a garantía e crear riscos para a seguridade.
- This fixture is designed for 220-240V, 50Hz electrical systems.
- Non mire directamente á fonte de luz LED cando estea acesa.
- Manteña os materiais de embalaxe lonxe dos nenos.
Contido do paquete
Verify that all components are present before beginning installation. This product is typically sold as a pack of 4 units.
- LEDVANCE Osram 10W LED Bulkhead Light (quantity as per purchase, e.g., 4 units)
- Translucent Lens (pre-installed on each unit)
- Ferraxes de montaxe (parafusos, tacos)
- Manual de instrucións
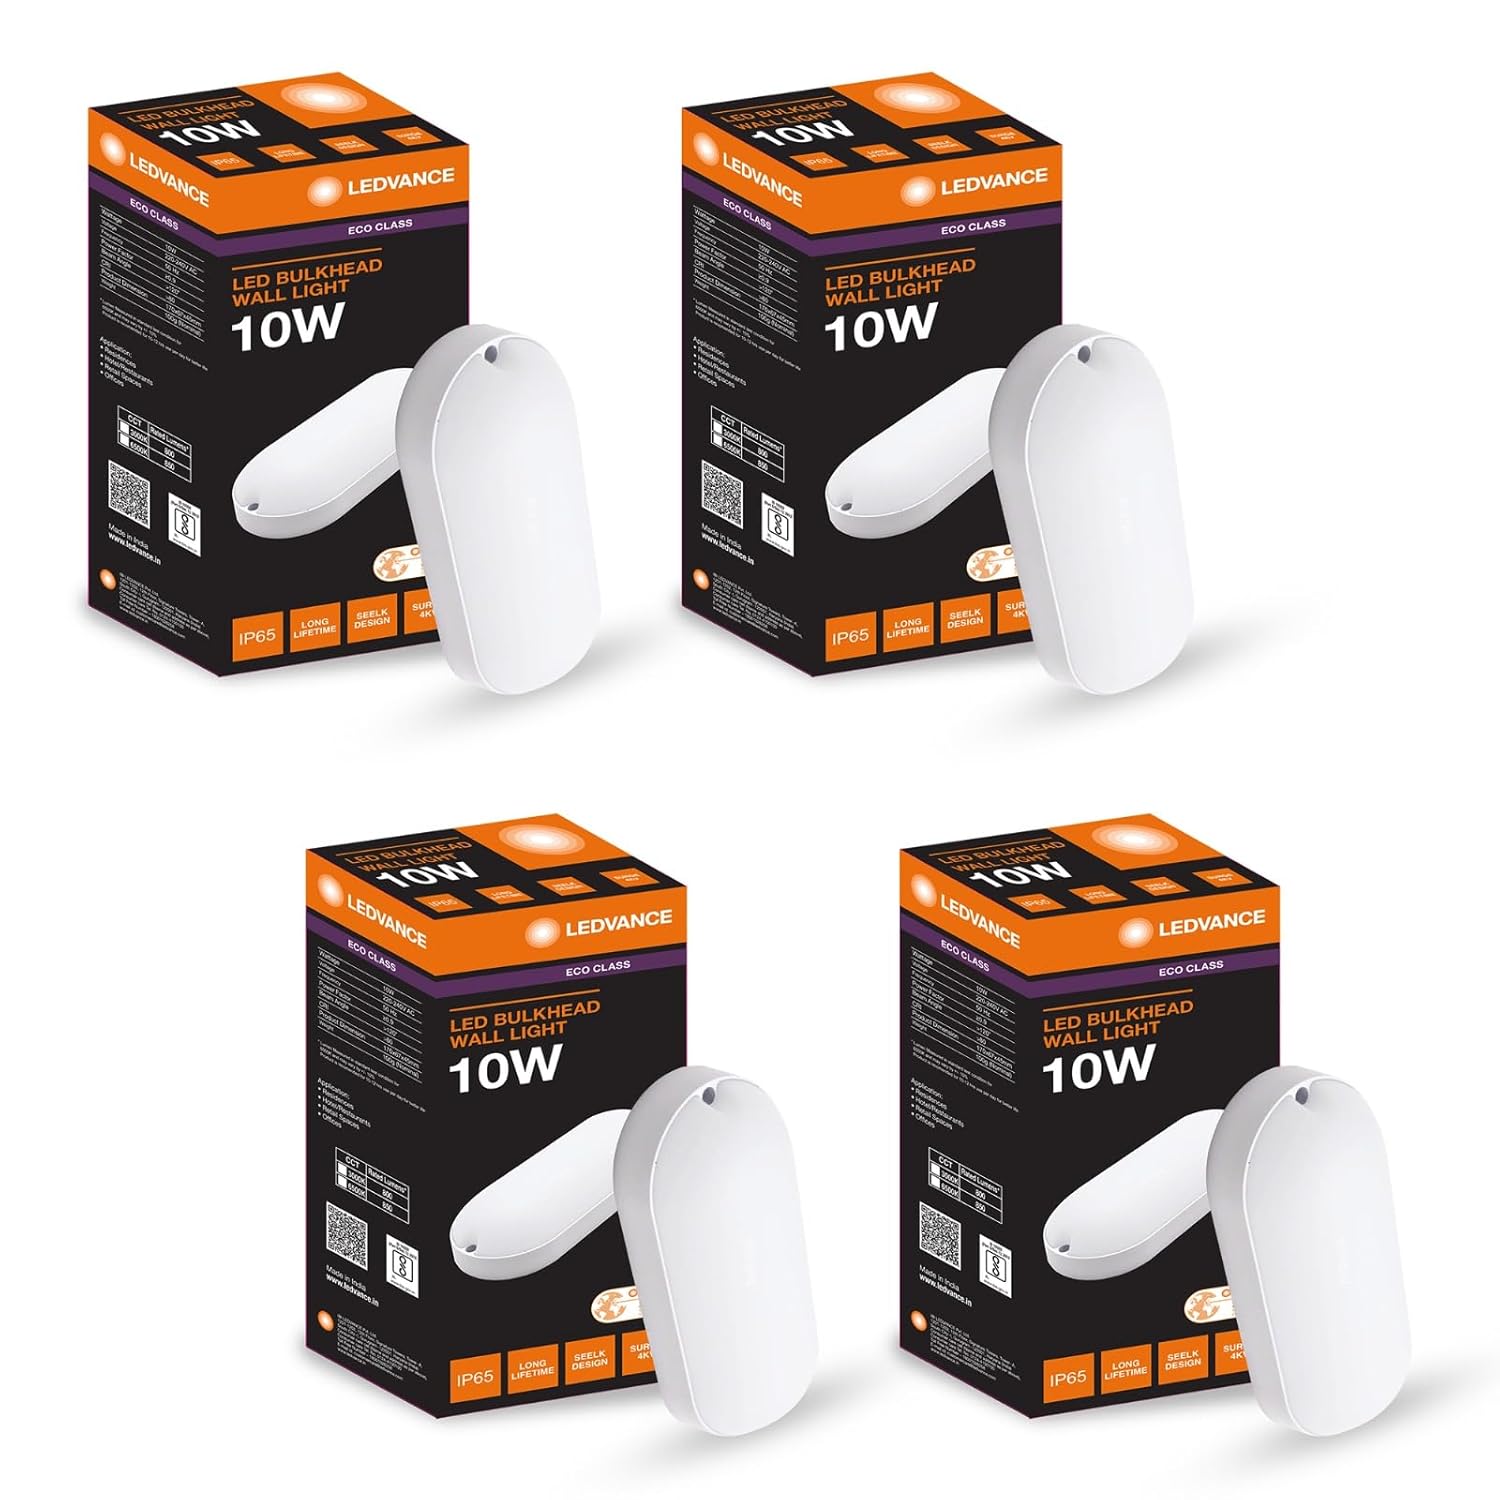
Image: The LEDVANCE Osram 10W LED Bulkhead Light, showcasing its sleek oval design and cool white light output.
Especificacións
| Característica | Detalle |
|---|---|
| Marca | Ledvance |
| Número de modelo | LED BULKHEAD 10W/6500K |
| Tipo de luz | LED integrado |
| Wattage | 10 vatios |
| Cor clara | Branco frío |
| Temperatura da cor | 6500 Kelvin |
| Eficacia luminosa | 85 lm/W |
| Factor de potencia | > 0.90 |
| Voltage Frecuencia | 220-240 voltios, 50 hercios |
| Uso interior/exterior | Outdoor (also suitable for indoor common areas) |
| Clasificación IP | IP65 (protexido contra o po e os chorros de auga) |
| Material | Policarbonato (PC) |
| Dimensións (ancho x alto) | Aprox. 67 mm x 170 mm |
| Peso do elemento | 0.2 Kilograms (per unit) |
| Compoñentes incluídos | Translucent Lens |

Image: Dimensions of the LEDVANCE Osram Bulkhead Light, approximately 67mm wide and 170mm high.

Imaxe: Primeiro plano view of the bulkhead light, highlighting its durable polycarbonate material and construction.
Instalación
Siga estes pasos para unha instalación segura e correcta:
- A seguridade primeiro: Antes de comezar, asegúrese de que a subministración eléctrica principal da zona de instalación estea desconectada no disyuntor.
- Escolla localización: Select a suitable mounting location on a wall or ceiling. Ensure it is a flat, stable surface capable of supporting the fixture's weight. This light is suitable for both indoor common areas and outdoor use due to its IP65 rating.
- Marcar os puntos de perforación: Carefully remove the translucent lens or cover to access the mounting holes. Use the fixture as a template to mark the drilling points on the wall/ceiling.
- Perforación: Fai buratos nos puntos marcados cunha broca axeitada para o material da túa parede. Insire tacos se é necesario.
- Cableado: Connect the electrical wires from the power supply to the terminal block inside the fixture. Ensure correct polarity (Live, Neutral, Earth) according to local wiring regulations. Secure all connections firmly.
- Fixación de montaxe: Align the fixture with the drilled holes and secure it to the wall/ceiling using the provided screws. Do not overtighten.
- Volver colocar a lente: Carefully reattach the translucent lens or cover, ensuring it is securely fastened to maintain the IP65 rating.
- Restaurar enerxía: Unha vez completada a instalación e todas as conexións estean seguras, restableza a alimentación no disxuntor.

Imaxe: Example of the LEDVANCE Bulkhead Light installed on an outdoor wall, demonstrating its suitability for various environments.
Operación
The LEDVANCE Osram 10W LED Bulkhead Light operates by a standard wall switch connected to its power supply. Once installed and power is restored, simply use the connected switch to turn the light ON or OFF.
- Saída de luz: Provides a crisp Cool White light at 6500 Kelvin.
- Eficiencia enerxética: Designed for high energy savings compared to traditional lighting, with a luminous efficacy of 85 lm/W.
Mantemento
The LEDVANCE Osram 10W LED Bulkhead Light is designed for low maintenance and long-lasting performance. Follow these guidelines for optimal care:
- Limpeza: Desconecte a alimentación antes de limpar. Limpe o aparello cun pano suave eamp cloth. Do not use abrasive cleaners, solvents, or harsh chemicals, as these can damage the finish or the translucent lens.
- Inspección: Periodically inspect the fixture for any signs of damage, loose connections, or wear. If any issues are found, disconnect power and contact a qualified electrician or customer support.
- LED: The integrated LED light source is not user-replaceable. If the LEDs fail, the entire fixture should be replaced.
Resolución de problemas
If you experience issues with your LEDVANCE Osram Bulkhead Light, refer to the following common problems and solutions:
| Problema | Causa posible | Solución |
|---|---|---|
| A luz non se acende. | Sen fonte de alimentación. Conexión de cableado solta. Interruptor defectuoso. | Comprobe o disxuntor e o interruptor de parede. Asegúrate de que todas as conexións de cableado estean seguras (apaga primeiro a alimentación). Test the switch with another appliance or replace if faulty. |
| A luz parpadea ou esmorece. | Fonte de alimentación inestable. Cableado solto. Incompatible dimmer switch (this fixture is not dimmable). | Verificar unha subministración de enerxía estable. Comprobe as conexións do cableado (apague primeiro a alimentación). Ensure no dimmer switch is used; this fixture requires a standard ON/OFF switch. |
| Water ingress or condensation inside fixture. | Improper installation of lens/cover. Selo danado. | Ensure the translucent lens is securely fastened and the seal is properly seated during installation. If the seal is damaged, contact customer support for advice. |
If the problem persists after attempting these solutions, please contact LEDVANCE customer support.
Garantía e Soporte
For warranty information or technical assistance, please contact LEDVANCE customer support using the details below:
- Asistencia telefónica: 1800 102 6258
- Correo electrónico: customercare@ledvance.com
- Websitio: www.ledvance.com
- Horario de atención ao cliente: Monday - Saturday, 10:00 AM - 6:00 PM (IST)

Image: LEDVANCE customer support contact details and operating hours for assistance.