1. Introdución
The 8BitDo 64 Bluetooth Controller is designed for enhanced gaming experiences across multiple platforms. This manual provides essential information for setting up, operating, and maintaining your controller.
Compatibilidade: Analogue 3D, Switch, Switch 2, Windows, Android.
Conectividade: Bluetooth or Wired USB.
2. Contido do paquete
- Controlador Bluetooth 8BitDo 64
- Cable USB-C
- Manual de instrucións (este documento)
3. Controlador sobrecargadoview

Figura 1: Fronte View. This image displays the front of the 8BitDo 64 Bluetooth Controller, highlighting the classic button layout including the D-pad, analog stick, A, B, X, Y buttons, and central function buttons like Start and Select.

Figura 2: Atrás View. This image shows the rear of the controller, featuring the S/D mode switch for different input modes and the product information label.

Figura 3: Arriba View. This image illustrates the top edge of the controller, detailing the L/R shoulder buttons, Z-triggers, and the USB-C charging/connection port.

Figure 4: Hall Effect Joystick. Un detallado view of the controller's Hall Effect Joystick, known for its precision and durability.
4. Configuración
4.1 Carga do controlador
Connect the supplied USB-C cable to the controller's USB-C port and the other end to a USB power source (e.g., computer, USB wall adapter). The LED indicators will show charging status and turn off when fully charged.
4.2 Firmware Update (Critical)
It is highly recommended to update your controller's firmware before first use, especially for compatibility with Analogue 3D and Switch 2. Firmware updates often include critical bug fixes and performance improvements.
- Visita o soporte oficial de 8BitDo websitio.
- Download the latest firmware update tool for your operating system (Windows/macOS).
- Connect your 8BitDo 64 Bluetooth Controller to your computer using the USB-C cable.
- Follow the on-screen instructions in the update tool to complete the firmware update.
4.3 Conexión mediante Bluetooth
Ensure the controller is charged and updated before attempting Bluetooth connection.
4.3.1 Mode Selection (S/D Switch)
The switch on the back of the controller allows you to select between 'S' (Switch/Analogue 3D) and 'D' (Windows/Android) input modes. Ensure the correct mode is selected for your device.
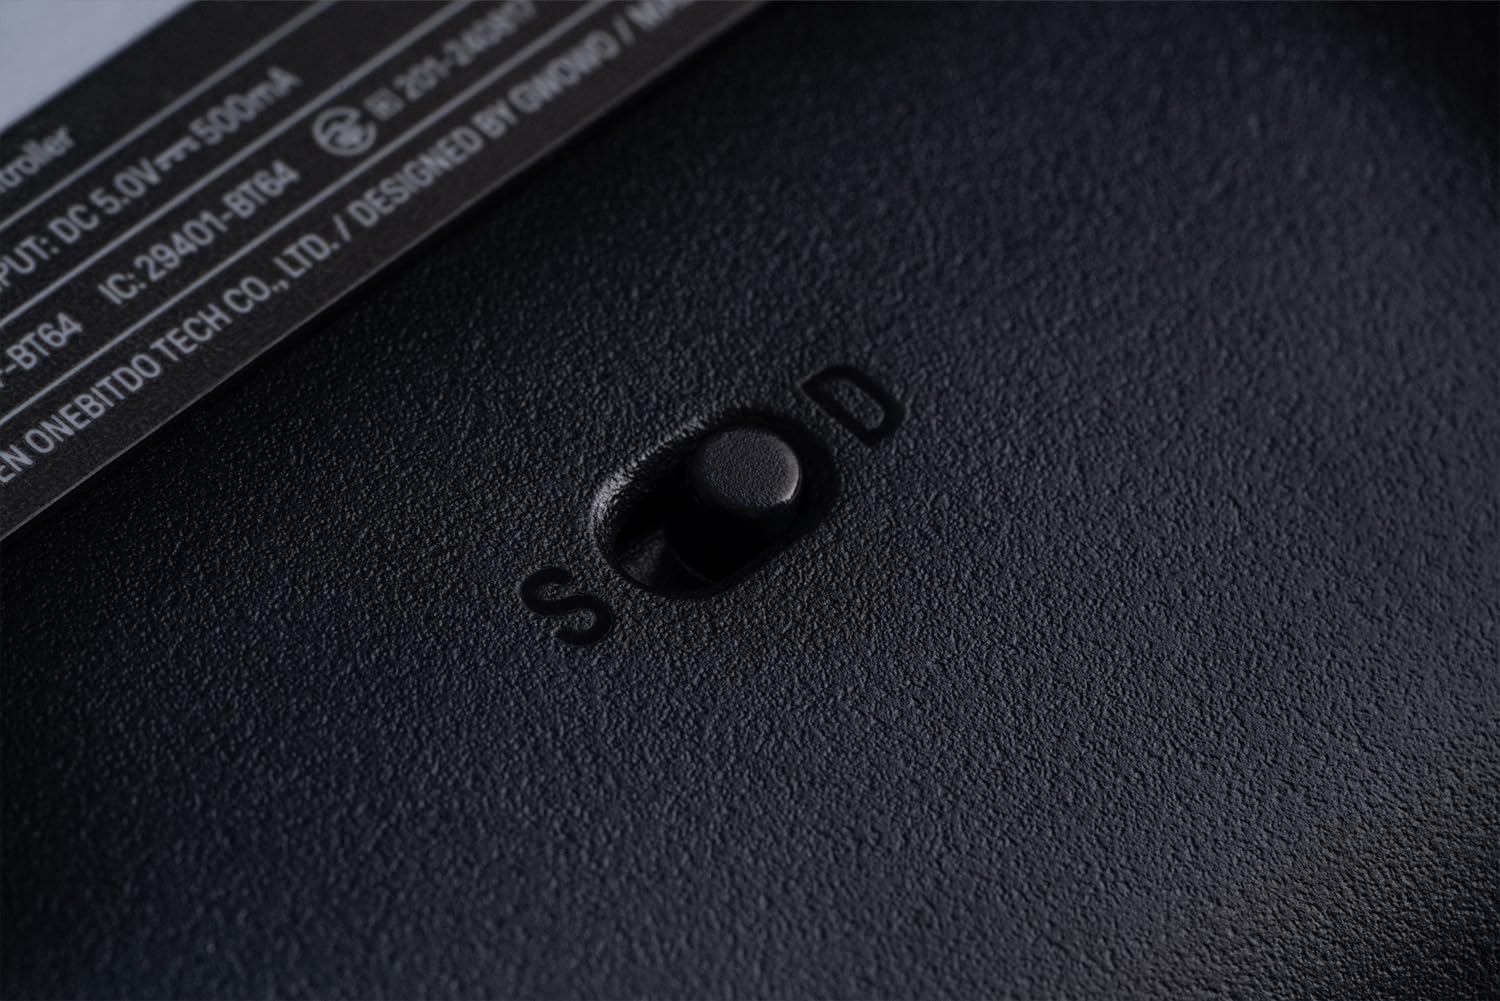
Figure 5: S/D Mode Switch. This image highlights the physical switch on the controller's rear for selecting input modes.
4.3.2 Pairing with Analogue 3D / Switch / Switch 2
- Set the mode switch on the back of the controller to 'S'.
- Press and hold the Start button on the controller for 3 seconds until the LED indicators begin to flash rapidly.
- On your Analogue 3D or Switch console, navigate to the controller pairing menu.
- Select the 8BitDo 64 Bluetooth Controller from the list of available devices.
- The LED indicators on the controller will become solid when successfully paired.
4.3.3 Pairing with Windows / Android
- Set the mode switch on the back of the controller to 'D'.
- Press and hold the Start button on the controller for 3 seconds until the LED indicators begin to flash rapidly.
- On your Windows PC or Android device, enable Bluetooth and search for new devices.
- Select the 8BitDo 64 Bluetooth Controller from the list of available devices.
- The LED indicators on the controller will become solid when successfully paired.
4.4 Connecting via Wired USB
For a wired connection, simply connect the 8BitDo 64 Bluetooth Controller to your device (PC, Switch dock, Analogue 3D) using the supplied USB-C cable. The controller will automatically switch to wired mode.
5. Instrucións de funcionamento
5.1 Disposición e funcións dos botóns
The 8BitDo 64 Bluetooth Controller features a layout inspired by classic N64 controllers, adapted for modern gaming.
- Stick analóxico: Control primario do movemento.
- D-Pad: Entrada direccional.
- Botóns A/B: Main action buttons.
- C-Buttons (Triangle, Circle, Square, Cross): Context-sensitive actions, often camera control or specific game functions.
- Botón de inicio: Pause, menu access.
- Shoulder Buttons (L/R): Botóns de acción adicionais.
- Z-Triggers (L/R): Located on the underside of the shoulder buttons, providing quick access for specific actions like aiming or shielding.
5.2 Función Turbo
The Turbo function allows a button to be pressed repeatedly as long as it is held down. To activate/deactivate:
- Press and hold the button you wish to assign Turbo to.
- While holding the button, press the Star button (Turbo button). The LED will flash to confirm activation.
- To deactivate, repeat the process.
5.3 Función de vibración
Vibration is supported on Analogue 3D and Switch (Nintendo 64 Online only). The intensity of vibration is game-dependent and cannot be manually adjusted on the controller.
6. Mantemento
- Manteña o controlador seco e lonxe de temperaturas extremas.
- Limpa o controlador cun pano suave e seco. Non empregues produtos químicos agresivos nin materiais abrasivos.
- Evite deixar caer o controlador nin someterlo a impactos fortes.
- Garde o controlador nun lugar seguro cando non o use para evitar danos.
7 Solución de problemas
- O controlador non se conecta: Ensure the mode switch (S/D) is set correctly for your device. Try re-pairing the controller. Ensure the controller is charged.
- Botóns que non responden: Check for any physical obstructions. Ensure the controller's firmware is up to date.
- Retraso de entrada: Ensure you are within the optimal range for Bluetooth connectivity. Try a wired connection to rule out wireless interference.
- Firmware update issues: Ensure you are using the correct update tool for your operating system and controller model. Try a different USB port or cable.
8. Especificacións
| Número de modelo | 6922621507161 |
| Conectividade | Bluetooth 5.0 (Support Bluetooth LE), Wired USB |
| Entrada | CC 5 V === 500 mA |
| Batería | 1 batería de iones de litio (incluída) |
| Dimensións | 15.94 x 8.07 x 12.4 polgadas |
| Peso | 7.05 onzas |
9. Garantía e soporte
For warranty information, technical support, or further assistance, please visit the official 8BitDo websitio web ou póñase en contacto directamente co servizo de atención ao cliente. Garde o comprobante de compra para reclamacións de garantía.


