1. Introdución
This manual provides essential information for the installation, operation, and maintenance of your ADATA Legend 860 Solid State Drive. Please read this guide thoroughly before using the product to ensure optimal performance and longevity.
The ADATA Legend 860 is a high-performance NVMe SSD designed for expanding storage in compatible devices such as desktop PCs, laptops, and gaming consoles like the PlayStation 5. It utilizes PCIe Gen4 x4 interface for fast data transfer speeds.

Figure 1: ADATA Legend 860 NVMe Solid State Drive
2. Información de seguridade
- Sujete sempre a unidade SSD polos bordos para evitar tocar os conectores ou compoñentes dourados.
- Asegúrate de que o sistema estea apagado e desconectado antes da instalación.
- Discharge any static electricity from your body before handling the SSD. Use an anti-static wrist strap if available.
- Manteña o SSD lonxe da humidade, temperaturas extremas e campos magnéticos fortes.
- Do not attempt to disassemble or modify the SSD, as this will void the warranty.
3. Contido do paquete
Verifica que todos os elementos estean presentes no teu paquete:
- ADATA Legend 860 Solid State Drive

Figure 2: ADATA Legend 860 SSD Retail Packaging
4. Especificacións
| Marca | ADATA |
| Serie | Lenda 860 |
| Número de modelo | SLEG-860-1000GCS |
| Capacidade de almacenamento dixital | 1 TB |
| Interface de disco duro | NVMe |
| Tecnoloxía de conectividade | PCIe Gen4 x4 |
| Factor de forma | M.2 2280 |
| Dispositivos compatibles | Desktop, Gaming Console (PS5), Laptop |
| Peso do elemento | 0.353 onzas |
| Dimensións do produto | 5.24 x 0.31 x 1.57 polgadas |
5. Configuración e instalación
The ADATA Legend 860 SSD is designed for easy installation into compatible M.2 slots. Follow these general steps for installation:
- Prepara o teu sistema: Power off your computer or gaming console and unplug all cables. Open the casing to access the motherboard or M.2 expansion slot.
- Localizar a ranura M.2: Identify an available M.2 slot on your motherboard. These slots are typically labeled and may be covered by a heatsink.
- Inserir o SSD: Gently slide the ADATA Legend 860 SSD into the M.2 slot at a 30-degree angle. Ensure the gold connectors are fully seated.
- Protexer o SSD: Once inserted, push the SSD down until it is parallel with the motherboard. Secure it with the provided screw (usually included with your motherboard or console).
- Pechar Casing: Replace any heatsinks or covers, and close your system's casing.
- Power On and Initialize: Reconnect all cables and power on your system. You may need to initialize and format the new SSD through your operating system's Disk Management (Windows) or Disk Utility (macOS) before it can be used. Refer to your operating system's documentation for detailed instructions.
Instalación Examples:
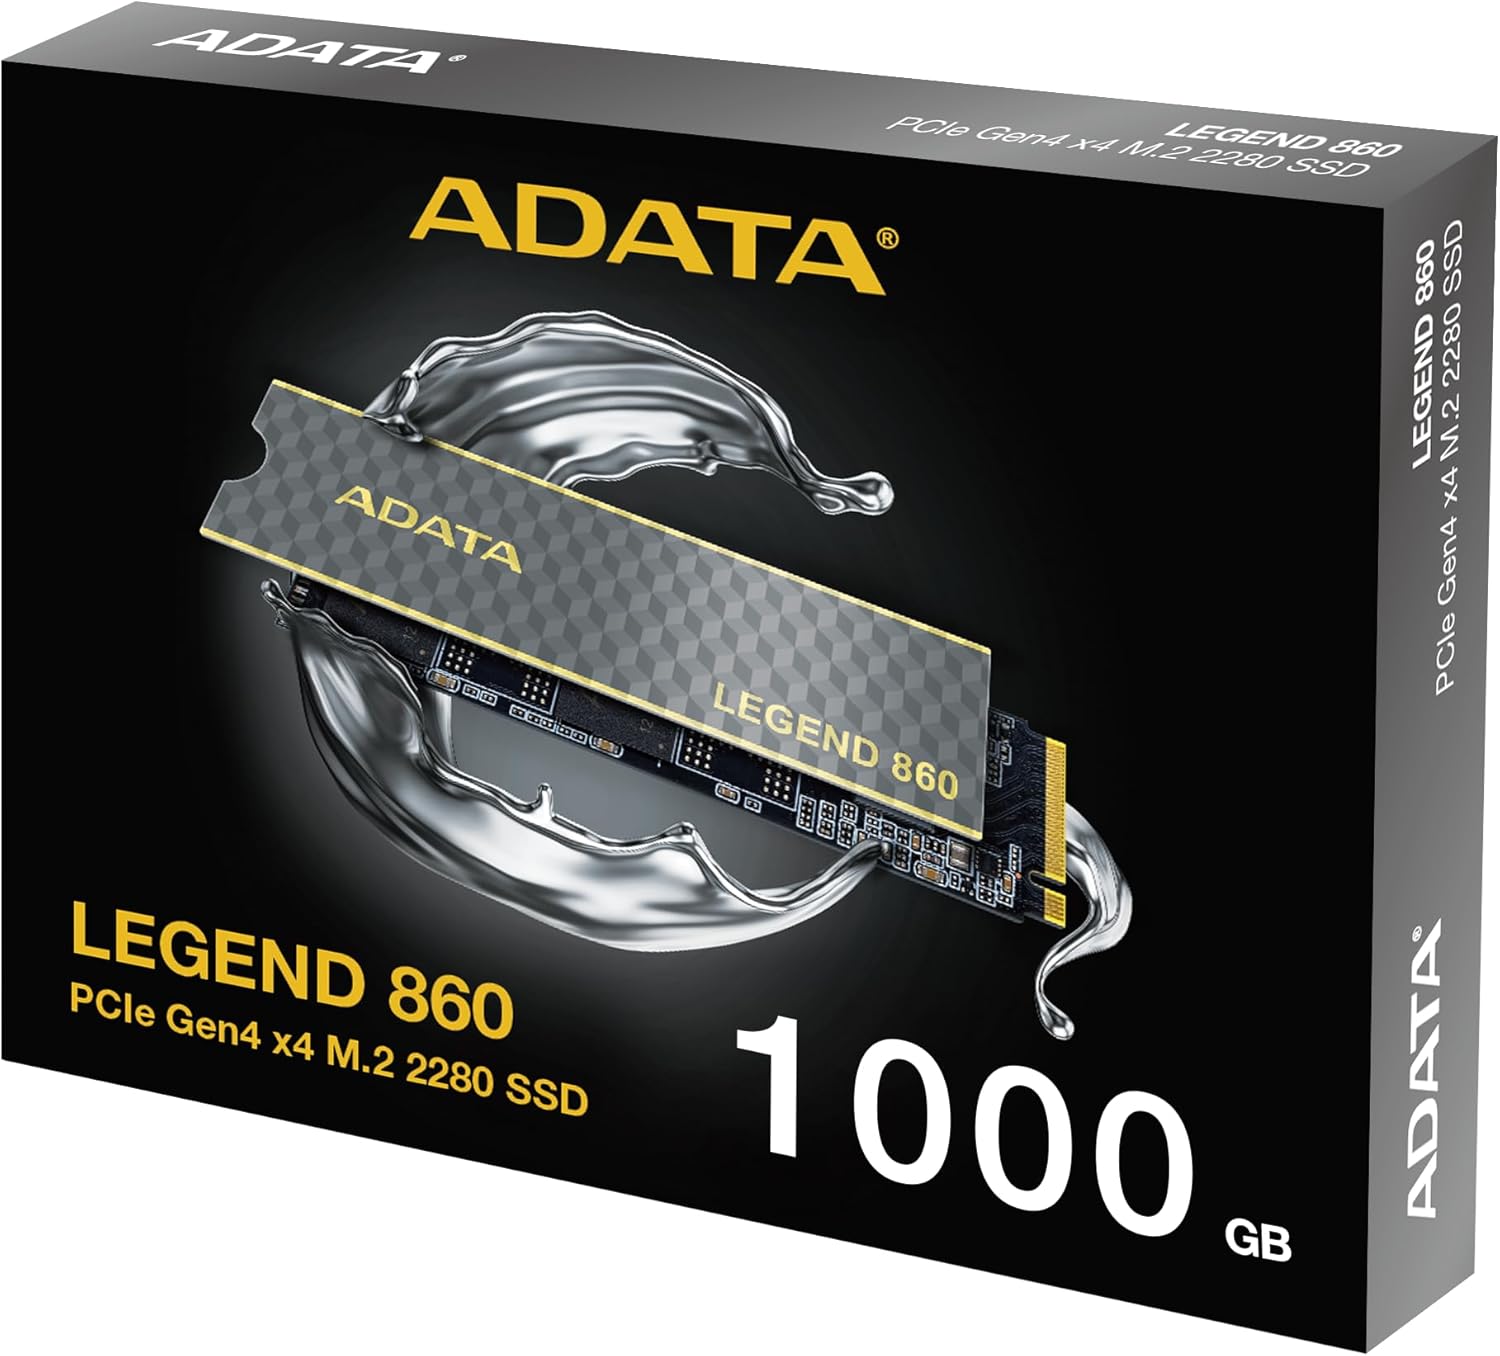
Figure 3: SSD installed in a desktop motherboard

Figure 4: SSD installed in a PlayStation 5 console
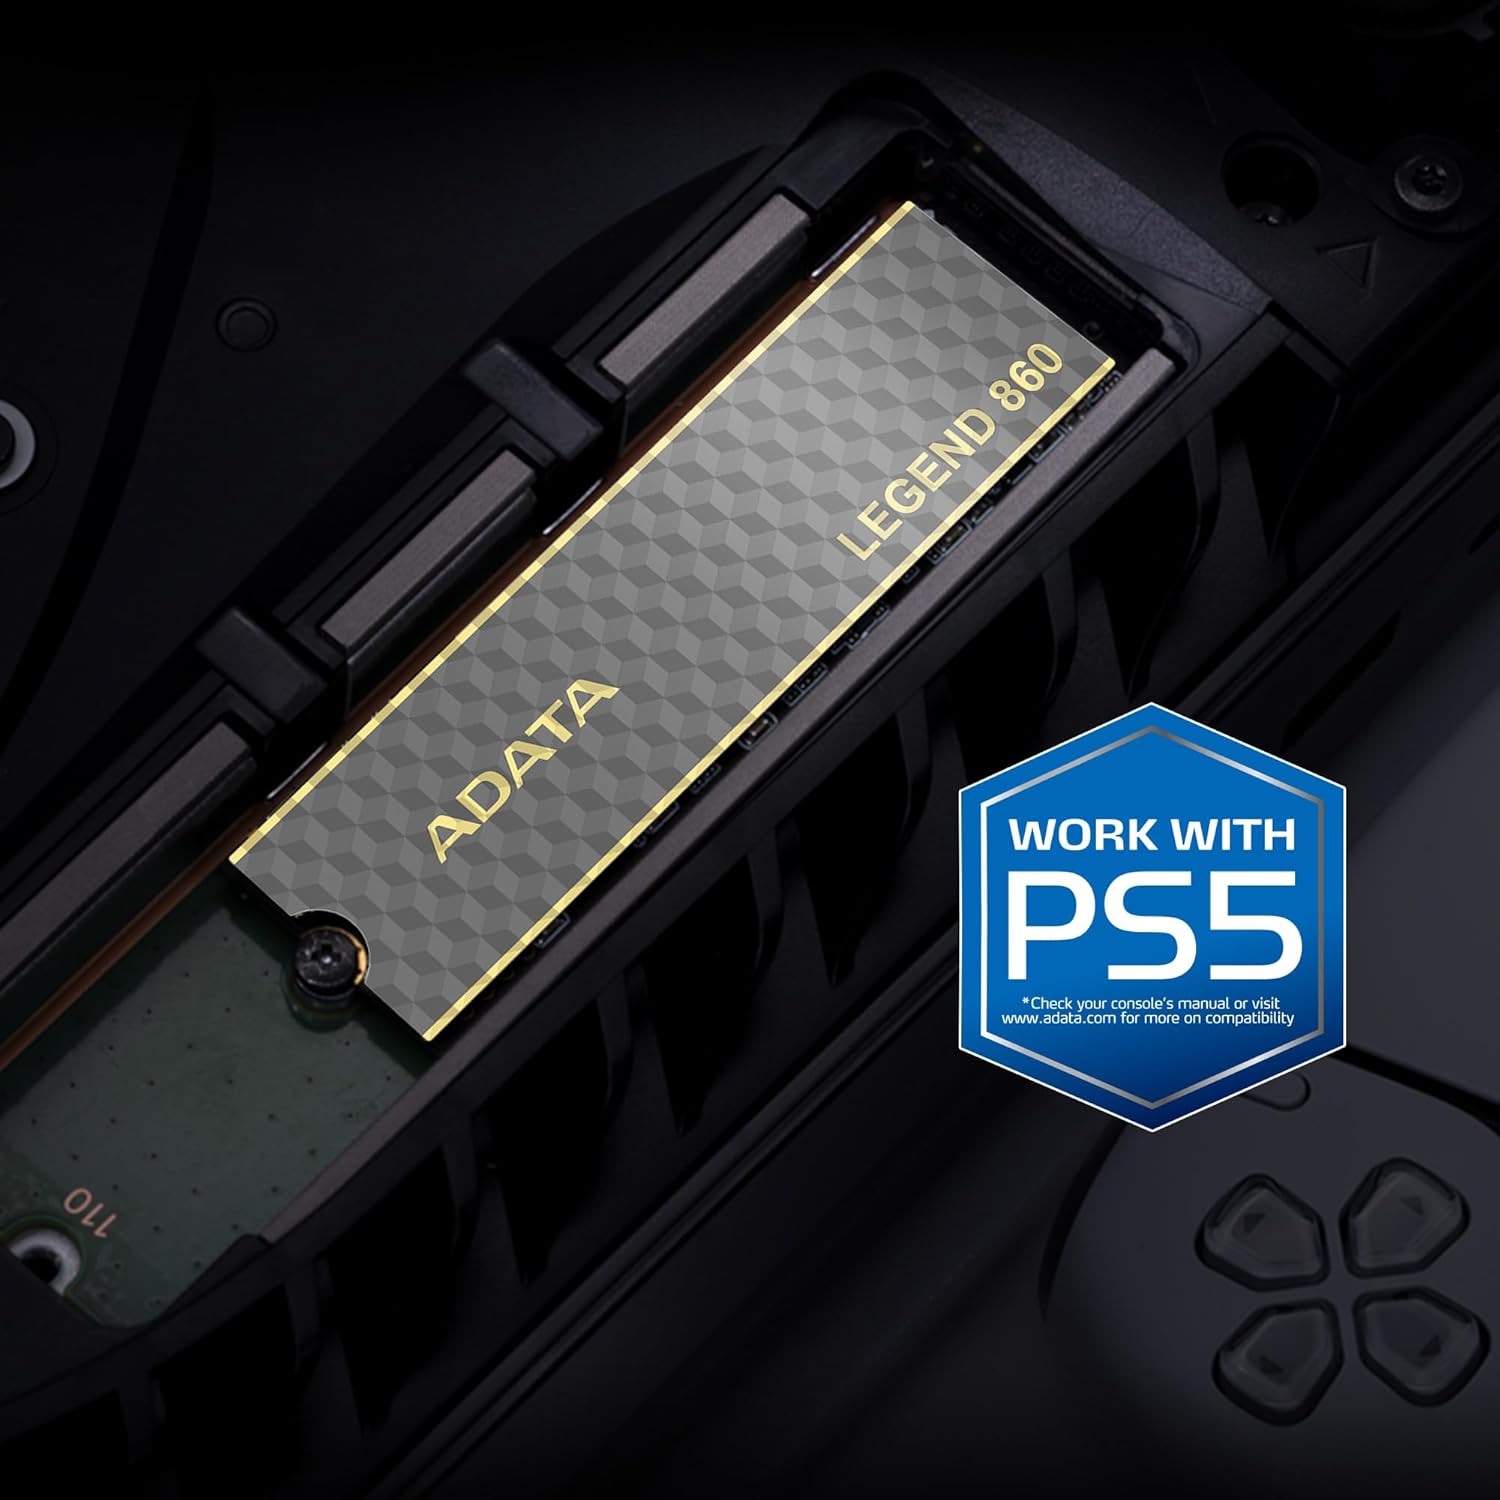
Figure 5: SSD installed in a laptop
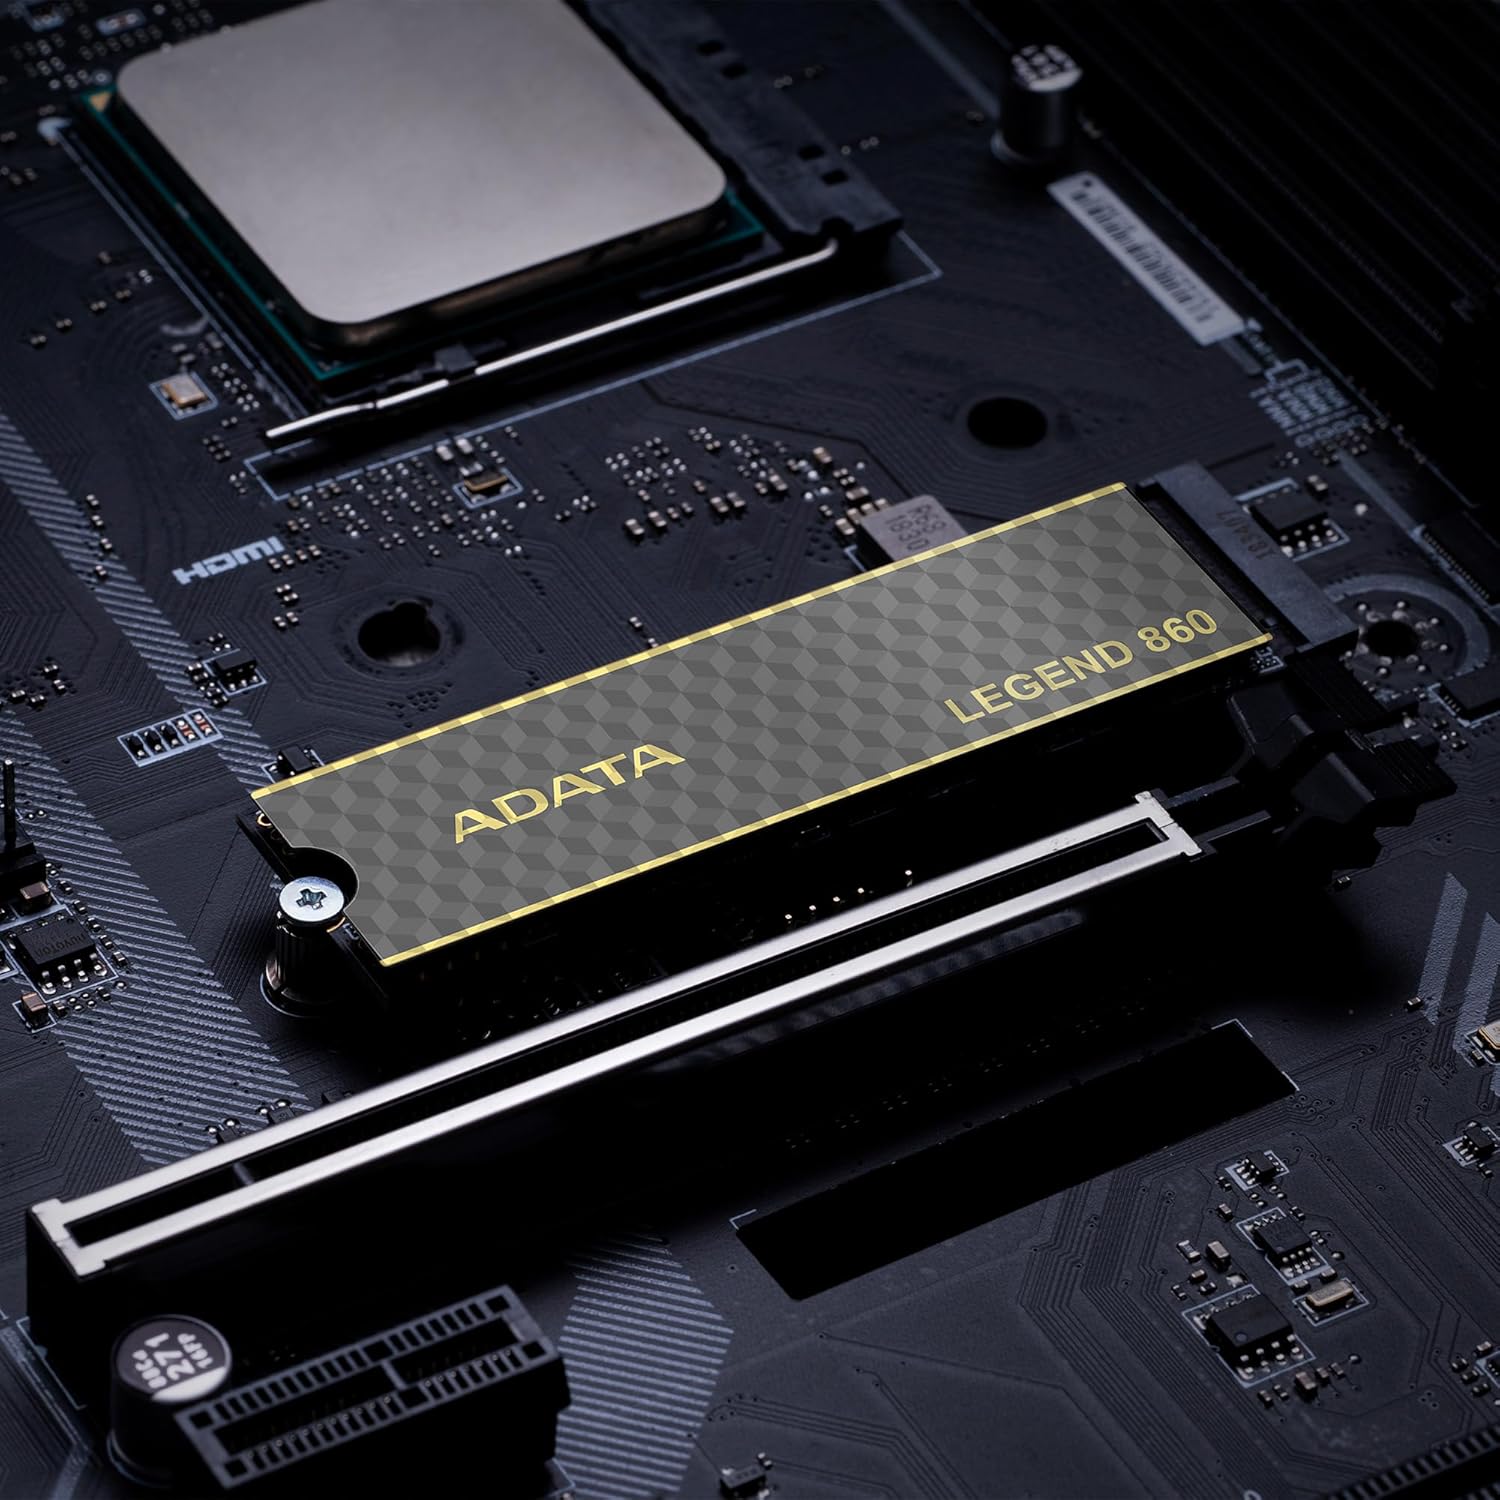
Figure 6: SSD in an external enclosure for portable use
6. Funcionamento
Once installed and formatted, your ADATA Legend 860 SSD will function as a high-speed storage device. You can use it for:
- Operating System Drive: Install your operating system for faster boot times and overall system responsiveness.
- Gaming Library: Store your games to significantly reduce load times and improve gaming experience.
- Almacenamento de aplicacións: Install demanding applications for quicker launch and operation.
- Almacenamento de datos: Use it for high-speed storage of large files, such as 4K videos, high-resolution images, and large project files.
For optimal performance, ensure your system's drivers and firmware are up to date.
7. Mantemento
To maintain the performance and longevity of your ADATA Legend 860 SSD:
- Manter o firmware actualizado: Periodically check the ADATA official websitio web para actualizacións de firmware para o teu SSD. As actualizacións de firmware poden mellorar o rendemento, a estabilidade e a compatibilidade.
- Evite o enchemento excesivo: While SSDs perform well even when nearly full, leaving some free space (typically 10-15%) can help maintain optimal performance and extend lifespan.
- Activar TRIM: Asegúrate de que TRIM estea activado no teu sistema operativo. TRIM axuda á unidade SSD a xestionar o seu espazo de almacenamento de forma eficiente, evitando a degradación do rendemento co paso do tempo. A maioría dos sistemas operativos modernos activan TRIM por defecto para as unidades SSD.
- Monitor de saúde: Use SSD monitoring tools (often provided by ADATA or third-party software) to check the health and estimated lifespan of your drive.
- Copias de seguridade regulares: Fai copias de seguridade dos datos importantes noutro dispositivo de almacenamento con regularidade. Aínda que os SSD son fiables, ningún dispositivo de almacenamento é inmune a fallos.
8 Solución de problemas
If you encounter issues with your ADATA Legend 860 SSD, consider the following troubleshooting steps:
- SSD non detectado:
- Asegúrate de que o SSD estea correctamente asentado na ranura M.2.
- Check your system's BIOS/UEFI settings to confirm the M.2 slot is enabled and configured correctly.
- Verify that your motherboard or console supports NVMe PCIe Gen4 SSDs.
- Try the SSD in a different M.2 slot or a compatible external enclosure to rule out a motherboard issue.
- Rendemento lento:
- Ensure your system's M.2 slot supports PCIe Gen4 speeds. If it's a Gen3 slot, the SSD will operate at Gen3 speeds.
- Check if TRIM is enabled (as mentioned in Maintenance).
- Asegúrate de que o SSD non estea case cheo.
- Update your motherboard's chipset drivers and SSD firmware.
- Inestabilidade/fallos do sistema:
- Ensure the SSD is properly secured and not overheating.
- Run a diagnostic tool to check the SSD's health.
- Check for system-wide issues (RAM, CPU, power supply).
If problems persist, contact ADATA customer support for further assistance.
9. Garantía e soporte
The ADATA Legend 860 Solid State Drive typically comes with a manufacturer's warranty. Please refer to the official ADATA website or your product packaging for specific warranty terms and conditions, including the duration and coverage details.
For technical support, driver downloads, firmware updates, and additional product information, please visit the official ADATA support websitio: www.adata.com
Conserve o seu comprobante de compra para reclamacións de garantía.


