1. Introdución
This manual provides detailed instructions for the setup, operation, and maintenance of your TMY Native 1080P Mini Projector. Please read this manual thoroughly before using the projector to ensure proper function and longevity.
2. Que hai na caixa
- TMY Native 1080P Mini Projector
- Control remoto
- Cable de alimentación
- Cable HDMI
- Manual de usuario
- Kit de limpeza
3. Produto rematadoview
The TMY Native 1080P Mini Projector is designed for versatile home entertainment, offering native 1080P resolution and various connectivity options in a compact form factor.

3.1 Portos de conectividade
O proxector dispón de varios portos para conectar varios dispositivos:

- Porto HDMI: For connecting devices such as TV sticks, PCs, gaming consoles, and DVD players.
- Porto USB: Para conectar unidades USB para reproducir contido multimedia files.
- Conector de audio de 3.5 mm: For connecting external wired speakers or headphones.
- Entrada de enerxía: Para conectar o cable de alimentación.
4. Configuración
4.1 Colocación
Position the projector on a stable, flat surface. The projection distance can range from 1.5 meters to 5 meters, producing a screen size from 40 inches to 200 inches. Ensure there are no obstructions between the projector and the projection surface.
4.2 Conexión de alimentación
- Conecte o cable de alimentación ao porto de entrada de alimentación do proxector.
- Conecte o outro extremo do cable de alimentación a unha toma de corrente.
4.3 Encendido inicial
Prema o botón de acendido do proxector ou do control remoto para acender o dispositivo. A luz indicadora acenderase.
4.4 Corrección de enfoque e trapezoide
To achieve a clear and rectangular image, adjust the focus ring and keystone correction dial located on the projector. The projector supports ±15° vertical keystone correction.

5. Instrucións de funcionamento
5.1 Conexión de dispositivos
The projector offers multiple ways to connect your devices:

5.1.1 Conexión HDMI
Connect your device (e.g., TV Stick, PC, gaming console) to the projector's HDMI port using an HDMI cable. Select the corresponding HDMI input source from the projector's menu.
5.1.2 Conexión USB
Insert a USB drive into the USB port. Navigate to the media player function in the projector's menu to browse and play files.
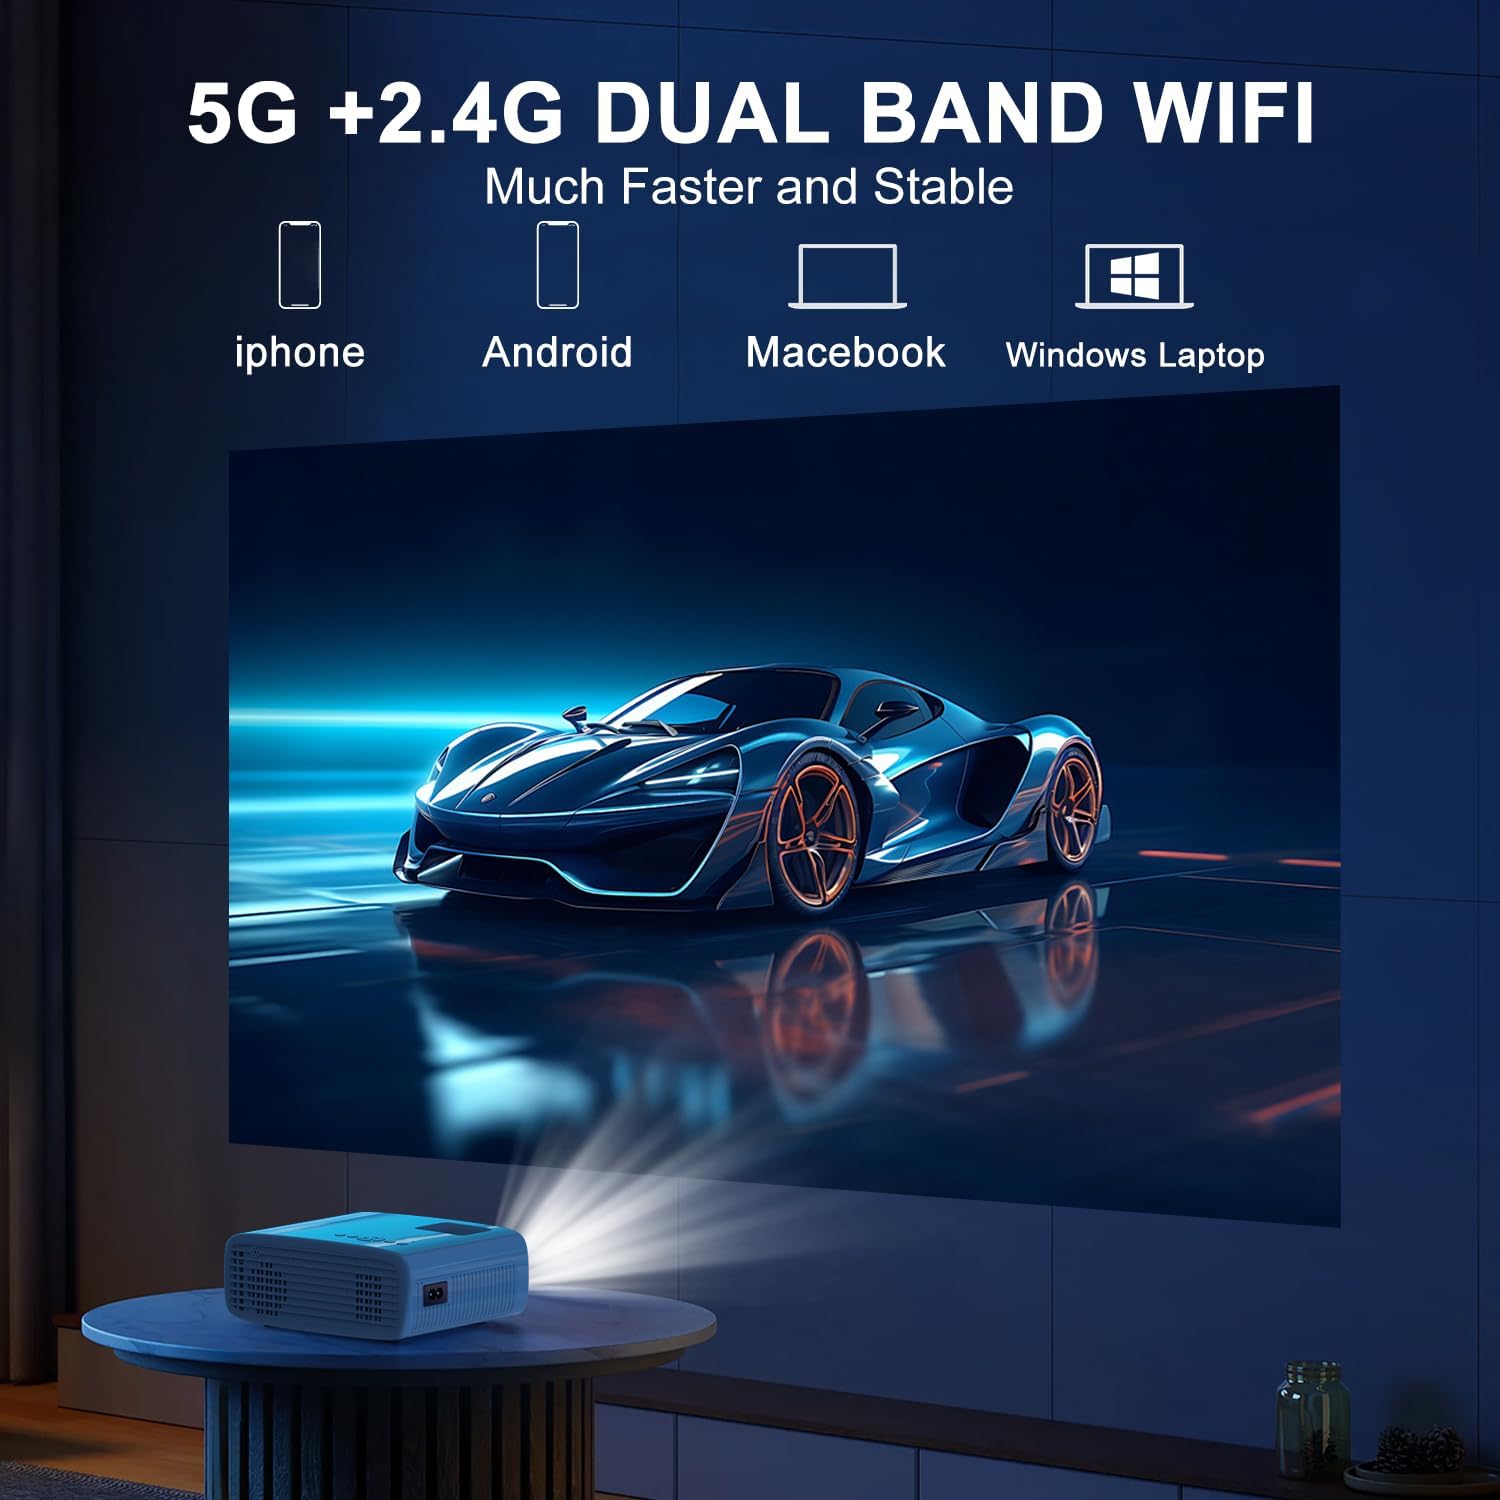
Conexión WiFi 5.1.3 (duplicación da pantalla)
The projector supports 5G/2.4G dual-band WiFi for wireless screen mirroring from compatible smartphones, tablets, and laptops. Access the WiFi settings in the projector's menu to connect to your home network and initiate screen mirroring.

5.1.4 Conexión Bluetooth
The projector features two-way Bluetooth 5.2 technology. It can connect to external Bluetooth speakers or headphones for audio output. Additionally, it can function as a Bluetooth speaker itself, allowing you to connect your smartphone or tablet to play audio through the projector's built-in speakers.
Nota:
- Bluetooth does not support screen mirroring with your phone.
- When connecting to external Bluetooth speakers, ensure the speaker is in pairing mode.
5.2 Función de zoom
The projector includes a 100% to 50% zoom function, allowing you to adjust the screen size digitally without physically moving the projector. This feature is accessible through the projector's menu settings.
5.3 Navegación por menús
Use the remote control to navigate through the projector's on-screen menu. The menu allows you to select input sources, adjust picture settings (brightness, contrast, color), sound settings, and other system configurations.
6. Mantemento
6.1 Limpeza
- Lente: Use the provided cleaning cloth or a soft, lint-free cloth to gently wipe the projector lens. Avoid abrasive materials.
- Exterior: Limpe o exterior do proxector cun pano suave e seco. Non empregue produtos de limpeza líquidos nin disolventes.
- Ventos de aire: Periodically check and clean the air vents to ensure proper airflow and prevent overheating.
6.2 Almacenamento
When not in use, store the projector in a cool, dry place, away from direct sunlight and extreme temperatures. Use the original packaging or a protective case to prevent dust accumulation and damage.
7 Solución de problemas
- Sen enerxía: Asegúrate de que o cable de alimentación estea conectado correctamente tanto ao proxector como á toma de corrente. Comproba se a toma de corrente funciona.
- Sen imaxe: Verify that the correct input source is selected in the projector's menu. Check all cable connections (HDMI, USB).
- Imaxe borrosa: Adjust the focus ring on the projector until the image is clear. Ensure the projection distance is within the recommended range.
- Image Not Rectangular: Use the keystone correction dial to adjust the image until it appears rectangular.
- Sen son: Check the volume settings on both the projector and the connected device. If using external speakers, ensure they are properly connected and powered on.
- Sound/Video Lag: For screen mirroring, ensure a stable WiFi connection. For wired connections, try a different cable or port. Note that Bluetooth does not support screen mirroring and may introduce slight audio delay with external speakers.
- Sobrequecemento: Ensure the projector's air vents are not blocked. Operate the projector in a well-ventilated area.
8. Especificacións
| Característica | Especificación |
|---|---|
| Marca | TMY |
| Modelo | B0DMW2G124 |
| Resolución de visualización | Nativo 1920 x 1080 (1080P) |
| Tecnoloxía de conectividade | 3.5mm Jack, Bluetooth 5.2, HDMI, USB, Wi-Fi (5G/2.4G) |
| Características especiais | 50%-100% Zoom, Built-In Cooling System, Two-way Bluetooth, Wi-Fi Ready |
| Usos recomendados | Gaming, Home Cinema |
| Peso do elemento | 2.51 libras |
| Dimensións do paquete | 9.09 x 8.7 x 4.17 polgadas |
| Cor | Branco + Negro |
9. Garantía e soporte
For warranty information or technical support, please refer to the warranty card included in your product packaging or contact TMY customer service directly. Contact details can typically be found on the official TMY websitio web ou a través da túa plataforma de compra.


