Introdución
This manual provides essential instructions for the safe installation, operation, and maintenance of your Durastar DRWHC232XNA1 Window Air Conditioner with Supplemental Heating. Please read this manual thoroughly before using the appliance and retain it for future reference.
Información importante de seguridade
ADVERTENCIA: Para reducir o risco de incendio, descarga eléctrica ou lesións, observe as seguintes precaucións de seguridade:
- This unit requires a dedicated 30 Amp, 230 Volt circuit breaker for proper operation. Ensure your electrical system can support these requirements.
- The appliance uses an LCDI 6-30P plug. Do not modify the plug or use an adapter. Ensure the wall receptacle matches the plug type.
- Desconecte sempre a alimentación antes de limpar ou realizar o mantemento da unidade.
- Non utilice a unidade cun cable de alimentación ou un enchufe danados.
- Manter os materiais de embalaxe fóra do alcance dos nenos.
- Non bloquee as entradas ou saídas de aire.
- Ensure the unit is securely installed in a window according to installation instructions to prevent falling.

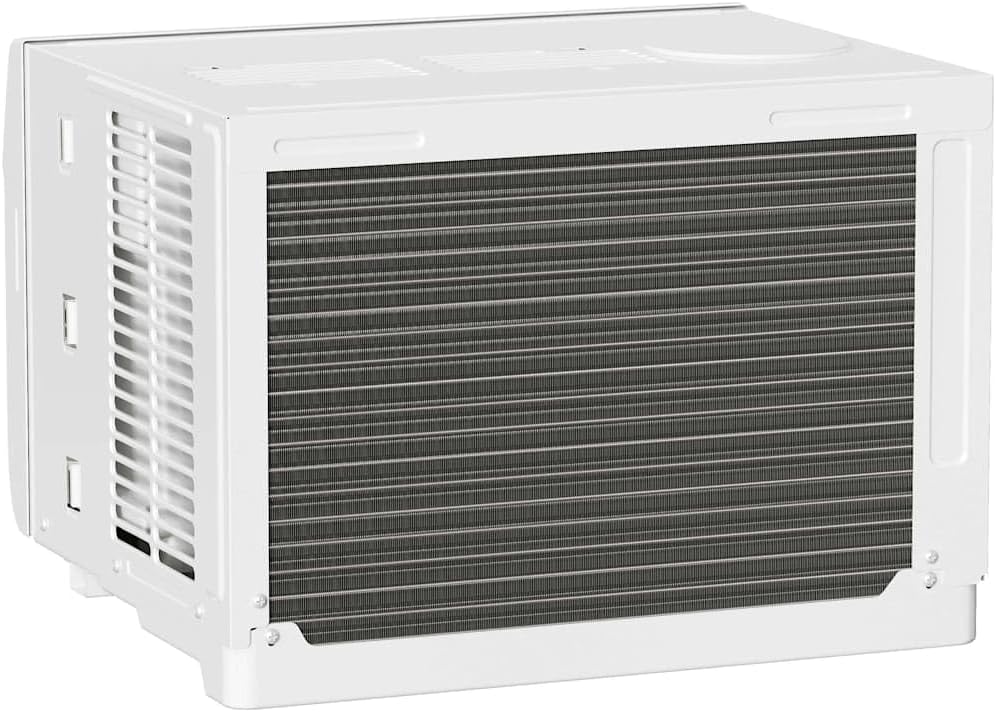
Produto rematadoview
The Durastar DRWHC232XNA1 is a window-mounted air conditioner designed to provide both cooling and supplemental heating for your space. It features multiple operating modes, fan speeds, and a remote control for convenient operation.

Configuración e instalación
Desembalaxe e compoñentes incluídos
Carefully remove the air conditioner from its packaging. Inspect for any shipping damage. The package should contain the following items:
- Unidade de aire acondicionado de fiestra
- Control remoto
- Window Mounting Kit (Side Panels, Foam Seal)
- Manual de usuario (este documento)

Requisitos da fiestra
This unit is designed for installation in standard double-hung windows. Ensure your window meets the following dimensions:
- Minimum Window Width: 28 polgadas
- Maximum Window Width: 40.5 polgadas
- Minimum Window Height: 18.5 polgadas
Important: The electrical requirements for this unit are 230 Volts and a dedicated 30 Amp circuit. Verify your electrical outlet and circuit breaker are compatible before installation.

Pasos de instalación (resumo)
- Prepare the window by cleaning the sill and frame.
- Attach the side panels to the air conditioner unit.
- Carefully lift and place the unit into the window opening, ensuring it is centered and level or slightly tilted outwards for drainage.
- Estenda os paneis laterais para encher o oco da xanela e asegúreos.
- Install the top and side locking brackets and foam seals to ensure a tight fit and prevent air leakage.
- Plug the unit into the appropriate 230V, 30 Amp saída.
Refer to the detailed installation guide provided with your unit for complete step-by-step instructions and diagrams.
Instrucións de funcionamento
Panel de control
The unit can be operated using the control panel on the front of the unit or the remote control.

- Botón de encendido: Acende ou apaga a unidade.
- Botón de modo: Cambia ciclicamente polos modos de funcionamento: Automático, Refrixeración, Secado, Quecemento e Ventilador.
- Botón de velocidade do ventilador: Adjusts fan speed: Low, Medium, High.
- Botóns para subir/baixar a temperatura: Axusta a configuración de temperatura desexada.
- Botón do temporizador: Axusta o temporizador de acendido/apagado de 24 horas.
- Aforro de enerxía: Activa ou desactiva o modo de aforro de enerxía.
- Pantalla LED: Mostra a temperatura configurada ou os axustes do temporizador.
Control remoto
O mando a distancia ofrece unha funcionalidade completa a distancia.

- AUTOMÁTICO: Selecciona automaticamente a calefacción ou a refrixeración segundo a temperatura ambiente.
- FRÍO: Proporciona refrixeración.
- SECO: Deshumidifica a habitación.
- CALENTACIÓN: Ofrece calefacción complementaria.
- VENTILADOR: Operates as a fan only, circulating air.
- TEMP ▲/▼: Axusta a temperatura desexada.
- MODO: Cambia ciclicamente polos modos de funcionamento.
- ON/OFF: Acende ou apaga a unidade.
- VELOCIDADE DO FAN: Selects fan speed (High, Med, Low).
- SÍGUEME: Activates a feature where the remote control acts as a thermostat, sensing the temperature at its location.
- DURMIR: Axusta a temperatura e a velocidade do ventilador para un sono cómodo.
- TEMPORIZADOR ON/OFF: Programs the unit to turn on or off at a set time.
- °C/°F: Alterna a visualización da temperatura entre graos Celsius e Fahrenheit.
- DISPLAY LED: Turns the unit's LED display on or off.
- AFORRO DE ENERXÍA: Activa ou desactiva o modo de aforro de enerxía.
Dirección aérea
The unit features 4-way air directional louvers. Adjust these manually to direct airflow as desired for optimal comfort.
Mantemento
Always unplug the unit from the power outlet before performing any maintenance.
Limpeza do filtro de aire
The air filter should be cleaned regularly, typically every two weeks, or more often depending on usage and air quality. A dirty filter can reduce efficiency and airflow.
- Abra o panel frontal da unidade.
- Retire con coidado o filtro de aire.
- Lava o filtro con auga morna e xabón. Enxáguao ben.
- Allow the filter to air dry completely before reinstalling. Do not expose to direct sunlight or high heat.
- Volva colocar o filtro seco e peche o panel frontal.
Limpeza exterior
Limpe o exterior da unidade cun suave, damp pano. Non empregue produtos químicos agresivos, abrasivos nin disolventes, xa que poden danar a superficie.
Almacenamento estacional
If storing the unit for an extended period, clean the air filter and exterior. Cover the unit to protect it from dust and store it in a dry, safe location.
Resolución de problemas
Antes de contactar co servizo de atención ao cliente, volva aview os seguintes problemas e solucións comúns:
| Problema | Causa posible | Solución |
|---|---|---|
| A unidade non se acende. | No power; tripped circuit breaker; faulty plug/outlet. | Check power cord connection. Reset circuit breaker. Ensure 230V/30A outlet is functional. |
| Unit is on but not cooling/heating effectively. | Dirty air filter; blocked air vents; room too large; temperature setting too high/low. | Clean air filter. Ensure vents are clear. Verify room size is within coverage area. Adjust temperature setting. |
| Water dripping from unit (indoors). | Improper installation (not tilted slightly outwards); clogged drain. | Ensure unit is tilted slightly outwards for proper drainage. Check and clear drain pan/hose if accessible. |
| O control remoto non funciona. | Dead batteries; obstruction between remote and unit. | Substitúa as pilas do mando a distancia. Retire calquera obstrución. |
Especificacións
| Característica | Detalle |
|---|---|
| Marca | Durastar |
| Modelo | DRWHC232XNA1 |
| Capacidade de refrixeración | 23,200 BTU |
| Capacidade de calefacción | 16,000 BTU (Supplemental) |
| Voltage | 230 voltios |
| Wattage | 5060 vatios |
| Tipo de enchufe | LCDI 6-30P (Requires 30 Amp circuíto) |
| Coverage Area (Cooling) | Ata 1,500 pés cadrados. |
| Coverage Area (Heating) | Ata 700 pés cadrados. |
| Eliminación da humidade | 137 pintas / día |
| Velocidades do ventilador | 3 (Baixo, Medio, Alto) |
| Modos de funcionamento | Automático, Refrixeración, Secado, Calor, Ventilador |
| Nivel de ruído | 68 decibeis |
| Dimensións do produto (ancho x fondo x alto) | 25.38 x 25.38 x 17.94 polgadas |
| Peso do elemento | 121 libras |
| Eficiencia | Alta Eficiencia |
| VIdente | 17 |
| Clasificación por estrelas BEE | 4 estrelas |
| Características especiais | Remote Controlled, 24-hour Timer, 4-way Air Directional Louvers |
Garantía e Soporte
Información da garantía
For detailed warranty information, please refer to the warranty card included with your product or visit the official Durastar websitio. Garde o recibo da compra como xustificante de compra para reclamacións de garantía.
Atención ao cliente
If you have questions, require technical assistance, or need to report an issue, please contact Durastar customer support. You can find contact information on the official Durastar websitio web ou a través do seu vendedor.
Visit the official Durastar Store: Durastar Store on Amazon


