Introdución
Thank you for choosing the CRUA 27-inch 4K UHD 144Hz IPS Gaming Monitor. This monitor is designed to deliver an immersive visual experience with its high resolution, fast refresh rate, and vibrant color reproduction. This manual provides essential information for the proper installation, operation, and maintenance of your new monitor. Please read it thoroughly before use and retain it for future reference.
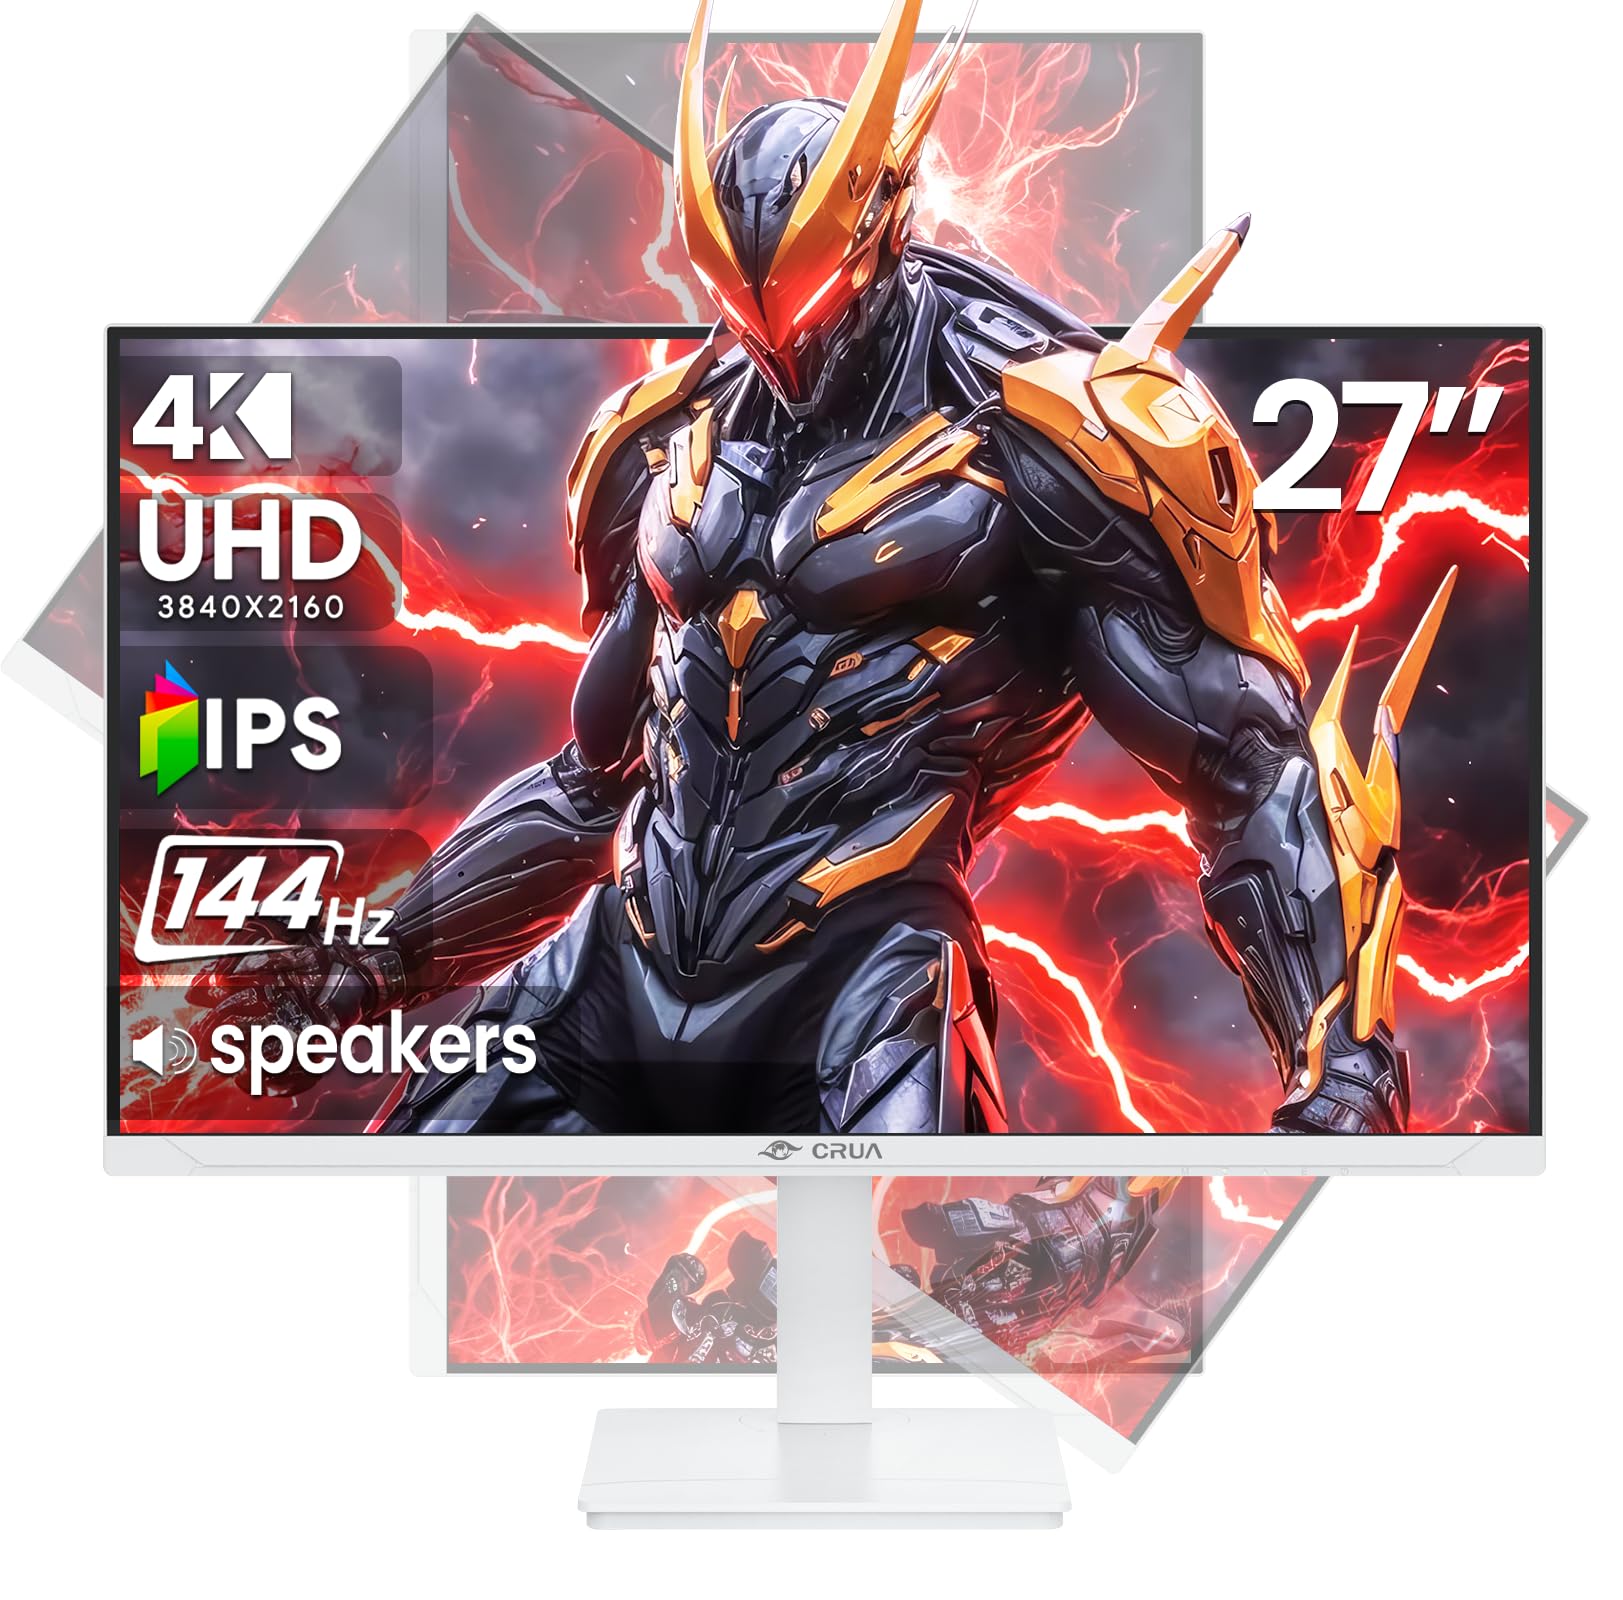
Imaxe: Fronte view of the CRUA 27-inch 4K UHD 144Hz IPS Gaming Monitor.
O que hai na caixa
Comprobe o contido do seu paquete. Se falta algún artigo ou está danado, póñase en contacto co seu vendedor.
- Monitor de 27 polgadas
- Cable DP
- Base and Support
- Manual de usuario
- Fonte de alimentación
Características do produto
- 27" 4K Display with IPS Panel: Experience ultra-clear visuals with a 3840x2160P resolution.
- Frecuencia de actualización de 144 Hz: Enjoy fluid and sharp motion, ideal for competitive gaming and fast-paced content.
- Precisión da cor do 120 % sRGB: Delivers rich and accurate tones with 350cd/m² brightness and 1000:1 high-contrast.
- Altofalantes incorporados: Provides clear audio for daily use.
- Full Ergonomic Adjustment: Features height, pivot, tilt, and rotation adjustments for optimal viewángulos de inflexión.
- Múltiples opcións de conectividade: Equipped with 2x HDMI 2.1 and 2x DP 1.4 ports.
- Compatibilidade con AMD FreeSync: Synchronizes the monitor's refresh rate with your GPU for tear-free gaming.
- Montaxe na parede: Supports VESA 75mm x 75mm wall mounts for flexible installation.
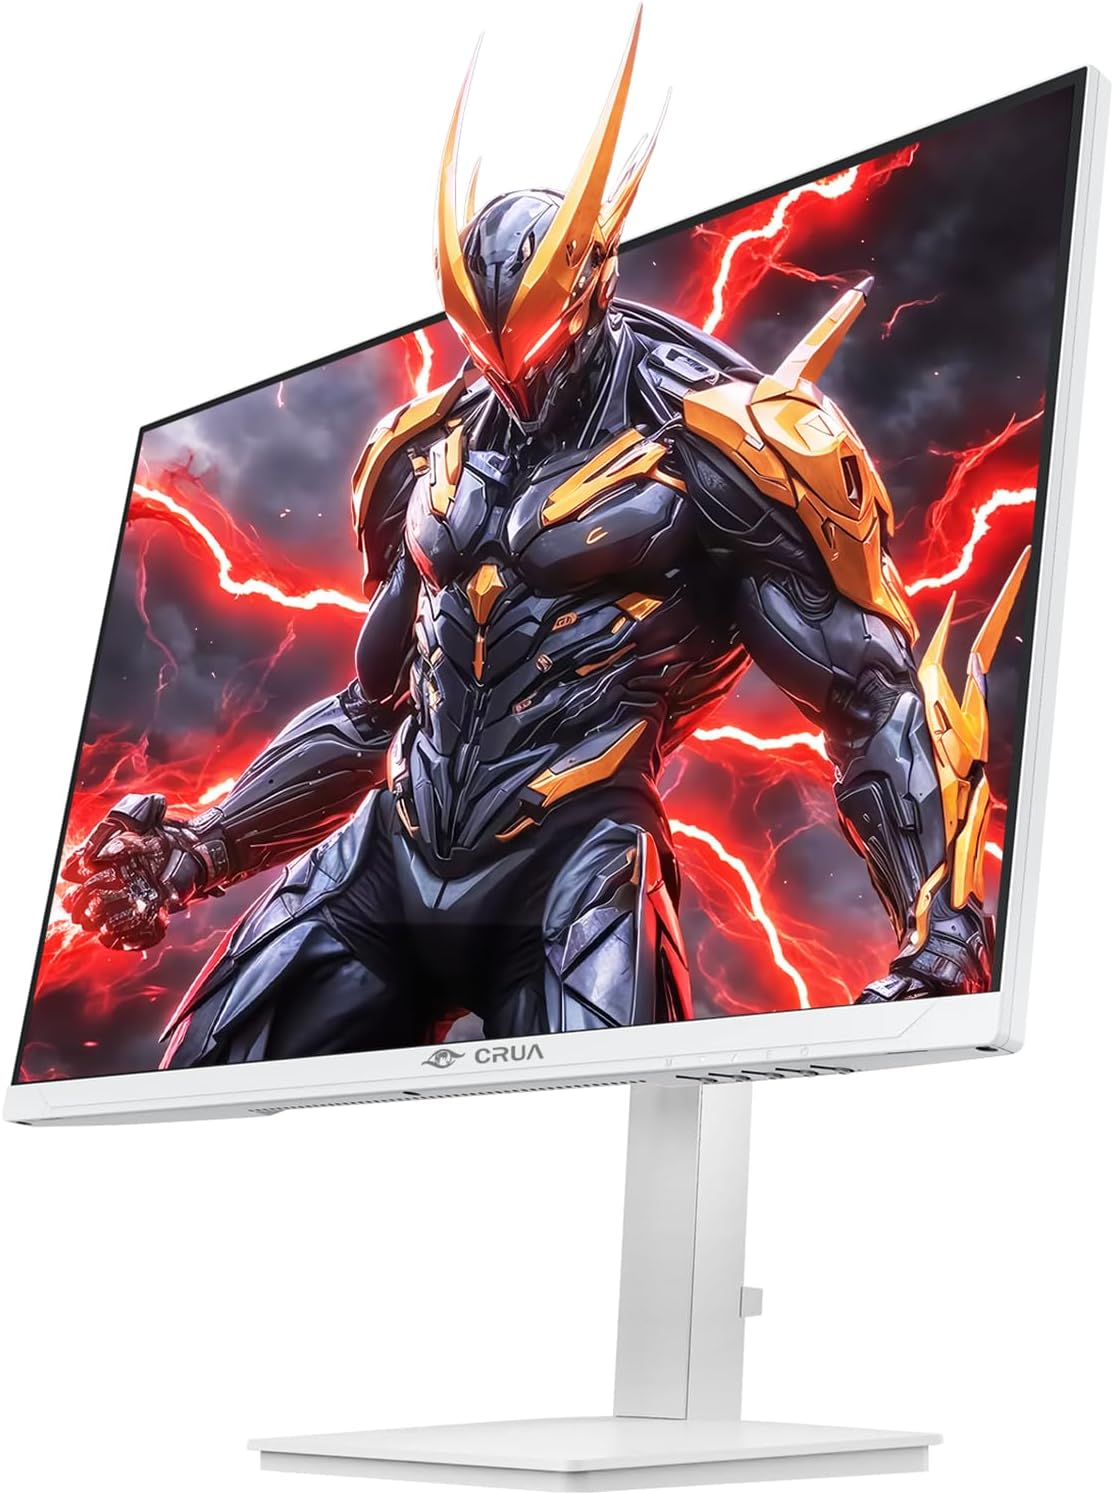
Imaxe: Fronte view of the CRUA 27-inch 4K UHD 144Hz IPS Gaming Monitor displaying a game scene.

Imaxe: Traseira view of the CRUA 27-inch 4K UHD 144Hz IPS Gaming Monitor showing the stand and RGB lighting.

Imaxe: Traseira view of the CRUA 27-inch 4K UHD 144Hz IPS Gaming Monitor highlighting the input ports (2x DP 1.4, 2x HDMI 2.1, and 3.5mm Audio Port).

Image: Diagram illustrating the adjustable height (110mm), tilt (-5° to +15°), swivel (±30°), and pivot (90°) features of the CRUA 27-inch 4K UHD 144Hz IPS Gaming Monitor.
Instrucións de configuración
1. Montaxe do soporte
- Retire con coidado os compoñentes do monitor e do soporte da embalaxe.
- Fixe o colo do soporte ao panel do monitor. Asegúrese de que encaixa firmemente no seu lugar ou de que estea fixado con parafusos se os hai.
- Attach the base to the stand neck, securing it with the thumb screw or other fasteners.
- Coloque o monitor montado sobre unha superficie estable e plana.
2. Montaxe na parede (opcional)
The monitor supports VESA 75mm x 75mm wall mounts. Remove the stand before attaching a compatible wall mount bracket (not included). Follow the instructions provided with your wall mount.
3. Cables de conexión
- Potencia: Connect the power supply to the monitor's power input and then to a power outlet.
- Entrada de vídeo: Connect one end of the provided DP cable (or an HDMI cable) to the corresponding port on your computer's graphics card and the other end to a DP 1.4 or HDMI 2.1 port on the monitor.
- Saída de audio (opcional): If using external speakers or headphones, connect them to the 3.5mm audio jack on the monitor.
4. Acendido inicial
Press the power button on the monitor. The monitor should automatically detect the input signal. If not, you may need to manually select the input source using the OSD menu.
Instrucións de funcionamento
1. Acendido/apagado
Press the power button located on the monitor to turn it on or off.
2. Navegación polo menú OSD
The On-Screen Display (OSD) menu allows you to adjust various monitor settings. Navigate the menu using the joystick or buttons typically located on the back or bottom of the monitor.
- Prema o joystick/botón para abrir o menú OSD.
- Move the joystick up/down or use corresponding buttons to navigate through menu options.
- Mova o joystick cara á esquerda/dereita ou use os botóns correspondentes para axustar os valores ou entrar en submenús.
- Press the joystick/button again to confirm selections or exit sub-menus.
3. Selección da fonte de entrada
If the monitor does not automatically detect the correct input, open the OSD menu, navigate to "Input Source," and select the active input (e.g., HDMI1, HDMI2, DP1, DP2).
4. Axustar a configuración da pantalla
Dentro do menú OSD, podes personalizar axustes como:
- Brillo/Contraste: Axusta os niveis xerais de luminancia e contraste.
- Configuración de cor: Axuste fino da temperatura da cor, gamma e valores RGB individuais.
- Calidade da imaxe: Select preset modes (e.g., Standard, Game, Movie) or customize sharpness and dynamic contrast.
- Resolución e frecuencia de actualización: Ensure your computer's display settings match the monitor's native 4K UHD (3840x2160P) resolution and 144Hz refresh rate for optimal performance.
- AMD FreeSync: Enable FreeSync in the OSD menu and your graphics card control panel for adaptive synchronization.
5. Configuración de audio
Adjust the volume of the built-in speakers or connected external audio devices through the OSD menu's audio section. You can also mute the audio if desired.
6. Axustes ergonómicos
Axuste o monitor ao seu preferido viewposición de ing:
- Altura: Gently push or pull the monitor up or down along the stand.
- Inclinación: Tilt the screen forward or backward.
- Xiratorio: Xire o monitor á esquerda ou á dereita sobre a súa base.
- Pivote: Rotate the screen 90 degrees for vertical orientation.
Mantemento
Limpeza da pantalla
- Apague sempre o monitor e desconecte o cable de alimentación antes de limpalo.
- Use un pano suave e sen pelusa damplavado con auga ou cun limpador de pantallas especializado.
- Non pulverices o limpador directamente sobre a pantalla.
- Evita usar produtos de limpeza abrasivos, alcol ou solucións con base de amoníaco, xa que poden danar a superficie da pantalla.
Atención Xeral
- Manteña o monitor lonxe da luz solar directa, de fontes de calor e do exceso de po.
- Asegúrese de que haxa unha ventilación axeitada arredor do monitor para evitar o sobrequecemento.
- Non coloque obxectos pesados sobre o monitor nin sobre os seus cables.
- Evite tocar a pantalla con obxectos cortantes.
Resolución de problemas
| Problema | Posible Solución |
|---|---|
| Non hai imaxe na pantalla |
|
| Non hai son dos altofalantes |
|
| Parpadeo ou distorsión da imaxe |
|
| Os botóns non responden |
|
For further assistance, please refer to the CRUA support websitio ou póñase en contacto co servizo de atención ao cliente.
Especificacións
| Característica | Detalle |
|---|---|
| Número de modelo | CR270E |
| Tamaño da pantalla | 27 polgadas |
| Resolución | 4K UHD (3840 x 2160 píxeles) |
| Taxa de actualización | 144 Hz |
| Tipo de panel | IPS |
| Relación de aspecto | 16:9 |
| Gama de cores | 120 % sRGB |
| Brillo | 350 Candelas (cd/m²) |
| Relación de contraste | 1000:1 |
| Conectividade | 2x DP 1.4, 2x HDMI 2.1, 1x 3.5mm Audio Jack |
| Sincronización adaptativa | AMD FreeSync |
| Ergonomía | Height, Pivot, Tilt, Rotate Adjustable |
| Soporte de parede | VESA 75 mm x 75 mm |
| Altofalantes incorporados | Si |
| Dimensións do produto | 2.5 x 24 x 14 polgadas |
| Peso do elemento | 11.38 libras |
Garantía e Soporte
CRUA provides high-quality computer monitors and premium services. For warranty information, technical support, or any questions regarding your monitor, please visit the official CRUA website or contact their customer service team. Details can typically be found on the product packaging or the CRUA brand store on Amazon.
Información de contacto: Refer to your purchase documentation or the CRUA official websitio web para obter os datos de contacto de asistencia máis actualizados.