Introdución
This manual provides essential information for the safe assembly, operation, and maintenance of your Outsunny Planter Box with Trellis. Please read these instructions thoroughly before beginning assembly or use to ensure proper function and longevity of the product. Keep this manual for future reference.
Información de seguridade
- Asegúrate de que todas as pezas estean presentes e intactas antes da montaxe. Non continúes coa montaxe se falta algunha peza ou está danada.
- Assemble the planter box on a flat, stable, and clean surface to prevent injury or damage to components.
- Do not overload the planter box with excessive soil or plants beyond its maximum weight capacity of 110 lbs (approximately 50 kg). Overloading can compromise structural integrity.
- Manteña os nenos e as mascotas lonxe da zona de montaxe para evitar accidentes con pezas ou ferramentas pequenas.
- Periodically inspect all connections, screws, and the overall structure for tightness and stability. Tighten any loose fasteners as needed.
- Position the planter box in a location where it will not obstruct pathways or create a tripping hazard.
Contido do paquete
Antes da montaxe, comprobe que todos os compoñentes que se indican a continuación estean incluídos no paquete:
- 1x Planter Box (galvanized steel components)
- 1x Trellis (metal grid structure)
- Assembly Hardware (screws, nuts, washers, and any provided tools)
If any parts are missing or damaged, please contact Outsunny customer service for assistance.
Configuración e montaxe
Follow these steps to assemble your Outsunny Planter Box with Trellis:
- Desembalar e identificar as pezas: Carefully remove all components from the packaging. Lay them out and identify each part according to the included parts diagram (if provided).
- Assemble the Planter Box Base: Begin by connecting the bottom panel to the side panels using the provided hardware. Ensure all connections are secure but do not fully tighten screws until the entire box is assembled.
- Fixar os paneis laterais: Securely attach the remaining side panels to form the planter box. Pay attention to the orientation of panels, ensuring the decorative rhomboic pattern faces outwards.
- Secure the Trellis: Once the planter box is formed, attach the trellis structure to the designated mounting points on the back of the planter box using the appropriate hardware.
- Apertura final: Once all components are in place and aligned, systematically tighten all screws and fasteners to ensure the structure is firm and stable.

Image: Product dimensions for assembly reference.

Image: Fully assembled planter box with trellis.
Vídeo: Un overview of the Outsunny Garden Bed with Trellis, demonstrating its features and potential uses in a garden setting. This video provides a visual guide to the product's design and functionality.
Instrucións de funcionamento
Once assembled, your planter box is ready for use:
- Colocación: Position the assembled planter on a stable, level surface in your desired outdoor location.
- Recheo: Fill the planter box with appropriate potting soil or a suitable growing medium for your chosen plants. Ensure not to overfill, leaving some space from the top edge.
- Plantación: Plant your desired flowers, vegetables, or herbs. Consider the plant's growth habits and space requirements.
- Trellis Use: For climbing plants, gently guide their tendrils onto the integrated trellis as they grow. The trellis provides support and encourages vertical growth.
- Rego: Water plants regularly according to their needs. The planter is equipped with drainage holes to prevent waterlogging and ensure healthy root development.

Imaxe: Examples of the planter box with trellis in use as a backdrop and a space divider.

Image: Detail of the drainage holes, illustrating their function in preventing waterlogging.
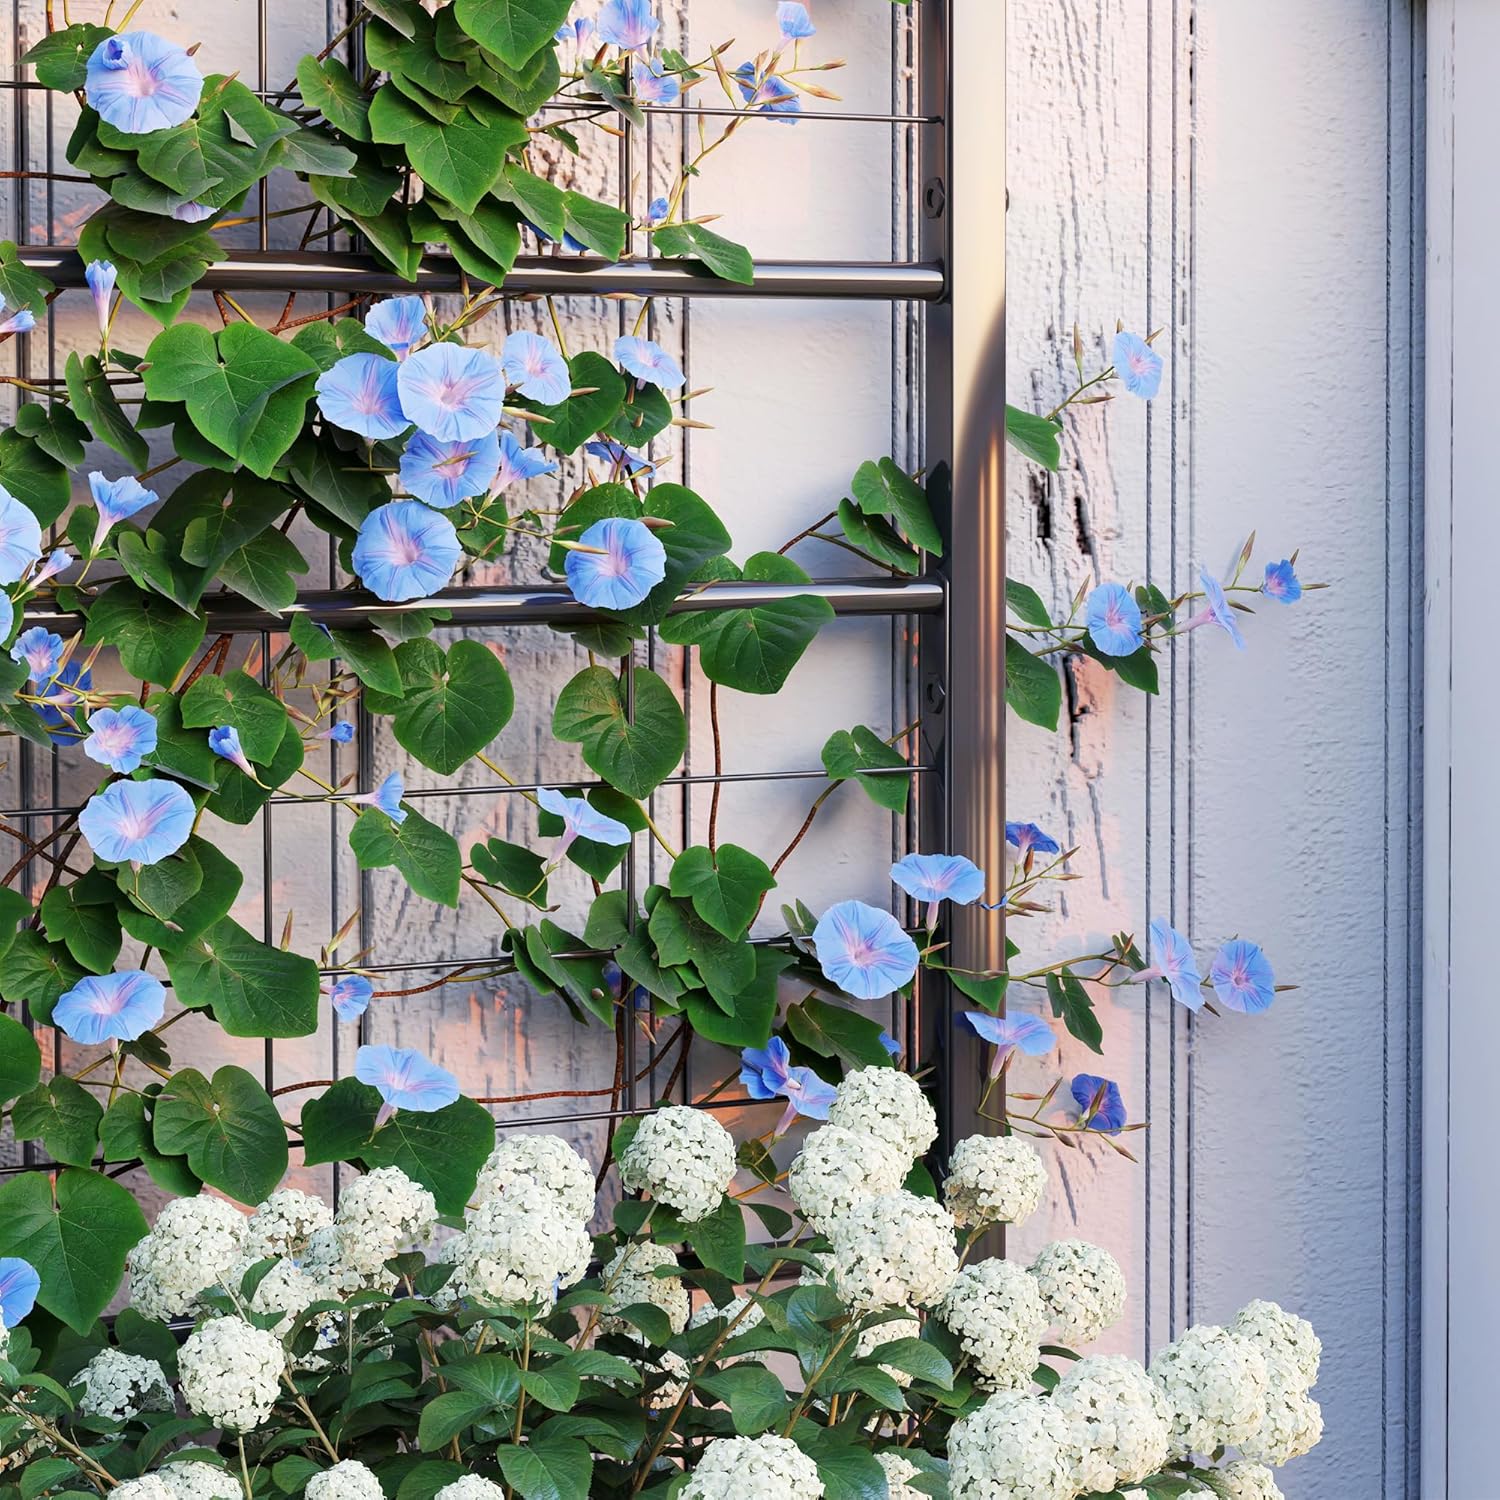
Image: Climbing plants utilizing the trellis for support.
Mantemento
To ensure the longevity and appearance of your planter box:
- Limpeza: Clean the galvanized steel surfaces with a soft, damp pano. Evite produtos de limpeza abrasivos ou produtos químicos agresivos que poidan danar o acabado.
- Inspección de drenaxe: Periodically check the drainage holes at the bottom of the planter box to ensure they are free from soil or debris blockages. Clear any obstructions to maintain efficient drainage.
- Comprobación estrutural: Regularly inspect the stability of the trellis and all connections. Tighten any screws that may have loosened over time due to weather exposure or movement.
- Coidado do material: The planter box is crafted from 0.7 mm thickened galvanized steel, designed to be anti-rust, anti-corrosion, and anti-deformation. Regular cleaning and inspection will help maintain these properties.

Image: Detail of the upgraded galvanized steel material and its thickness.
Resolución de problemas
- Issue: Poor Drainage
Solución: Check the drainage holes at the bottom of the planter box for any obstructions such as compacted soil or debris. Clear them using a small tool. Ensure the planter is placed on a level surface to allow water to drain freely. - Issue: Unstable Trellis or Planter
Solución: Verify that all screws and fasteners used during assembly are securely tightened. If the planter feels wobbly, re-tighten all connections. Ensure the planter is on a firm, level ground. - Issue: Plants Not Climbing Trellis
Solución: Some climbing plants may need initial guidance. Gently weave or tie the plant's tendrils to the trellis using soft ties (not included) until they establish their own climbing habit. Ensure the plant variety is suitable for climbing.
Especificacións
| Marca | soleado |
| Número de modelo | 84H-ADEVJJBK1 |
| Material | Aceiro de aliaxe (galvanizado) |
| Cor | Negro |
| Dimensións do produto | 35.4" de longo x 15.7" de ancho x 47.2" de alto (90 cm de longo x 40 cm de ancho x 120 cm de alto) |
| Planting Area Dimensions | 33.5 cm de longo x 13.8 cm de ancho x 10.8 cm de alto (aprox.) |
| Peso do elemento | 30 libras (13.6 kg) |
| Capacidade de peso | 110 libras (50 kg) |
| Capacidade | 21.6 litros |
| Características especiais | Drainage Holes, Weather Resistant |
| Uso interior/exterior | Ao aire libre |
| Compoñentes incluídos | Enreixado |

Imaxe: Arriba view of the planter box, illustrating its capacity and planting area.
Garantía e Soporte
For information regarding product warranty, returns, or technical support, please refer to the official Outsunny websitio web ou póñase en contacto directamente co seu departamento de atención ao cliente. Recoméndase conservar o recibo de compra como proba de compra para calquera reclamación de garantía.
Información de contacto: Por favor visite o Tenda da marca Outsunny para obter máis axuda e información sobre o produto.


