Introdución
This manual provides comprehensive instructions for the setup, operation, maintenance, and troubleshooting of your CHUWI Hi10 X2 and X1 dedicated 2-in-1 keyboard. Please read this guide carefully to ensure proper use and to maximize the lifespan of your device.
Produto rematadoview
The CHUWI Hi10 X2 and X1 dedicated keyboard transforms your 10.1-inch tablet into a versatile 2-in-1 laptop, enhancing productivity with a physical keyboard and a high-precision trackpad.

Figura 1: Arriba abaixo view of the CHUWI Hi10 X2/X1 dedicated keyboard, displaying the full QWERTY layout and integrated trackpad.

Figura 2: En ángulo view of the CHUWI Hi10 X2/X1 dedicated keyboard, showcasing its slim design and the magnetic connector bar at the top.
Instrucións de configuración
Follow these steps to correctly attach your keyboard to the CHUWI Hi10 X2 or X1 tablet:
- Locate the Magnetic Connector: The keyboard features a magnetic connector bar on its back side, designed to align with your tablet's port.
- Connect to the Tablet: Align the magnetic connector bar with the corresponding port on your CHUWI Hi10 X2 or X1 tablet. The magnets will help secure the connection.
- Posición de uso: After the initial connection, gently bend the section between the magnetic connector and the main keyboard body towards the keyboard side. This action will elevate the tablet to an optimal viewángulo de escritura e escritura.
- Listo para usar: Once positioned, your keyboard and tablet are ready for use.
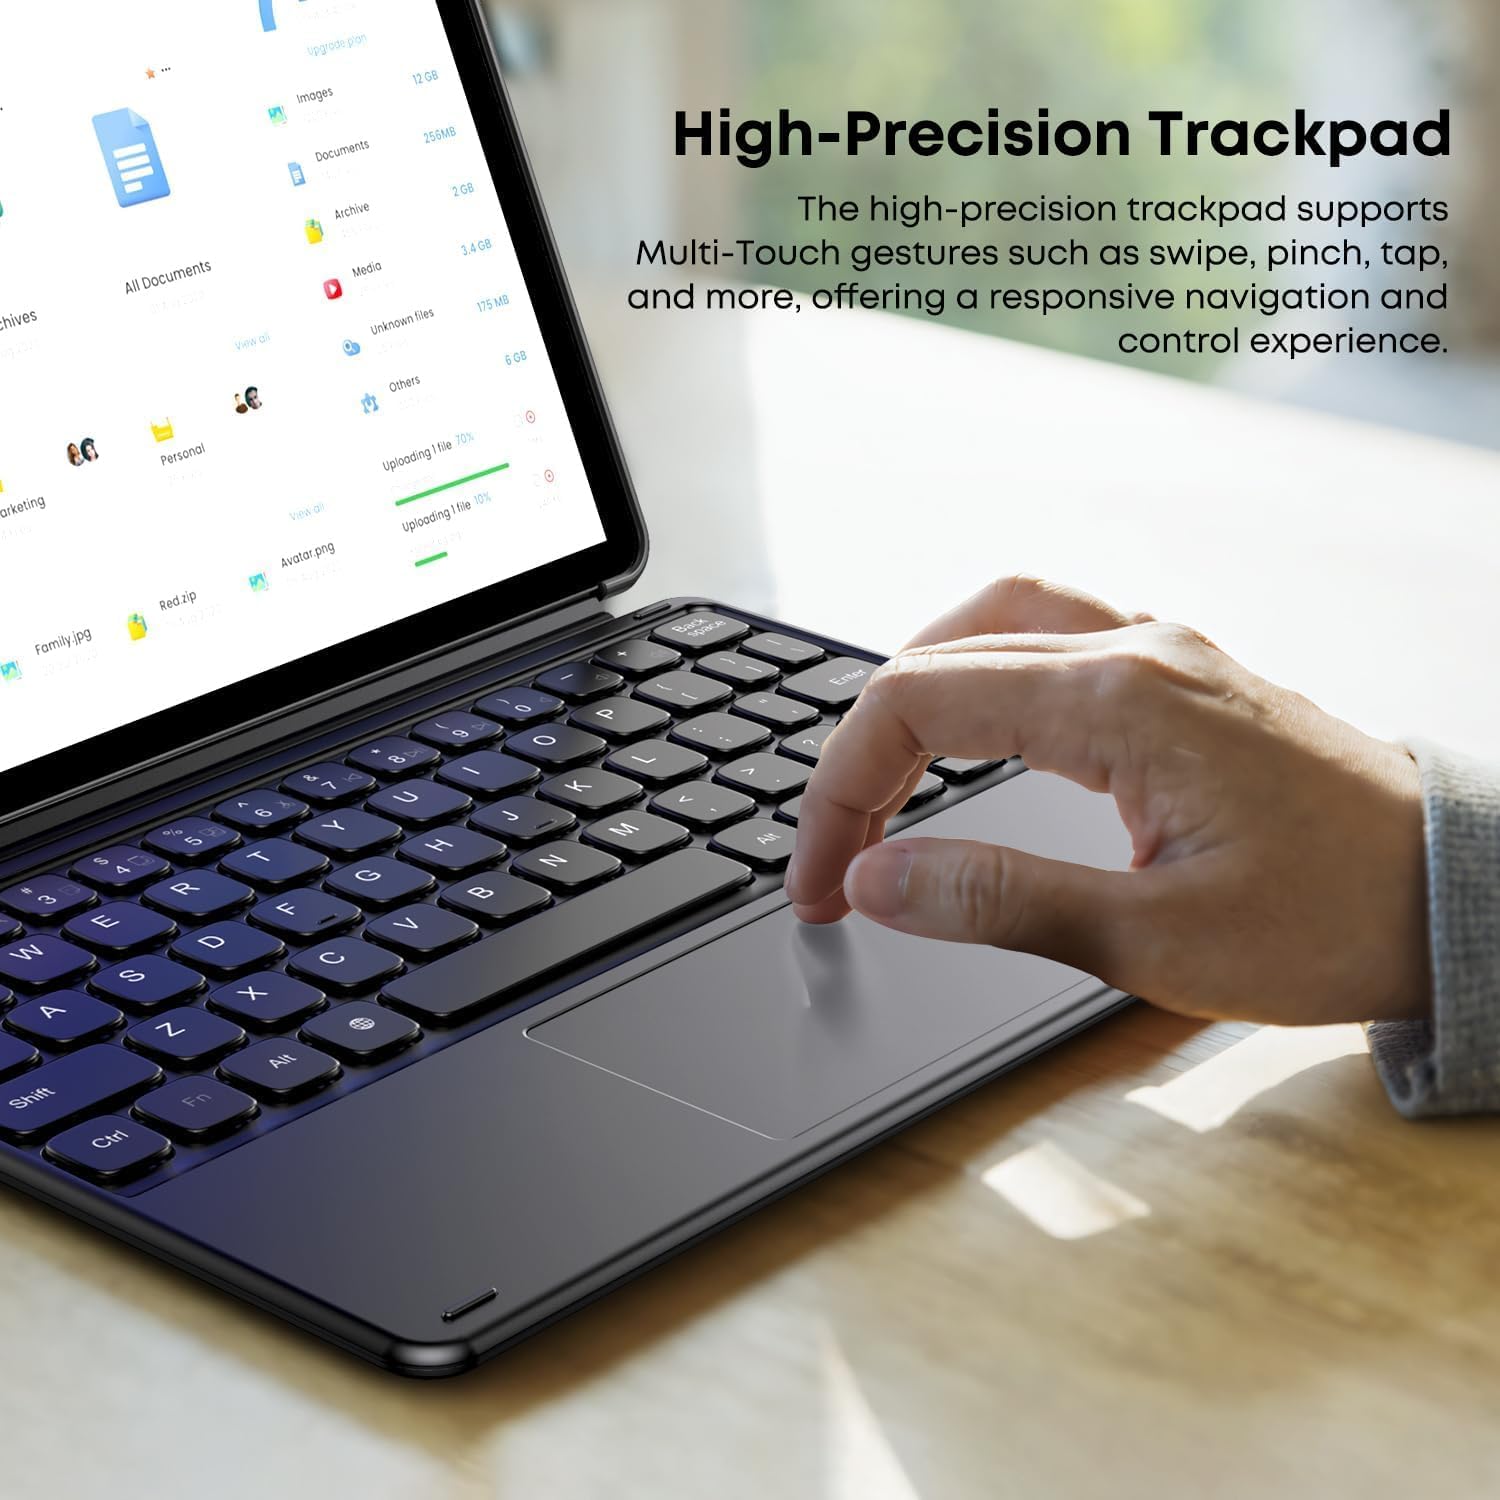
Figura 3: The magnetic connector bar is located on the back of the keyboard, visible at the hinge area when connected to the tablet.
Figura 4: The keyboard magnetically attached to the tablet, showing the initial flat connection.
Figura 5: The keyboard section bent to achieve the working angle, elevating the tablet.
Figura 6: The keyboard and tablet are fully assembled and ready for typing.
Instrucións de funcionamento
Funcións do teclado
The keyboard provides a standard QWERTY layout with additional function keys (F1-F12) that may offer shortcuts depending on your tablet's operating system. Refer to your tablet's manual for specific function key operations.
Uso do trackpad
The integrated high-precision trackpad supports multi-touch gestures for intuitive navigation and control. Common gestures include:
- Toca: Un só toque para facer clic co botón esquerdo, toque con dous dedos para facer clic co botón dereito.
- Pasar o dedo: Use two fingers to scroll up/down or left/right.
- Beliscar: Usa dous dedos para ampliar ou reducir a imaxe.
- Multi-finger gestures: Specific gestures may vary by operating system (e.g., three-finger swipe for task view).

Figura 7: High-precision trackpad supporting multi-touch gestures.
Mantemento
Para garantir a lonxevidade e o rendemento óptimo do teclado, siga estas pautas de mantemento:
- Limpeza: Use a soft, dry, lint-free cloth to wipe the keyboard and trackpad surfaces. For stubborn dirt, slightly dampEnxágüe o pano con auga ou unha solución de limpeza suave, asegurándose de que non entre líquido no dispositivo.
- Evitar líquidos: Do not expose the keyboard to excessive moisture or spill liquids on it.
- Almacenamento: When not in use, store the keyboard in a clean, dry environment, away from extreme temperatures.
- Manipular con coidado: Avoid dropping the keyboard or applying excessive force to the keys or trackpad.
Resolución de problemas
O teclado non responde
- Comprobar a conexión: Ensure the magnetic connector is securely attached to your tablet and properly bent into the working position as described in the Setup section.
- Reiniciar a tableta: Ás veces, un simple reinicio da tableta pode resolver os problemas de conectividade.
- Conectores limpos: Inspect the magnetic connectors on both the keyboard and tablet for any dust or debris. Gently clean with a dry, soft cloth.
Problemas co trackpad
- Limpar o trackpad: Ensure the trackpad surface is clean and free from obstructions.
- Configuración da tableta: Check your tablet's settings for trackpad sensitivity or gesture options.
If you encounter persistent issues or are unsure about the connection method, please contact customer support for assistance.
Especificacións
| Característica | Detalle |
|---|---|
| Marca | CHUWI |
| Número de modelo | HI10 X1 |
| Descrición do teclado | Integrado |
| Disposición do teclado | QWERTY |
| Compatible Tablets | CHUWI Hi10 X2, CHUWI Hi10 X1 (10.1-inch) |
| Peso do elemento | 280 g |
| Dimensións do paquete | 24.9 x 19.8 x 1.9 cm |
Garantía e Soporte
This product comes with a standard manufacturer's warranty. For detailed warranty information, please refer to the documentation included with your purchase or visit the official CHUWI websitio.
For technical support, troubleshooting assistance, or inquiries regarding product functionality, please contact CHUWI customer service. If you have questions about the connection method, as mentioned in the product description, please reach out to the seller directly.
You can often find support contact information on the CHUWI official websitio web ou a través da túa plataforma de compra.


