1. Introdución
This manual provides essential information for the safe and effective operation of your Andeman Ep155 or Ep177 Car Jump Starter with Air Compressor. Please read this manual thoroughly before using the device and retain it for future reference. This device is designed to jump start 12V vehicles and, for the Ep177 model, also functions as a portable tire inflator and power bank.
2. Información de seguridade
WARNING: Improper use can result in injury or damage to the device and vehicle. Always follow these safety guidelines.
- Manter fóra do alcance dos nenos.
- Non mergullo o dispositivo en auga.
- Non opere en atmosferas explosivas, como en presenza de líquidos, gases ou po inflamables.
- Asegurar unha ventilación adecuada durante o uso.
- Do not disassemble the device. Contact qualified service personnel for repairs.
- Avoid direct exposure to sunlight or high temperatures.
- Usa só o clavilleiro intelixente fornecidoamps e accesorios.
- Ensure the device is fully charged before use for optimal performance.
- The device features 10 advanced safety protections, including Overload Protection, Sparks Protection, Reverse Charges Protection, Reverse Polarities Protection, Over Currents Protection, Low Temperature Protection, Over Charges Protection, and Short Circuits Protection.

3. Produto rematadoview e Compoñentes
Your Andeman Car Jump Starter is a multi-functional device designed for emergency vehicle starting, and for the Ep177 model, also includes a portable air compressor and power bank capabilities.
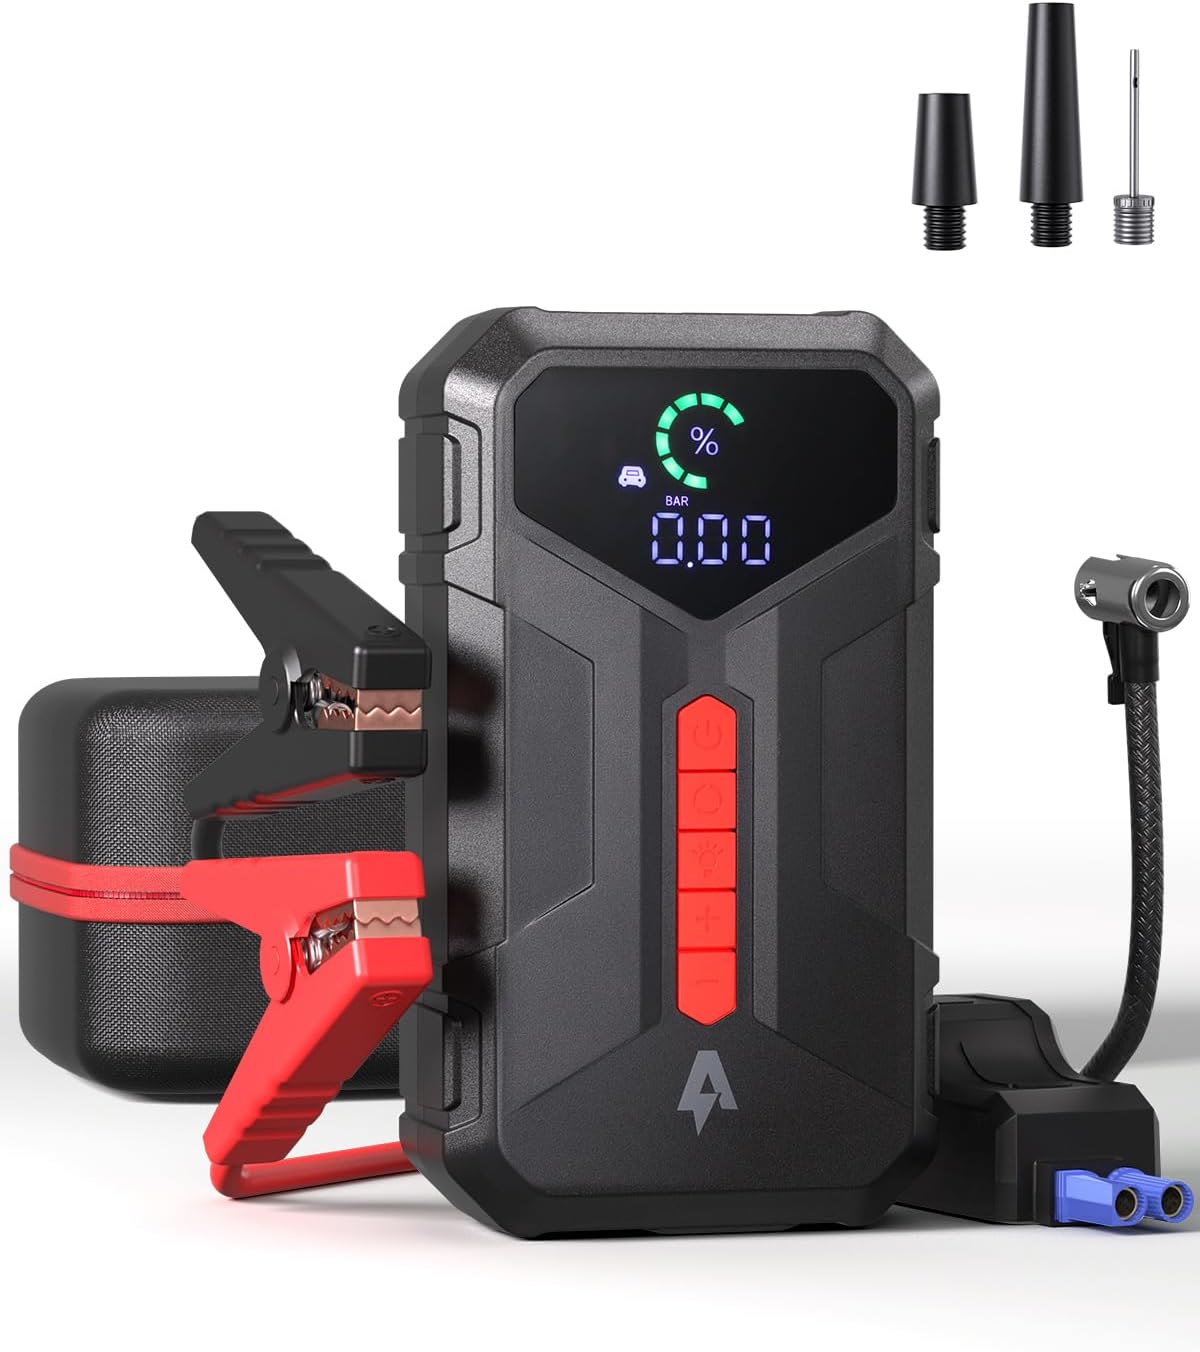

Contido do paquete:
- Andeman Car Jump Starter (Ep155 or Ep177)
- Batería intelixente Clamps
- Cable de carga USB-C
- Inflation Nozzles (for Ep177 model)
- Manual de usuario
4. Especificacións
| Característica | Ep155 Model | Ep177 Model |
|---|---|---|
| Corrente máxima | 3000A | 4000A |
| Capacidade da batería | 20000 mAh | 24000 mAh |
| Compatibilidade do motor (gasolina) | Ata 9.0L | Ata 8.5L |
| Compatibilidade de motores (diésel) | Ata 7.0L | Ata 7.0L |
| Starts per Charge | Ata 80 veces | Ata 70 veces |
| Tempo de espera | 24 meses | 48 meses |
| Air Compressor (PSI) | N/A | Up to 150PSI |
| Charging Input (Type-C) | 5V/3A, 9V/2A, 12V/1.5A | |
| Saída USB-A | QC3.0 | |
| Saída USB-B | 5 V/3 A | |
| Saída CC | 15 V | |
| Tempo de carga completa | Aproximadamente 1.8 horas | |
| Linterna LED | 240 Lumens, 36 hours battery life | |

5. Configuración e carga
5.1 Cargo inicial
Before first use, fully charge the jump starter. Connect the provided USB-C charging cable to the device's Type-C input port and a suitable USB power adapter (not included). The device supports bi-directional fast charging, achieving a full charge from 0% to 100% in approximately 1.8 hours.

5.2 Comprobación do nivel da batería
The device features a digital display or indicator lights to show the current battery level. Ensure the device has sufficient charge before attempting to jump start a vehicle or inflate tires.
6. Instrucións de funcionamento
6.1 Puesta en marcha dun vehículo
- Asegúrate de que o arrancador teña polo menos un 50 % de carga.
- Apague o contacto do vehículo e todos os accesorios.
- Conecta o vermello (+) clamp ao terminal positivo (+) da batería do vehículo.
- Conecta o negro (-) clamp to the vehicle's negative (-) battery terminal or a solid, unpainted metal part of the engine block.
- Conecte o smart clamp connector into the jump starter's port. The indicator light on the smart clamp should turn green, indicating a correct connection. If it's red or flashing, check connections and battery voltage.
- Start the vehicle. If it doesn't start immediately, wait 30 seconds before trying again. Do not crank for more than 3 seconds per attempt.
- Once the vehicle starts, immediately disconnect the smart clamp conector do arrancador de baterías.
- Remove the black (-) clamp primeiro, despois o cl vermello (+)amp da batería do vehículo.
6.2 Using the Air Compressor (Ep177 Model Only)
The Ep177 model features a built-in air compressor capable of delivering up to 150PSI.
- Conecta a mangueira de aire á válvula do pneumático. Asegúrate de que a conexión sexa segura para evitar fugas de aire.
- Power on the jump starter. The current tire pressure will be displayed.
- Use os botóns "+" e "-" para axustar a presión desexada.
- Press the inflation button to start the compressor. The compressor will automatically stop once the preset pressure is reached.
- Desconecte a mangueira de aire da válvula do pneumático.
Note: For continuous use, it is recommended to rest the compressor for 10 minutes after every 10 minutes of operation to prevent overheating. A full charge can inflate 195/60 R15 tires from 0 to full approximately 4-5 times.

6.3 Uso como batería externa
The jump starter can also function as a portable power bank to charge electronic devices.
- Connect your device's charging cable to the appropriate output port on the jump starter (USB-A QC3.0, USB-B 5V/3A, or Type-C 5V/3A, 9V/2A, 12V/1.5A).
- O dispositivo comezará a cargarse automaticamente.
- The DC15V output port can power compatible devices like tire inflators (if not using the built-in one) or car refrigerators.

6.4 Uso da lanterna LED
The built-in 240 lumens LED flashlight offers multiple modes for various situations.
- Press the flashlight button once to turn on the steady light.
- Press again for SOS mode (flashing slowly).
- Press a third time for Strobe mode (flashing rapidly).
- Preme unha cuarta vez para apagar a lanterna.
The flashlight provides up to 36 hours of battery life.

7. Mantemento
7.1 Carga
To maintain optimal battery health, recharge the jump starter every 3-6 months, even if not in use. This prevents deep discharge and extends battery life.
7.2 Almacenamento
- Garde o dispositivo nun lugar fresco e seco, lonxe da luz solar directa e de temperaturas extremas.
- Keep the device and accessories in the provided carrying case to protect them from damage.
7.3 Limpeza
Limpe o dispositivo cun pano suave e seco. Non empregue produtos químicos agresivos nin produtos de limpeza abrasivos.
8 Solución de problemas
8.1 O vehículo non arranca
- Comprobar o nivel da batería: Asegúrate de que o arrancador teña carga suficiente.
- Comproba as conexións: Verifica que o cl intelixenteampestean conectados de forma segura aos terminais correctos da batería (vermello a positivo, negro a negativo).
- Intelixente clamp indicador: If the indicator is red or flashing, refer to the smart clamp's instructions for error codes.
- Vehicle battery condition: If the vehicle battery is severely damaged or completely dead, the jump starter may not be able to start it.
8.2 Air Compressor Not Working (Ep177 Only)
- Comprobar o nivel da batería: Asegúrate de que o arrancador teña carga suficiente.
- Conexión de mangueira: Verify the air hose is securely connected to both the device and the tire valve.
- Sobrequecemento: If the compressor has been running for an extended period, it may have overheated. Allow it to cool down for 10-15 minutes before attempting to use it again.
8.3 O dispositivo non se carga
- Cable: Ensure the USB-C charging cable is not damaged and is properly connected.
- Adaptador de alimentación: Verify the USB power adapter is functional and provides adequate power output.
9. Garantía e soporte
Your Andeman jump starter is UL Certified, ensuring it meets stringent safety standards. For warranty information, technical support, or service inquiries, please refer to the contact information provided with your purchase or visit the official Andeman websitio.
For further assistance, please contact Andeman customer support.


