Introdución
This manual provides detailed instructions for setting up, operating, and maintaining your Gamrombo Wireless Gaming Controller, Model RH-102A. Please read this manual thoroughly before use to ensure proper functionality and to maximize your gaming experience. This controller is designed for use with Xbox One, Xbox Series X/S, PC, Android, and iOS devices.

Imaxe: Fronte view of the Gamrombo Wireless Gaming Controller, showcasing its black design with vibrant RGB lighting on the joysticks, buttons, and grip areas.
Configuración
Contido do paquete
- Gamrombo Wireless Gaming Controller (Model RH-102A)
- USB Charging/Data Cable (assumed)
- Manual de usuario (este documento)
Instalación de baterías
The controller requires dúas (2) pilas AA (not included) for wireless operation. Locate the battery compartment on the back of the controller, open the cover, insert the batteries according to the polarity indicators, and close the cover securely.
Conectando o controlador
The Gamrombo controller supports multiple connection methods: Wireless (for Xbox), Bluetooth (for PC, Android, iOS), and Wired (for PC).

Imaxe: Máis deview of the controller highlighting its compatibility with various platforms including PC, Mac, Android, iOS, and Steam.
1. Wireless Connection (Xbox Consoles)
- Ensure your Xbox console (Xbox Series X, Xbox Series S, Xbox One S, Xbox One X) is powered on.
- Manteña premido o Botón de inicio on the controller until the LED indicator begins to flash, indicating pairing mode.
- On your Xbox console, press the Botón de emparellamento (usually located on the front or side of the console).
- The controller's LED will become solid when successfully paired.
- Nota importante: Due to Xbox system updates, third-party controllers may require a software update to maintain compatibility. If you experience pairing issues, please visit the Gamrombo support websitio para obter as últimas actualizacións de software e instrucións.
2. Bluetooth Connection (PC, Android, iOS)
- Ensure the controller has sufficient battery power.
- Activate Bluetooth on your device (PC, Android, iOS).
- Manteña premido o Botón de sincronización Bluetooth (refer to controller diagram for exact location, often a small button near the top) until the LED indicator flashes rapidly.
- On your device, search for new Bluetooth devices and select "Gamrombo Controller" (or similar name) from the list.
- The controller's LED will become solid when successfully paired.
3. Conexión con cable (PC)
- Connect one end of the USB cable to the controller's USB port.
- Conecta o outro extremo do cable USB a un porto USB dispoñible no teu PC.
- The controller should be automatically recognized by your PC. Drivers may install automatically.
Instrucións de funcionamento
Deseño de botóns
Familiarízate coa disposición dos botóns do controlador para un uso óptimo.

Image: Diagram illustrating the front and back button layout of the Gamrombo controller, labeling joysticks, D-pad, A/B/X/Y buttons, triggers, bumpers, Home, View, Menu, Share, Turbo, Light keys, 3.5mm stereo port, and programmable back paddles (PR/PL).
Funcións especiais
1. Función TURBO
The TURBO function allows for rapid-fire action by repeatedly pressing a button as long as it is held down. This can provide a competitive edge in certain games.

Image: Close-up of the controller with an overlay explaining the TURBO function, showing different rapid-fire rates (5/s, 12/s, 20/s) and the 'T' button icon.
- Para activar: Manteña premido o TURBO button (T), then press the desired action button (e.g., A, B, X, Y, LB, RB, LT, RT). The button will now have TURBO functionality.
- Para axustar a velocidade: While holding the TURBO button, move the Joystick analóxico dereito arriba ou abaixo to cycle through different TURBO speeds (e.g., 5/s, 12/s, 20/s).
- Para desactivar: Manteña premido o TURBO button (T), then press the same action button again.
2. Macro Programming (Back Paddles)
The controller features two back-mappable buttons (PR and PL) that can be programmed with up to 16 button inputs, allowing for complex actions with a single press.

Imaxe: Traseira view of the controller highlighting the PR and PL programmable back paddles and the 'SET' button, with an illustration of how multiple button presses can be mapped to a single paddle.
- Para entrar en modo de programación: Preme o botón SET (located on the back of the controller). The indicator light will flash.
- Para programar: Preme o PR or PL paddle you wish to program. Then, input the sequence of up to 16 buttons you want to map.
- Salvar: Preme o botón SET again to exit programming mode. The indicator light will stop flashing.
- To Clear Macro: Enter programming mode, press the PR or PL paddle, then press the SET button again without inputting any sequence.
3. Personalización da iluminación RGB
Customize the controller's RGB lighting with 7 colors and multiple lighting modes to match your preference.

Image: Visual representation of different RGB lighting modes including Breathing LED Mode, Fixed LED Mode, Flickering LED Mode, and Single Zone Mode, with color options.
- To Change Color/Mode: Preme o Chave de luz (refer to button layout diagram) to cycle through 7 bright colors and various lighting modes (multi-zone, breathing, solid).
- Para axustar o brillo: Manteña o Chave de luz e usa o Left Analog Stick Up or Down para axustar o nivel de brillo.
4. 6-Axis Gyro Sensor
The built-in 6-axis gyroscope provides more accurate somatosensory control, enhancing immersion in games that support motion sensing.
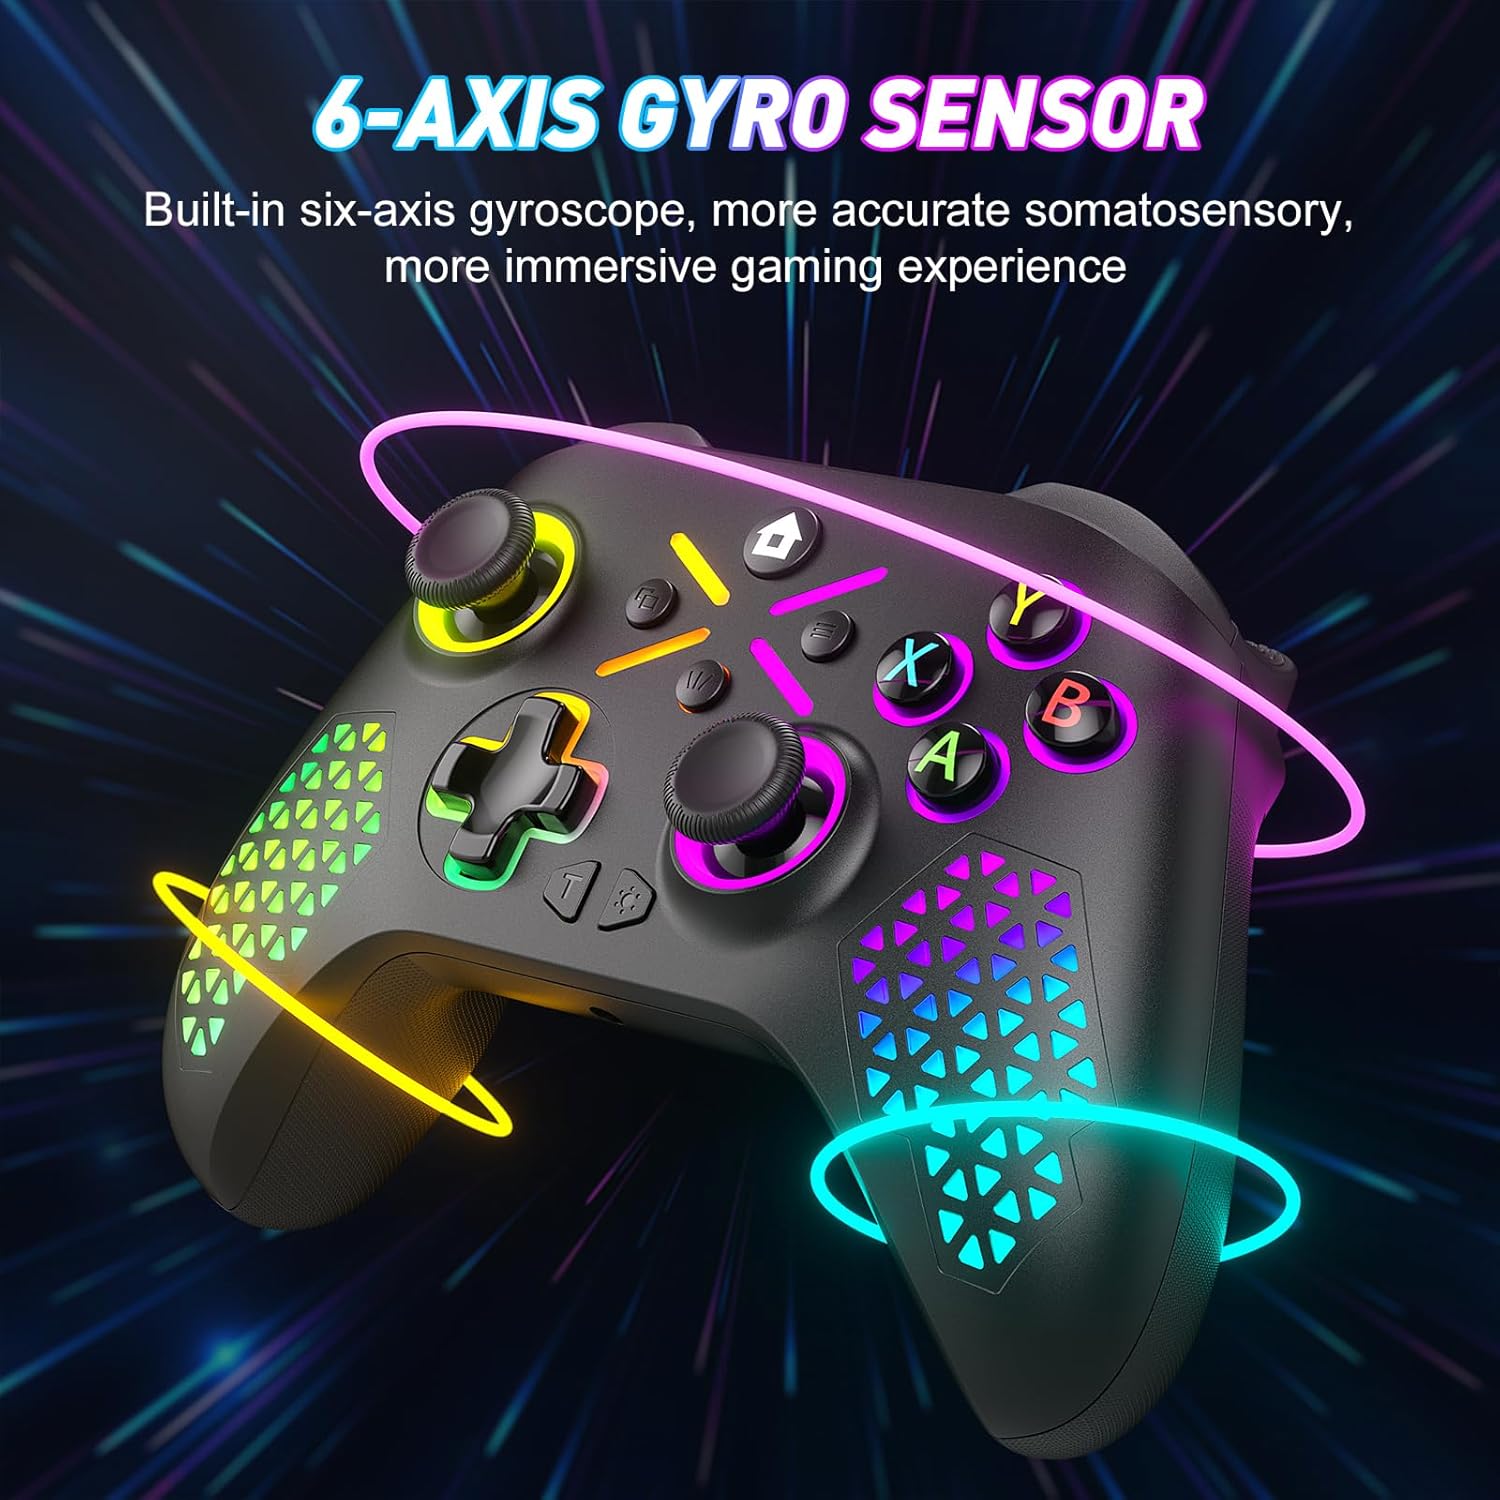
Image: The controller shown with glowing lines indicating motion, illustrating the 6-axis gyro sensor functionality for immersive gaming.
5. Conector de audio de 3.5 mm
Connect your compatible headset to the 3.5mm audio jack for in-game audio and communication.

Image: A split image showing the 6-axis gyro sensor on one side and the adjustable vibration feature with the 3.5mm audio jack on the other, emphasizing enhanced game immersion.
Mantemento
Limpeza
- Use a soft, dry cloth to wipe the surface of the controller.
- Para a sucidade persistente, d lixeiramenteampEnxágüe o pano con auga ou unha solución de limpeza suave. Evite produtos químicos agresivos.
- Non permita que entren líquidos nas aberturas do controlador.
Almacenamento
- Garde o controlador nun lugar fresco e seco, lonxe da luz solar directa e de temperaturas extremas.
- If storing for an extended period, remove the AA batteries to prevent leakage.
Resolución de problemas
Problemas comúns e solucións
- Controller not pairing with Xbox:
Ensure the controller has fresh batteries. Verify that the controller's software is up-to-date. Xbox system updates can sometimes affect third-party controller compatibility. Visit the Gamrombo support website for the latest software updates and detailed pairing instructions. - Controller not connecting via Bluetooth/Wired:
Check battery levels. For wired connection, ensure the USB cable is securely connected to both the controller and the PC. For Bluetooth, ensure Bluetooth is enabled on your device and the controller is in pairing mode. Try restarting both the controller and the device. - Buttons or Joysticks not responding:
Check for any physical obstructions or debris around the buttons or joysticks. Ensure the controller has sufficient power. If the issue persists after a drop, internal damage may have occurred, which might not be repairable or covered under warranty. - As luces RGB non funcionan ou son incorrectas:
Ensure the controller has power. Try cycling through the light modes and adjusting brightness using the Light Key. - A conexión córtase con frecuencia:
Ensure you are within the 10m (32.8ft) wireless range. Minimize interference from other wireless devices. Ensure the controller's software is updated.
Especificacións
Detalles técnicos
| Número de modelo | RH-102A |
| ASIN | B0FWCDB6F |
| Fabricante | Gamrombo |
| Conectividade | Wireless (WiFi), Bluetooth, Wired (USB) |
| distancia wireless | Ata 10 metros (32.8 pés) |
| Tipo de batería | 2 pilas AA (non incluídas) |
| Peso do elemento | 10.5 onzas |
| Dimensións do paquete | 12.68 x 9.88 x 0.55 polgadas |
| Primeira data dispoñible | 15 de outubro de 2025 |
Garantía e Soporte
Información da garantía
Specific warranty details for the Gamrombo Wireless Gaming Controller are not provided within this manual. For information regarding warranty coverage, terms, and conditions, please refer to the product packaging or contact Gamrombo customer support directly.
Atención ao cliente
If you encounter any issues or have questions not addressed in this manual, please contact Gamrombo customer support. Contact information can typically be found on the product packaging, the official Gamrombo websitio web ou a través do seu punto de venda.


